


If you try making homemade granola and you found this guide helpful, I’d be ever so grateful if you’d please add a comment & a rating onto the recipe below or at the bottom of the post ♡. This will help Google recognize it and help my website grow.
Thank you once again for your readership & support.
Print Recipe
Pin Recipe
Rate Recipe
Tried this recipe?Mention @Turmeric_Me_Crazy or tag #turmeric_me_crazy!
Servings:
Equipment Needed
- 1 Baking tray
- Air Tight Container
INGREDIENTS
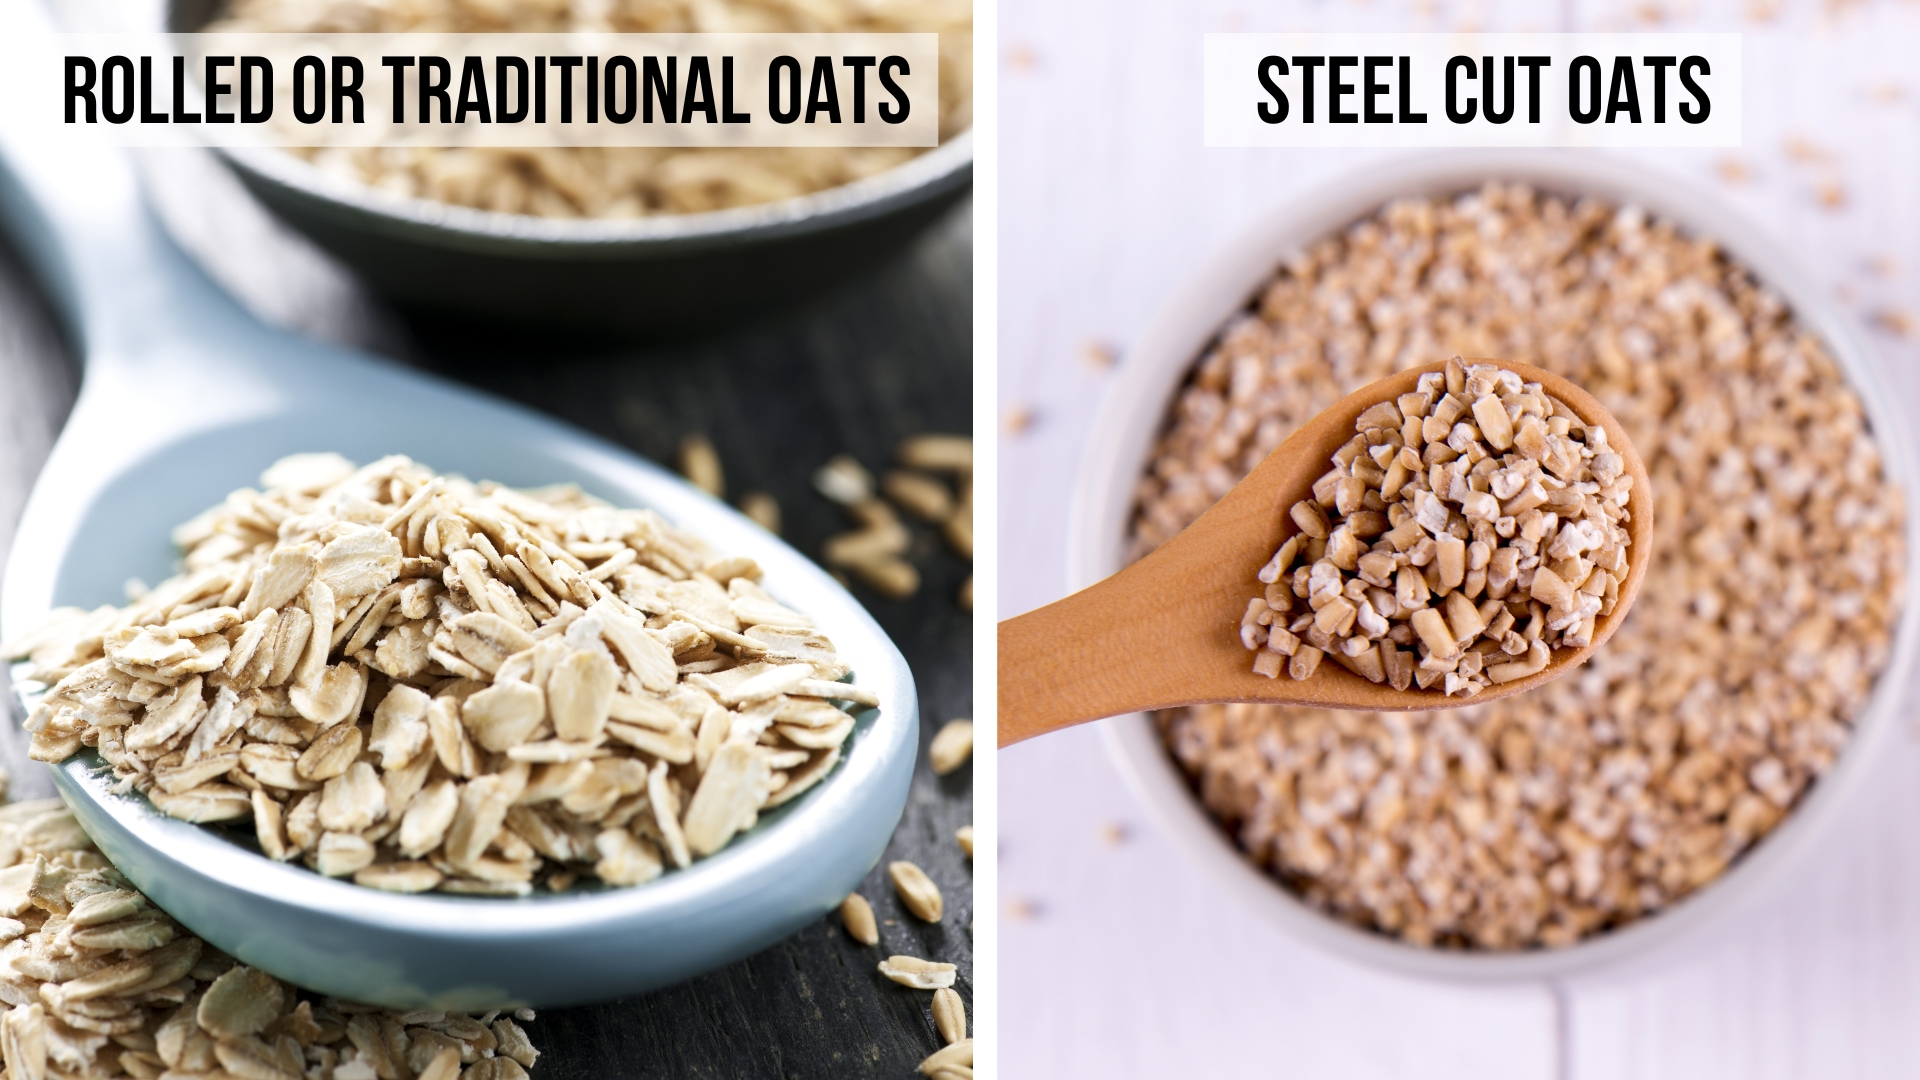
- 440 g Gluten Free Oats 4 cups
- 310 g Gluten Free Steel Cut Oats 2 cups
- 58 g Extra Virgin Olive Oil 1/4 cup
- 120 g Pure Maple Syrup 1/3 cup
- 10 g Pure Vanilla Extract 1 1/2 tsp
- 7 g Cinnamon, ground 1-2 tsp
- 1 g Sea Salt 1/4 tsp
INSTRUCTIONS
Preheat Oven to 300°F convection (149°C fan)
- No convection or fan? Just increase the temperature slightly (25°F). Keep a close eye while baking as you do not want to burn your granola!
Choose type of Oats
- We love to use a mix of Gluten Free Rolled Oats and Steel Cut Oats. You can chose any combination you like, just ensure there are 750g total oats.
Add Moisture
- In a separate bowl, whisk together olive oil, maple syrup, vanilla, cinnamon and sea salt.
Add Additional Flavours
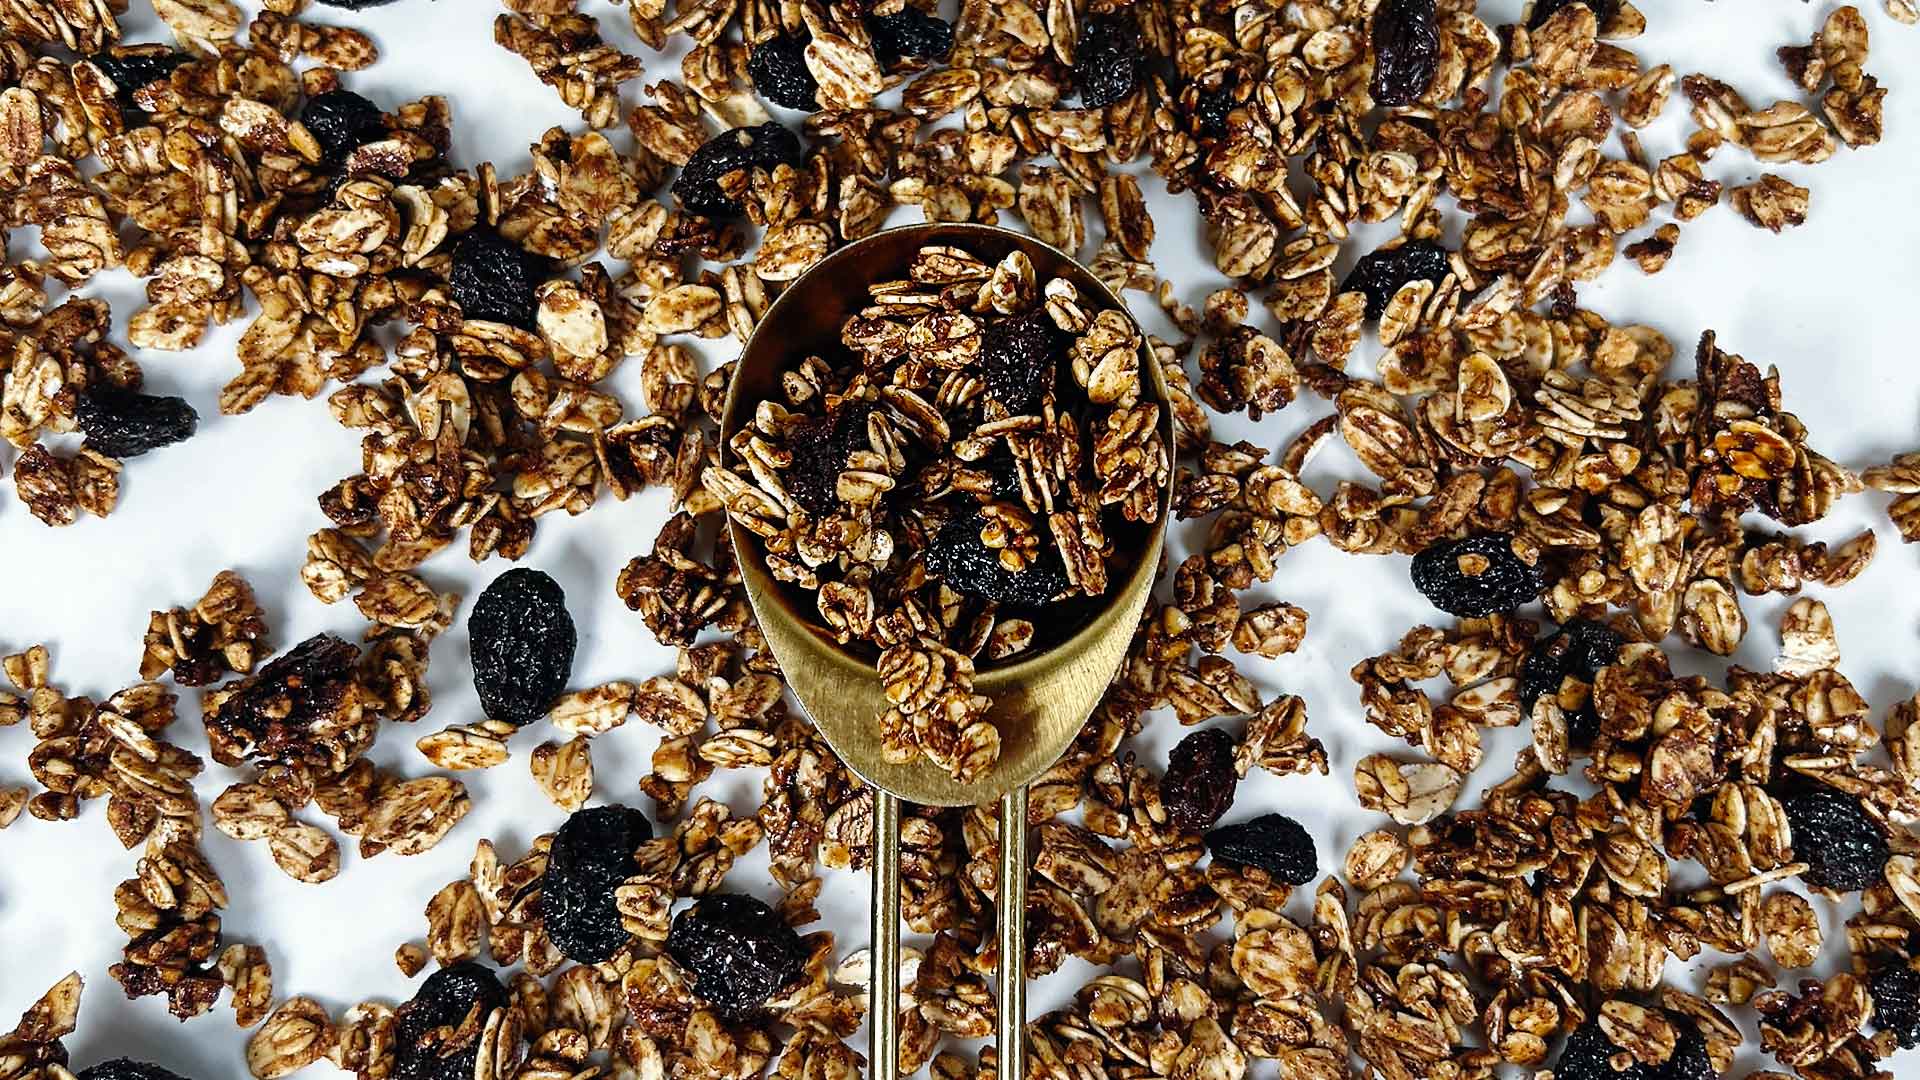
- If you want to make one of our flavoured homemade oatmeal, add the additional ingredients (except dried fruit). Add nuts & seeds to the oats. Add sweeteners & spices to liquids.
Mix to Coat Evenly
- Pour wet ingredients into the oat mixture and mix well to coat all ingredients evenly.
Bake Homemade Oatmeal
- Place granola onto 2 separate parchment lined trays. Bake granola on middle rack for 15 minutes. Toss and bake an additional 10-15 minutes until just golden brown.
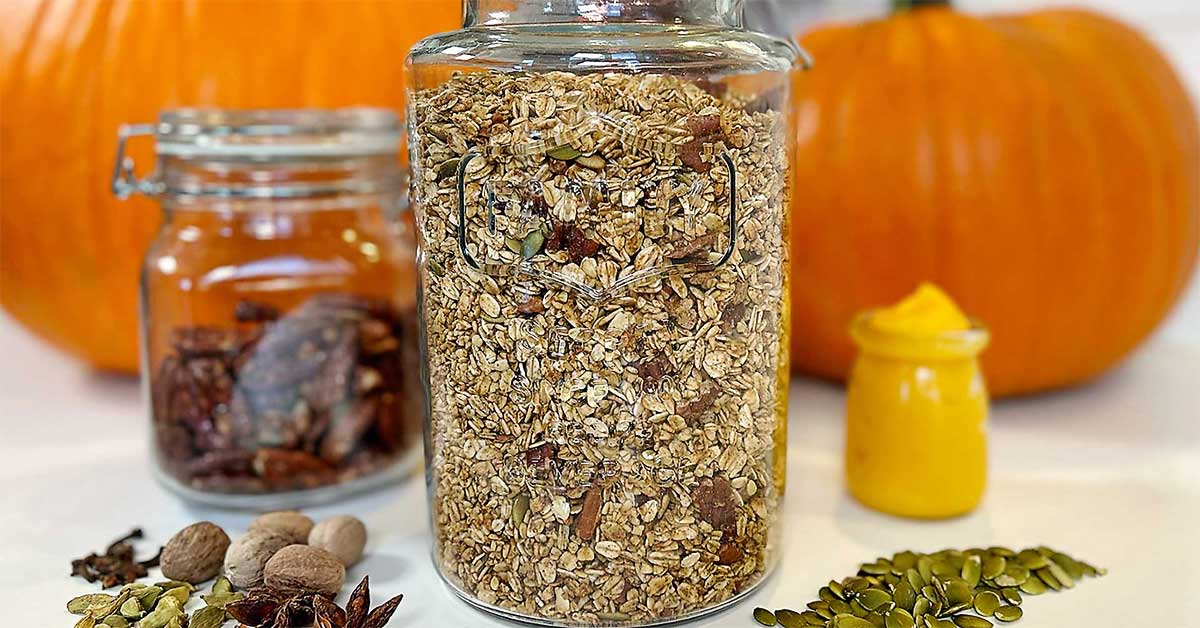
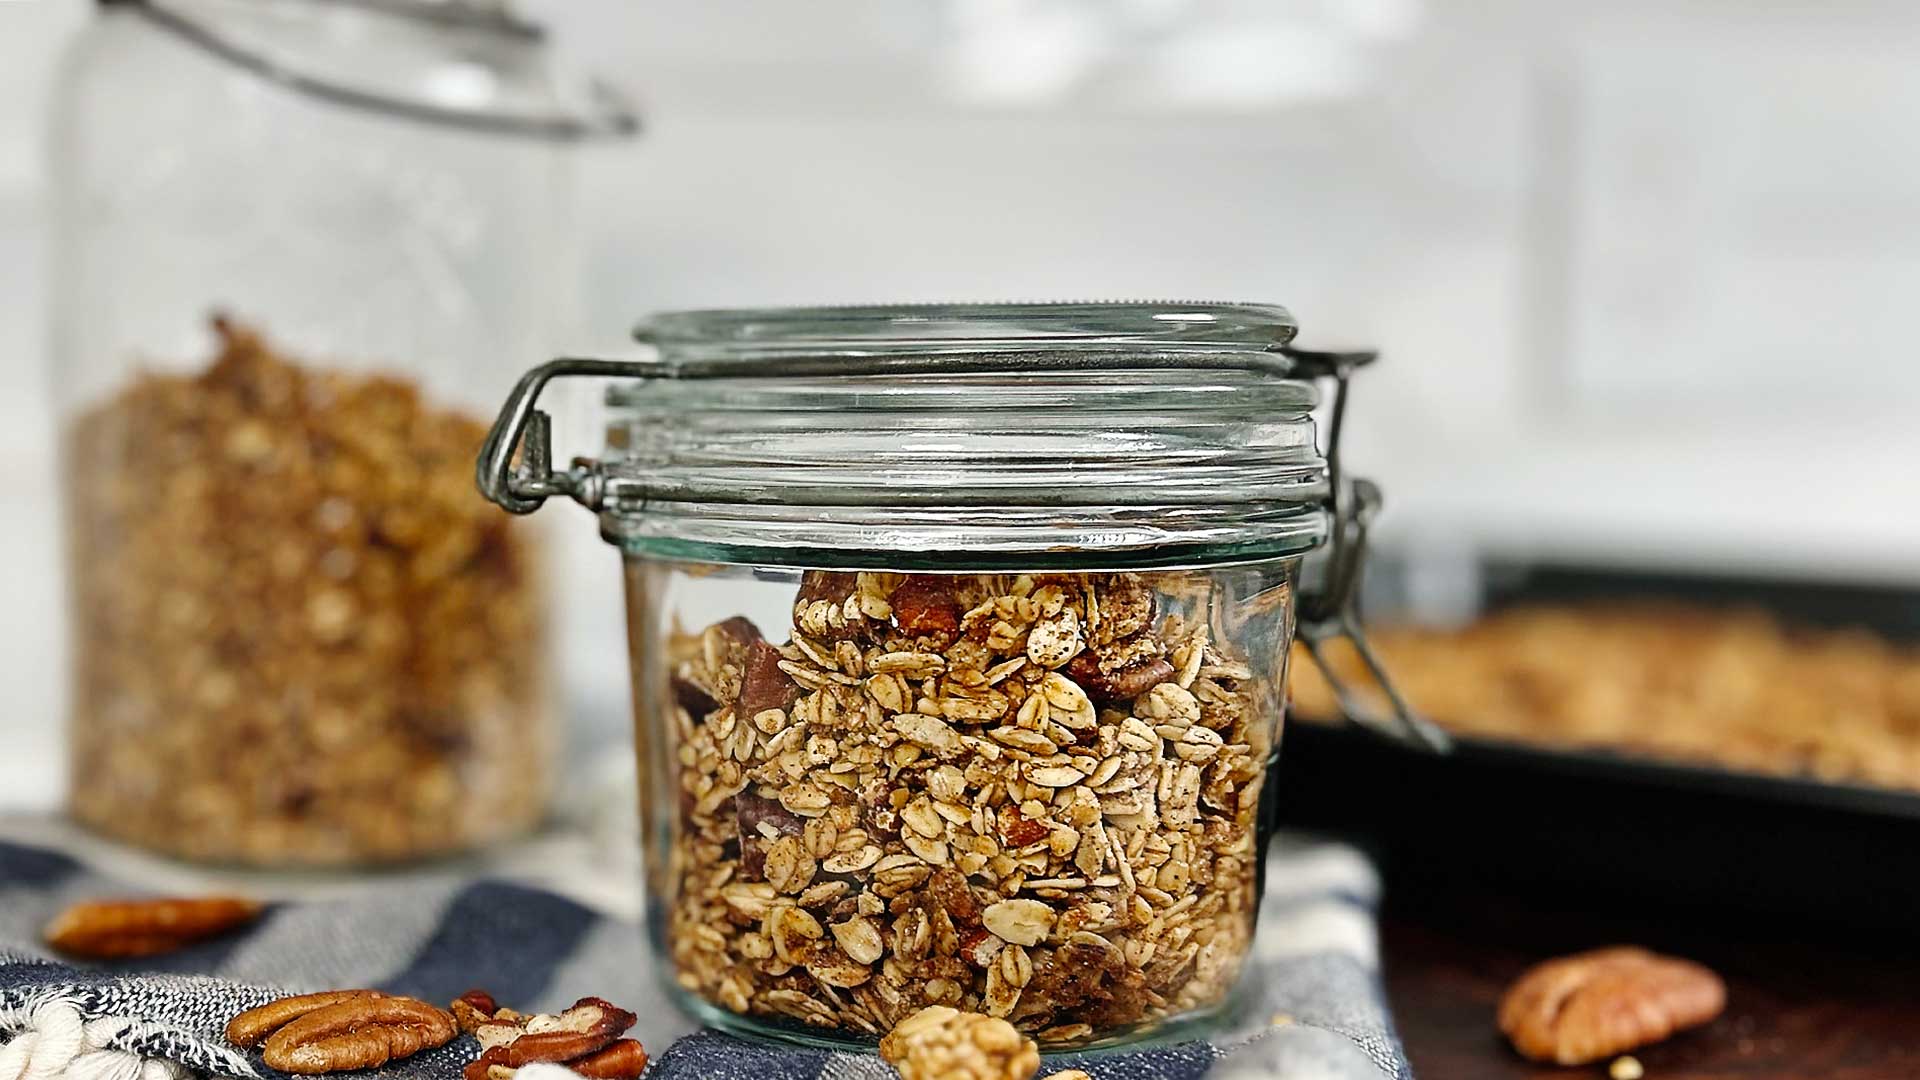
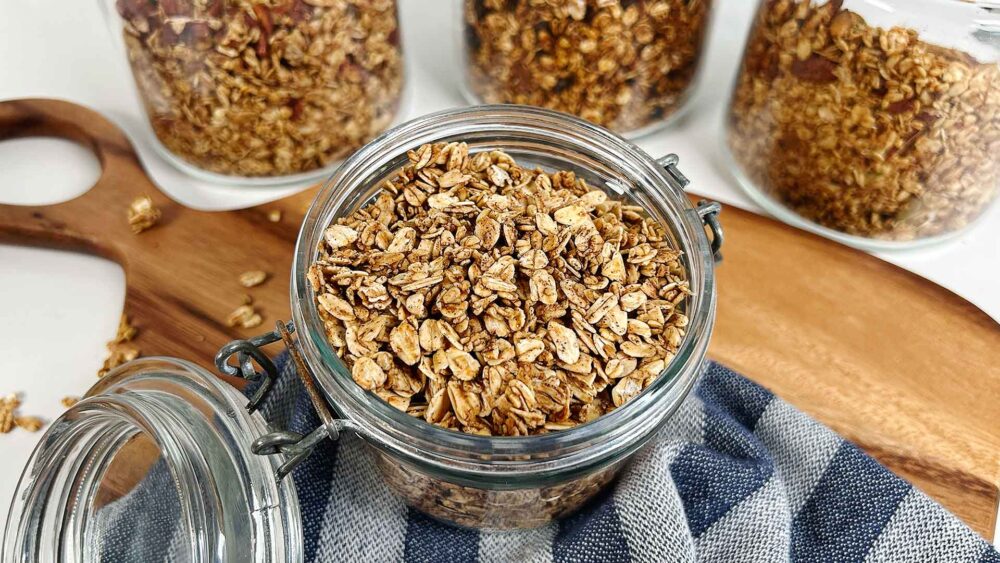
Enjoy & Store
- Ensure granola is completely cooled and then store in an air-tight container for up to 4-6 weeks. Enjou!
Notes
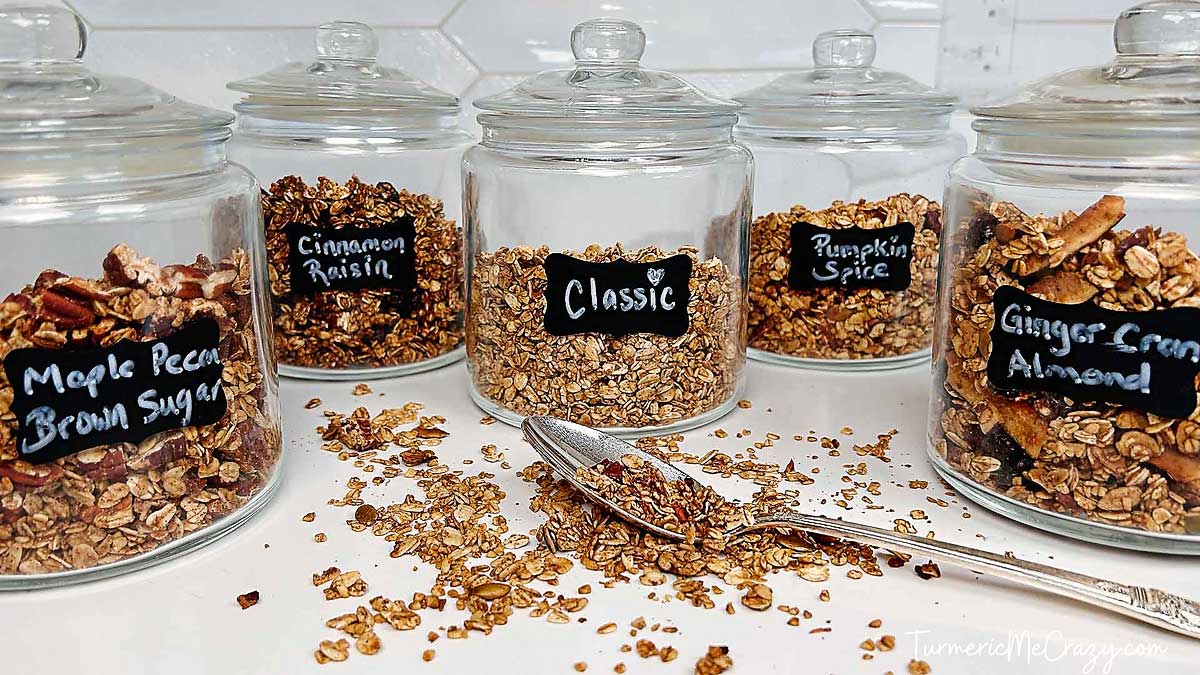
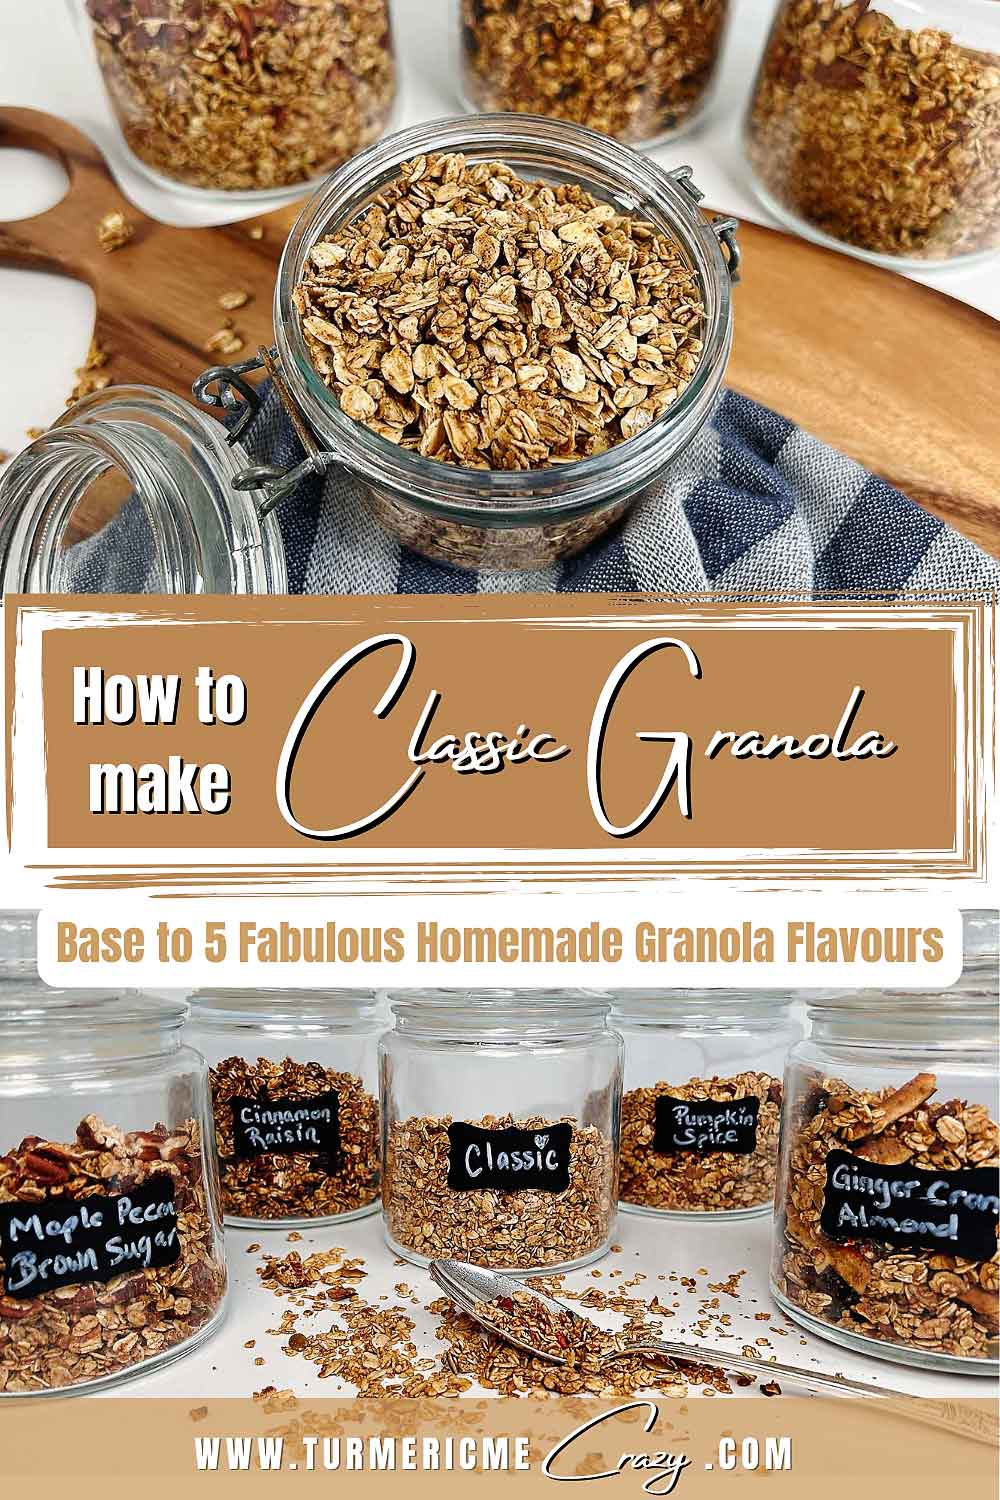
*See post above for detailed additional ingredients to add to this classic homemade granola for 4 other delicious flavours!
Nutrition
Nutrition Facts
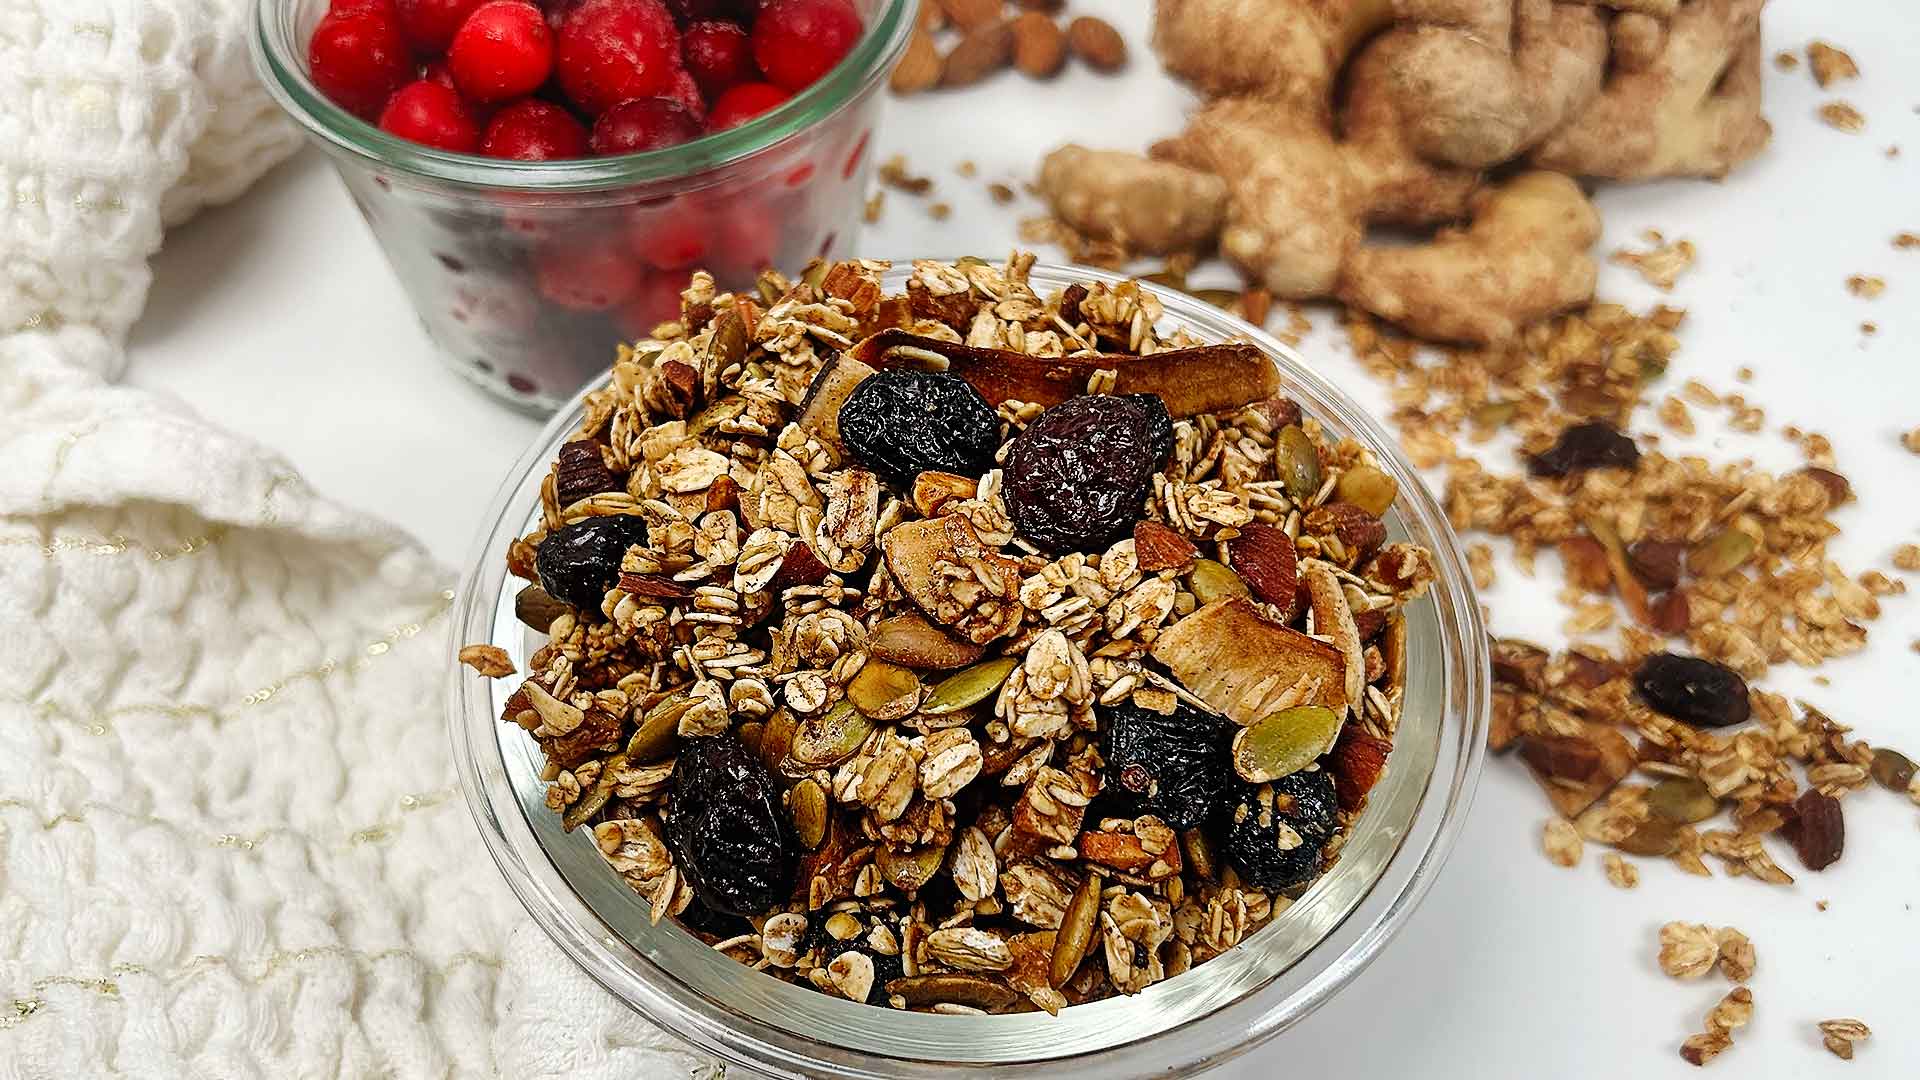
Classic Healthy Homemade Granola
Serving Size
0.5 cup
Amount per Serving
Calories
245
% Daily Value*
Fat
7.2
g
11
%
Saturated Fat
0.8
g
5
%
Sodium
32
mg
1
%
Potassium
19
mg
1
%
Carbohydrates
39
g
13
%
Fiber
5.7
g
24
%
Sugar
4.9
g
5
%
Protein
7.6
g
15
%
Calcium
32
mg
3
%
Iron
3
mg
17
%
* Percent Daily Values are based on a 2000 calorie diet.
Tried this recipe?Please comment to let us know how you liked it!!

2 Responses
This granola is so easy and delicious! Thank you ❤️
You’re most welcome! I’m so glad you loved it!