


2. Materials List
The essentials you need to make Gluten Free Pizza Crust
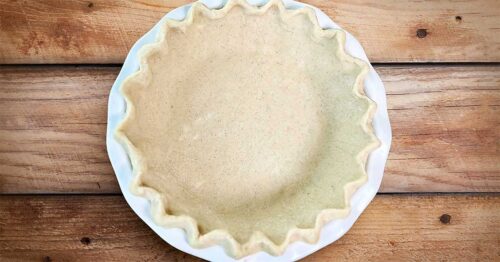
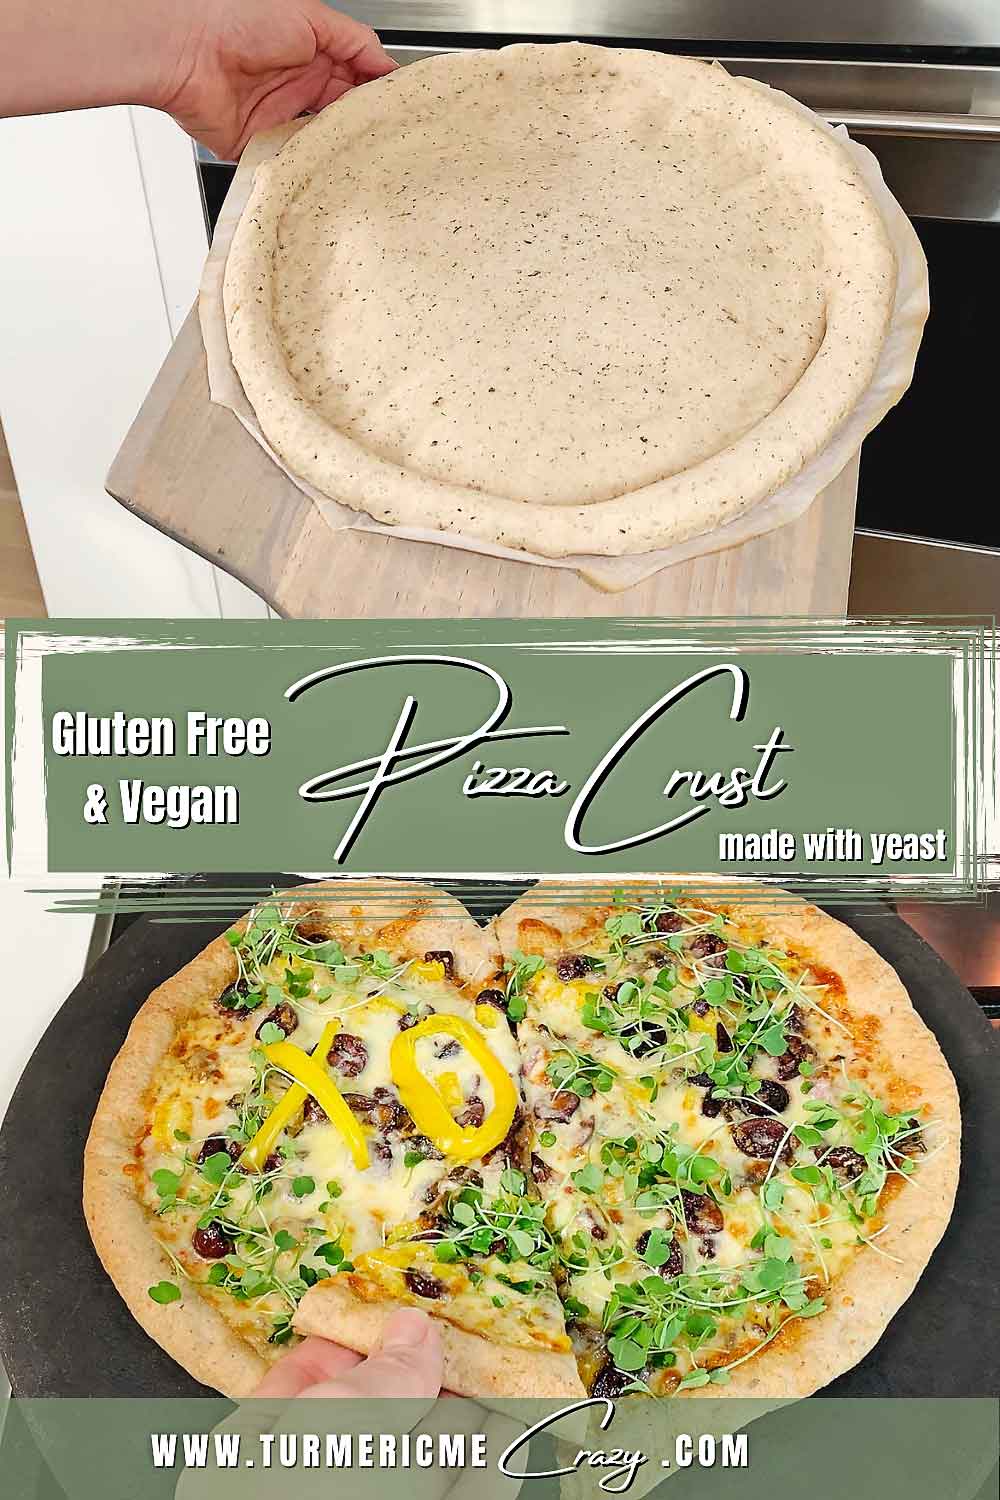
3. How to make Gluten Free Pizza Crust
Here you’ll find easy to follow instructions, including a follow-along video, to easily make my pizza crust!
3. Video Instructional Guide
You’ll love my easy to follow step-by-step follow-along video that makes this recipe a breeze!
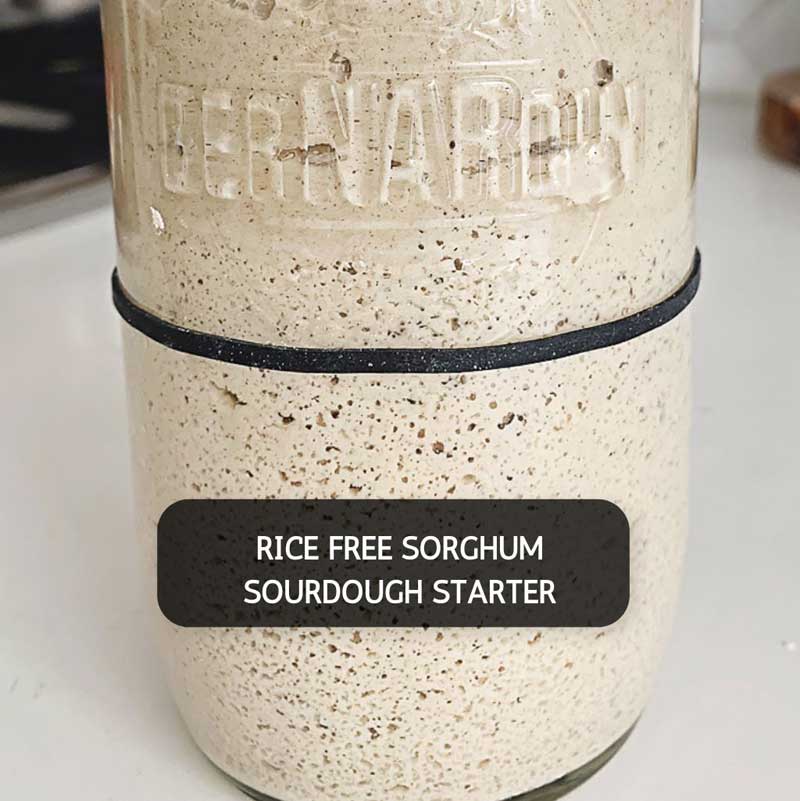
Please check out my picture instructional guide here for my sourdough version of this pizza that make this recipe so easy to follow!

7. Frequently Asked Questions (FAQ)
Can’t find the answer to your question? Please feel free to contact me anytime in the comments below or privately on my contact page.
Here I’ll answer questions regarding:
- How do I ADAPT this recipe to be FREE FROM a specific allergen?
- Do I really need to PRE-BAKE the crust?
- Does this recipe make a THIN OR THICK CRUST?
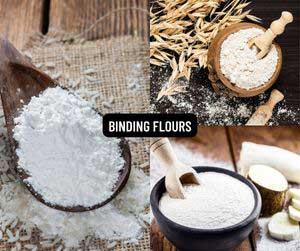
- Why add a BINDING FLOUR? Isn’t psyllium husk a binder?
- What kind of TOPPINGS can this pizza crust hold?
- How to FREEZE Gluten Free Sourdough Pizza Crust?
- Importance of WEIGHING the ingredients.


I sure do hope you love this Gluten Free Pizza Crust recipe. If you try it, I’d be ever so grateful if you’d please add a comment & a rating onto the recipe below or at the bottom of the post ♡. This will help Google recognize it and help my website grow.
Thank you once again for your readership & support.
Now let’s make some pizza!


Equipment Needed
- 1 Stand Mixer optional but very helpful
- 1 Pizza Stone preferred but can use a pizza pan
- 1 Pizza Peel or light & sturdy cutting board (to transfer pizza to & from oven)
- Plastic Wrap
INGREDIENTS
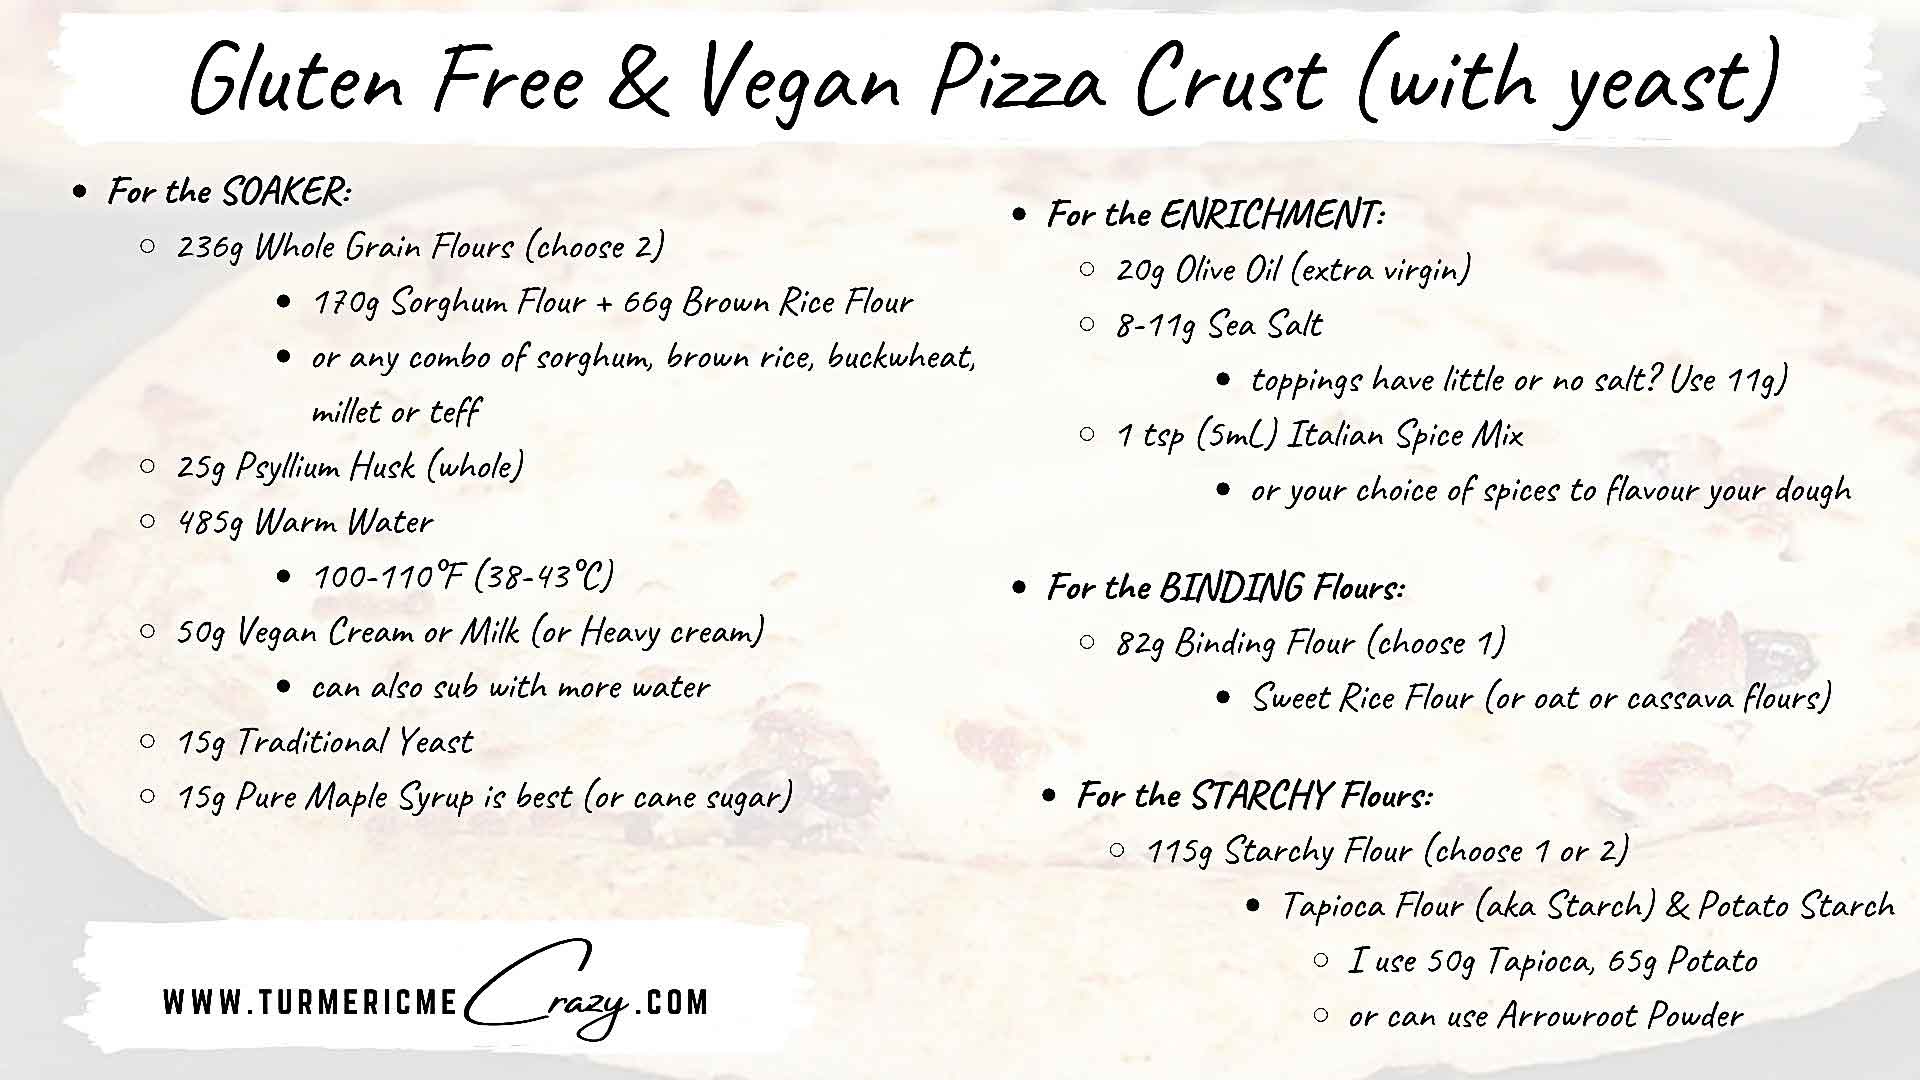
For the SOAKER
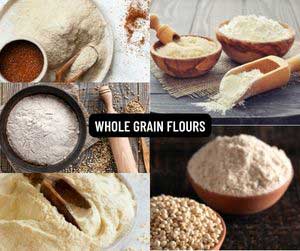
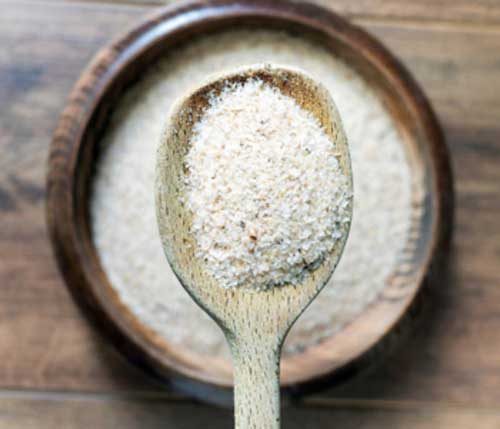
- 237 g 2 Whole Grain Flours *171g Sorghum & 66g Brown Rice Flour (or any combo of sorghum, brown rice, buckwheat, millet or teff flours)
- 25 g Psyllium Husk (whole)
- 485 g Warm Water 105-115°F (40-46°C)
- 50 g Heavy Cream (or vegan alternate) *can also sub with more water
- 15 g Maple Syrup * can also use cane sugar
- 15 g Traditional Dry Active Yeast Fresh
ENRICHMENT
- 20 g Extra Virgin Olive Oil
- 8-11 g Sea Salt (toppings have little or no salt? Use 11g)
- 1 tsp Italian Spice Mix (or your choice of spices to flavour up your dough)
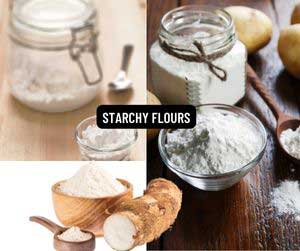
BINDING FLOUR & STARCHY FLOURS
- 82 g Binding Flour *Choose 1 Sweet Rice Flour (or Oat / Cassava Flour)
- 115 g Starchy Flour *1 or 2 s (about 50:50 ratio if use 2) - Tapioca Flour & Potato Starch (or Arrowroot powder). ( I use 50g Tapioca, 65g Potato)
INSTRUCTIONS
PROOF YEAST:
- Add yeast & maple syrup to warm water (100-110°F = 38-43°C)485 g Warm Water, 15 g Maple Syrup, 15 g Traditional Dry Active Yeast
MIX THE SOAKER:
- In a small bowl, whisk together your chosen whole grain flours & psyllium husk.237 g 2 Whole Grain Flours , 25 g Psyllium Husk
- In the bowl of a stand mixer, whisk together proofed yeast & cream. Add flour mix from above & mix with paddle attachment for 2 mins.485 g Warm Water, 50 g Heavy Cream (or vegan alternate), 15 g Maple Syrup, 15 g Traditional Dry Active Yeast
- Let soaker rest covered for 30 minutes.
ADD ENRICHMENT:
- Add olive oil, salt & spices & mix for 1 min to slightly incorporate the oil.20 g Extra Virgin Olive Oil, 8-11 g Sea Salt, 1 tsp Italian Spice Mix
ADD BINDING FLOUR & STARCHY FLOUR:
- Sift in binding flour & starchy flours of your choice. Then mix on low until slightly incorporated, then medium-high for 3-5 mins until forms a sticky dough ball.82 g Binding Flour, 115 g Starchy Flour
- Shape into a ball with a spatula.
SHAPE & REST DOUGH:
- Turn dough onto the counter. Gently shape into a ball & pat dough all over with olive oil.
- Cover & let rest 2-3 hours at room temp or 90 mins to 2 hours in oven with light on.
PRE-HEAT OVEN:
- Preheat oven with pizza stone inside to 500°F (260°C) for 30-45 mins.
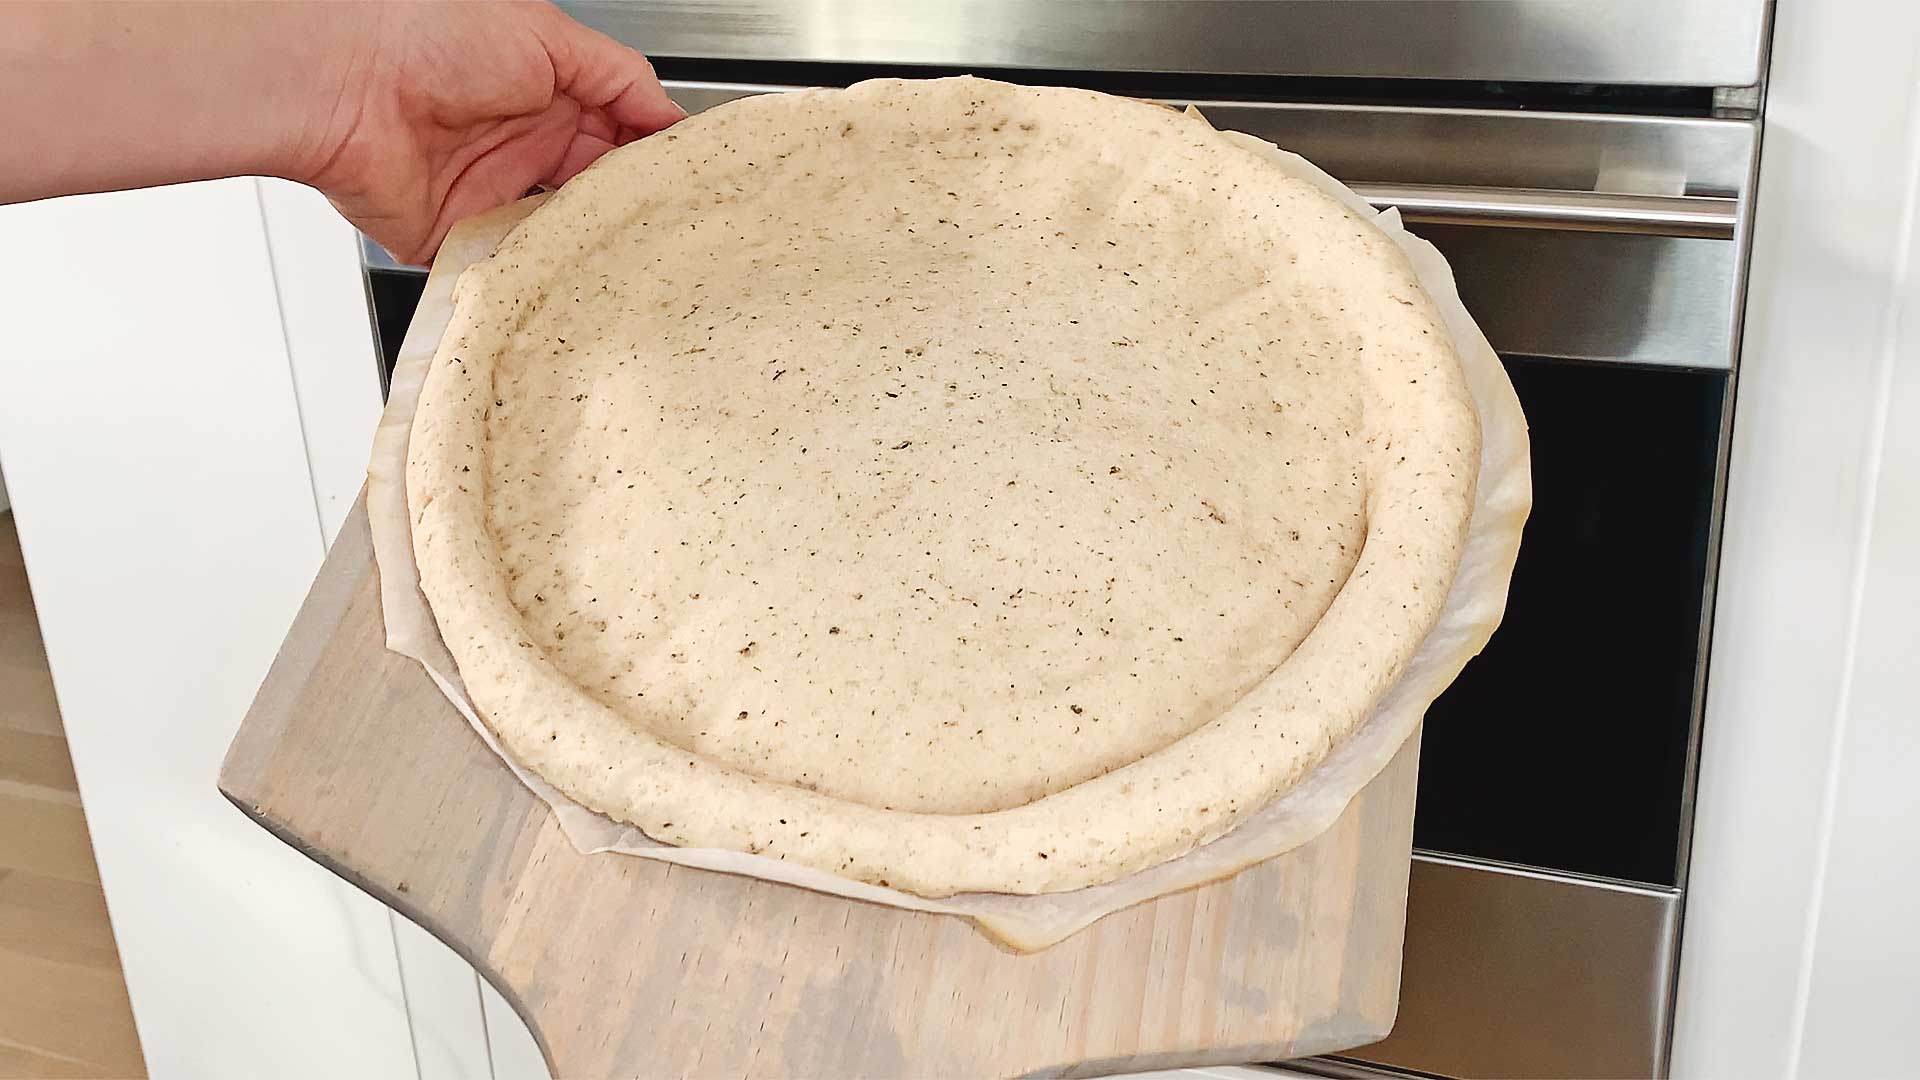
DIVIDE & ROLL PIZZA CRUST:
- Flip dough out onto parchment paper & divide into 2-3 pieces (for a thinner crust). Cover one piece with plastic wrap while you roll out the other.
- Begin spreading & shaping dough into a circle shape with hands working from inside-out.
- Cover with plastic wrap (or parchment paper) to create a smoother texture & ease of shaping (see video instructions for more details). Pinch edges to create a lip for your crust.
- Cut excess parchment paper around the pizza dough to prevent burning.
PAR-BAKE DOUGH:
- Remove plastic wrap from dough & slide pizza (with parchment) onto the preheated pizza stone in oven.
- Par-bake for 5-7 minutes until the dough has fully risen, is slightly golden on the edges, then remove from oven.
REMOVE PARCHMENT & ADD TOPPINGS:
- Flip pizza crust over & slowly peel off parchment paper. Flip again & place back onto pizza peel.
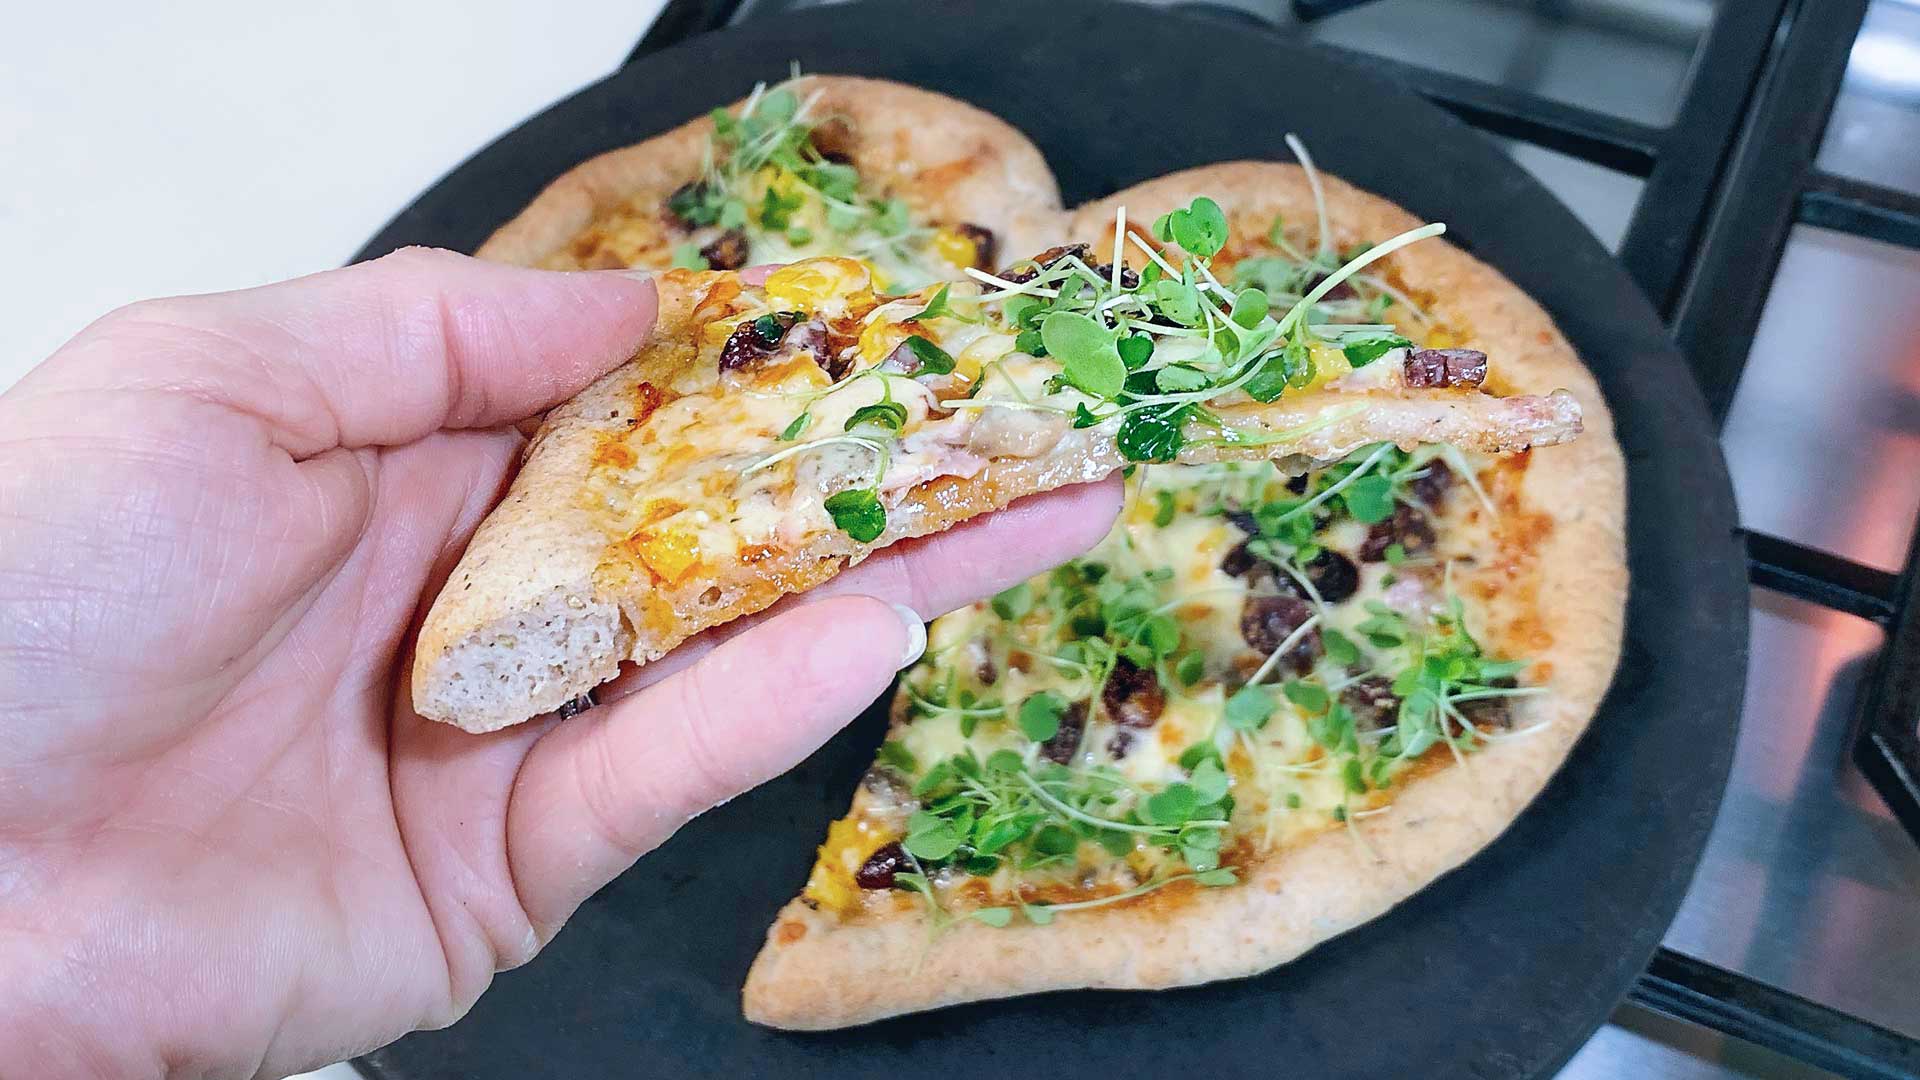
- Add sauce & desired toppings.
BAKE YOUR PIZZA!
- Slide topped pizza off the pizza peel directly onto the stone & bake for 6-9 mins or until toppings are golden, crust has browned to your liking & cheese is melted (if using).
- Remove pizza & pizza stone from the oven & allow to rest for at least 5-10 mins on the stone.
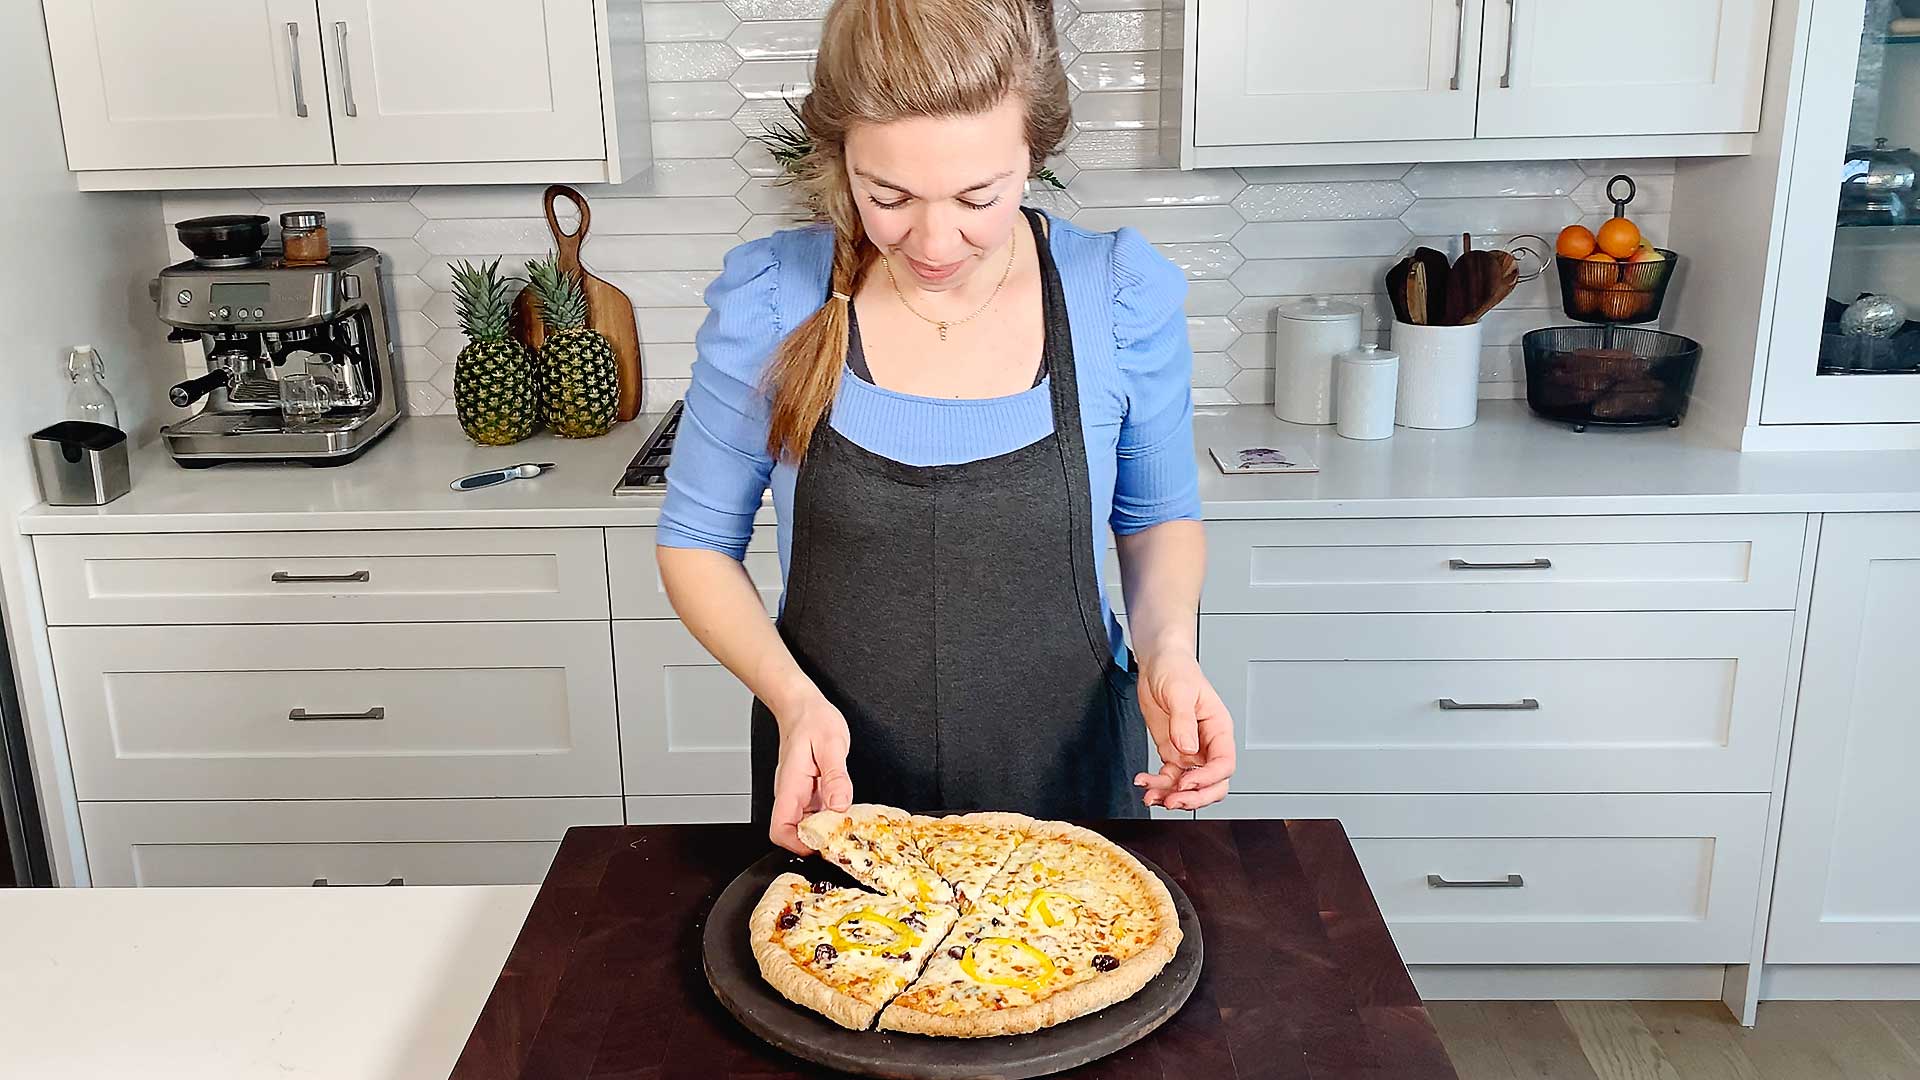
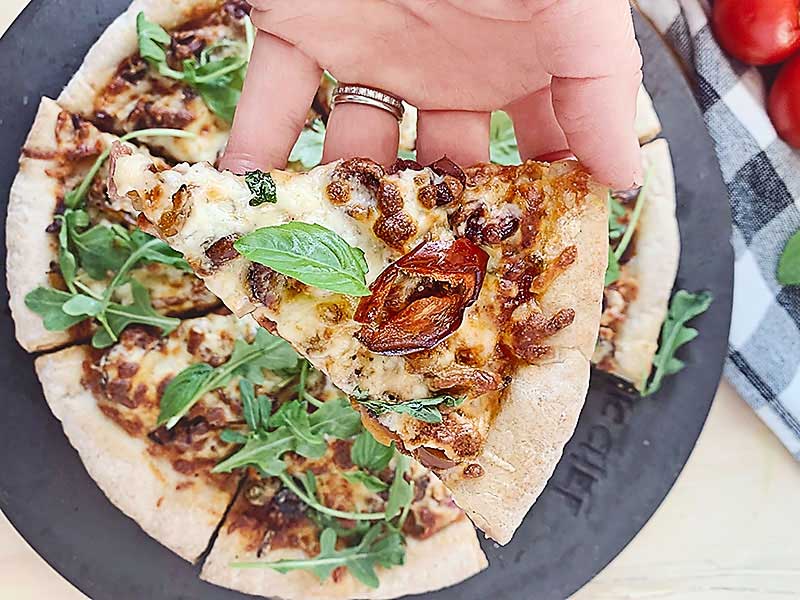
- Slice up your Gluten Free Sourdough Pizza masterpiece with a pizza cutter & enjoy!
Video
Notes
- Please see the post for easy to follow VIDEO INSTRUCTIONS.
- If you prefer PHOTO INSTRUCTIONS. please check out my Gluten Free Sourdough Pizza Crust Recipe.
- ADAPTING THIS RECIPE: I have broken the ingredients of this pizza crust dough into 5 components. This way you can customize the recipe to fit your dietary needs by understanding each of its parts. All you have to do is choose 1 or 2 options from each component, then follow the directions as posted.
- Pre-baking, aka par-baking, the dough is a really essential step. It allows the dough to rise and crisp up a bit removing some of the moisture in the dough. This ensures that your dough will be crispy & strong and will hold up to all of the delicious goodness you’d like to add to the top.
- If making a vegan or vegetarian pizza (or where the toppings have no additional salt) you may want to increase the salt to 11g.
Nutrition