Have I ever mentioned how much I adore chocolate? Not just any chocolate though, good chocolate! Like the kind that makes you say “mmm” when it hits your mouth! There are so many wonderful options out there for vegan and or dairy free milk chocolate these days, and I am so grateful. However, it is not only very expensive, it can be hard to find ones that have exactly the flavours you desire or may have some ingredients that perhaps don’t meet your families dietary needs.
If you’re like me and avoid eating processed foods & additives but LOVE chocolate, you are going to just adore this Vegan Milk Chocolate recipe. The basic recipe can be flavoured to your liking to make the absolute perfect chocolate bars or little Easter eggs to give the Easter Bunny a hand! You can also change the percentages easily to make this into a darker chocolate if you so desire!
This recipe is:
Add a little peppermint oil to make mint chocolate, a little DIY salted caramel flakes to make a salted caramel chocolate, a little finely chopped hazelnuts, almonds or pecans for a nutty chocolate treat…the possibilities are endless!
why you should make your own chocolate
- Absolutely delicious milk chocolate flavour.
- Dairy free, vegan, & free from all additives, preservatives, fillers & emulsifiers!
- Made with pure cacao ingredients and NO refined sugar.
- Quick and easy to make with easy to follow video instructions.
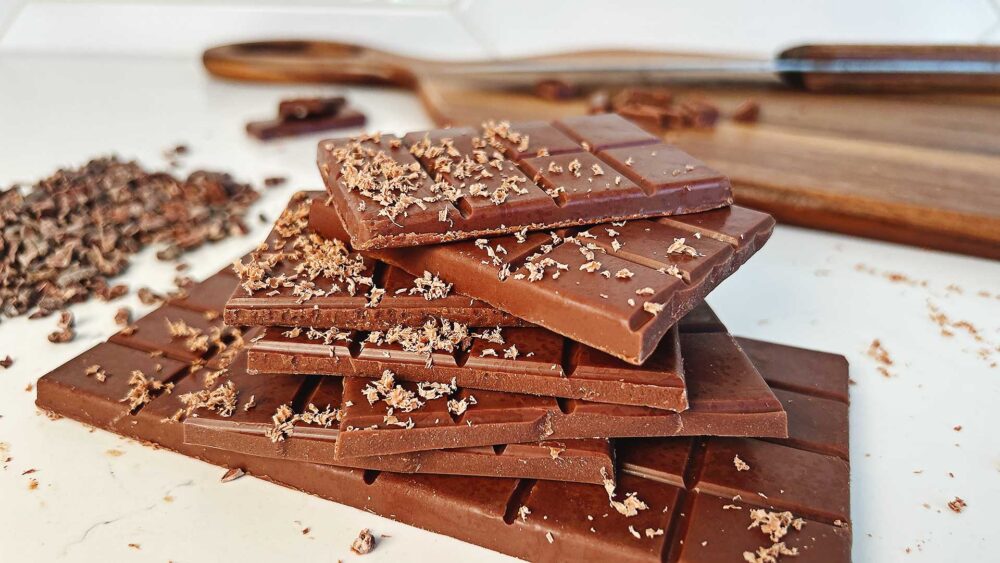
- Vegan milk chocolate that snaps when broken.
- Naturally gluten free.
- Chops, grates and melts beautifully.
- Can be used as a chocolate base for any vegan dessert.
INGREDIENTS & EQUIPMENT NEEDED
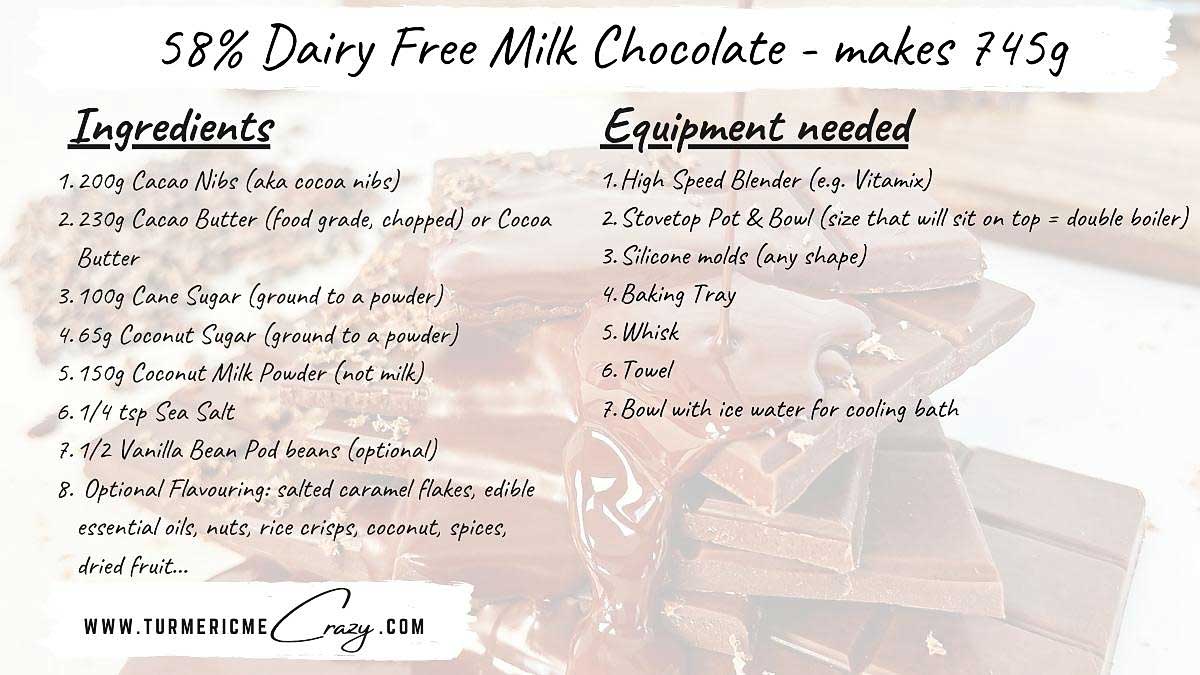
ingredients - vegan Milk chocolate
- CACAO NIBS (aka COCOA NIBS): this is the pure cocoa mass, which is crushed pieces of cocoa (cacao) beans that have a very bitter taste. Cacao beans are harvested, pulled out of the pods, fermented and dried, then crushed into small pieces. Sometimes you can find them raw, while others are roasted (either can be used for this recipe). Processing raw cacao nibs makes cacao paste (which can also be used to make chocolate). I find cacao (cocoa) nibs the easiest to find so I use them in this recipe. You will need a good quality blender to blend these nibs into a cacao paste to make the chocolate. If you don’t have one, I recommend trying to find cacao paste instead.
- CACAO BUTTER (or sub with COCOA BUTTER for a more mild flavour) – is a raw natural plant based fat that comes from the cocoa (aka cacao) bean. Although it is called butter, it contains no dairy at all! It is often called raw cacao as it is only exposed to very low temperatures during processing. When making cacao, the cocoa beans are cold pressed to separate the fats (cacao butter) from the cacao mass (used to make cacao powder). This cold pressing allows the cacao to maintain its bitter taste and its many health benefits, making it what many call “the purest form of chocolate”.
- SWEETENER – I use Homemade Powdered Sugar (I make from organic cane sugar & coconut sugar) but you can also use just cane or coconut if you prefer. Simply use a high speed blender & blend on low for 2 mins followed by high for an additional minute until it reaches a fine powder consistency. Then ensure to sift with a fine mesh sieve to remove any chunks. This will ensure you have a smooth chocolate.
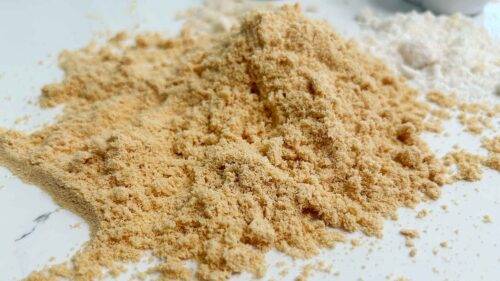
- COCONUT MILK POWDER – milk powder is a common ingredient found in milk chocolate. This dairy-free alternative brings a lovely flavour to our homemade milk chocolate. If you are looking for an alternative to coconut milk powder you could try soy milk powder. I highly recommend making your own coconut milk powder at home. It is SO easy and healthy! It is extremely hard to find one that doesn’t contain additives. If you prefer to buy one, here is one of the best options I can find.
- * SEA SALT – I like to use pink Himalayan sea salt. The salt helps balance the sweetness and enhances the flavour.
- * VANILLA BEAN – this is an optional but incredibly delicious add in. I wouldn’t use vanilla extract as it may cause the chocolate the “seize” which basically means it separates.
- * FLAVOURING
- Edible Oils – add a little pure essential oil to make a lovely flavoured chocolate. I add peppermint oil to make mint dark chocolate truffles. I love my DoTerra peppermint oil and use it a lot!
- Salted Caramel Chocolate – quickly and easily make these salted caramel flakes which give an incredible flavour and crunch to the chocolate! It’s my favourite.
- Nutty Chocolate – add some freshly chopped hazelnuts, pecans, or almonds for a delightful flavour and crunch!
- Spicy or Fruity Chocolate – add your favourite spices and create your own flavours! I love adding a little chopped dried mango and cardamom, with a touch of cayenne pepper.
- Chopped Cacao Nibs – add a few chopped cacao nibs to your chocolate for a boost of dark chocolate flavour.
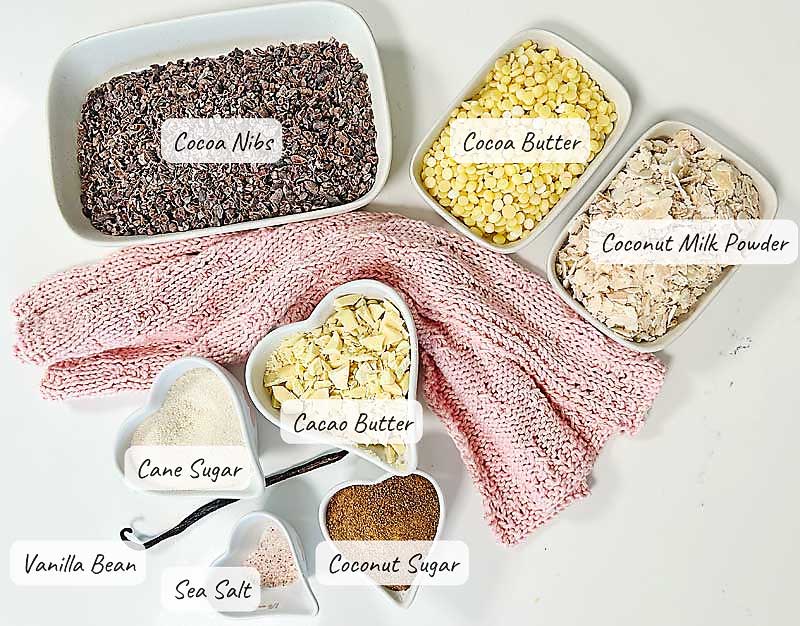
what does the percentage (58%) milk chocolate mean?
I am no chocolatier, but I will do my best at explaining what the percentages mean & how I calculate them. Here I will use the term cocoa and cacao interchangeably). The percentage that you see printed on chocolate bars is simply the percentage of the total weight of the chocolate that is made from cocoa beans, aka cocoa mass. This includes the cocoa solids from the cocoa nibs + the cocoa butter. The percentage is simply a calculation of the cocoa mass divided by the total weight of the bar x 100.
The remaining percentage is made up of the other ingredients that make up the chocolate. Since we are using only whole food ingredients the remaining percentage includes: cane sugar & or coconut sugar, vanilla bean & coconut milk powder (for milk chocolate only). That’s it!
What if you add flavourings to your chocolate? Does that affect the percentage? For example, you want to make hazelnut milk chocolate. The base of the chocolate is still the same and the percentage doesn’t include any of this add ins! Flavouring ingredients, like nuts, coconut, or fruit do not affect the cocoa percentage. The cocoa percentage only applies to the chocolate. Here is a diagram to help it make more sense.
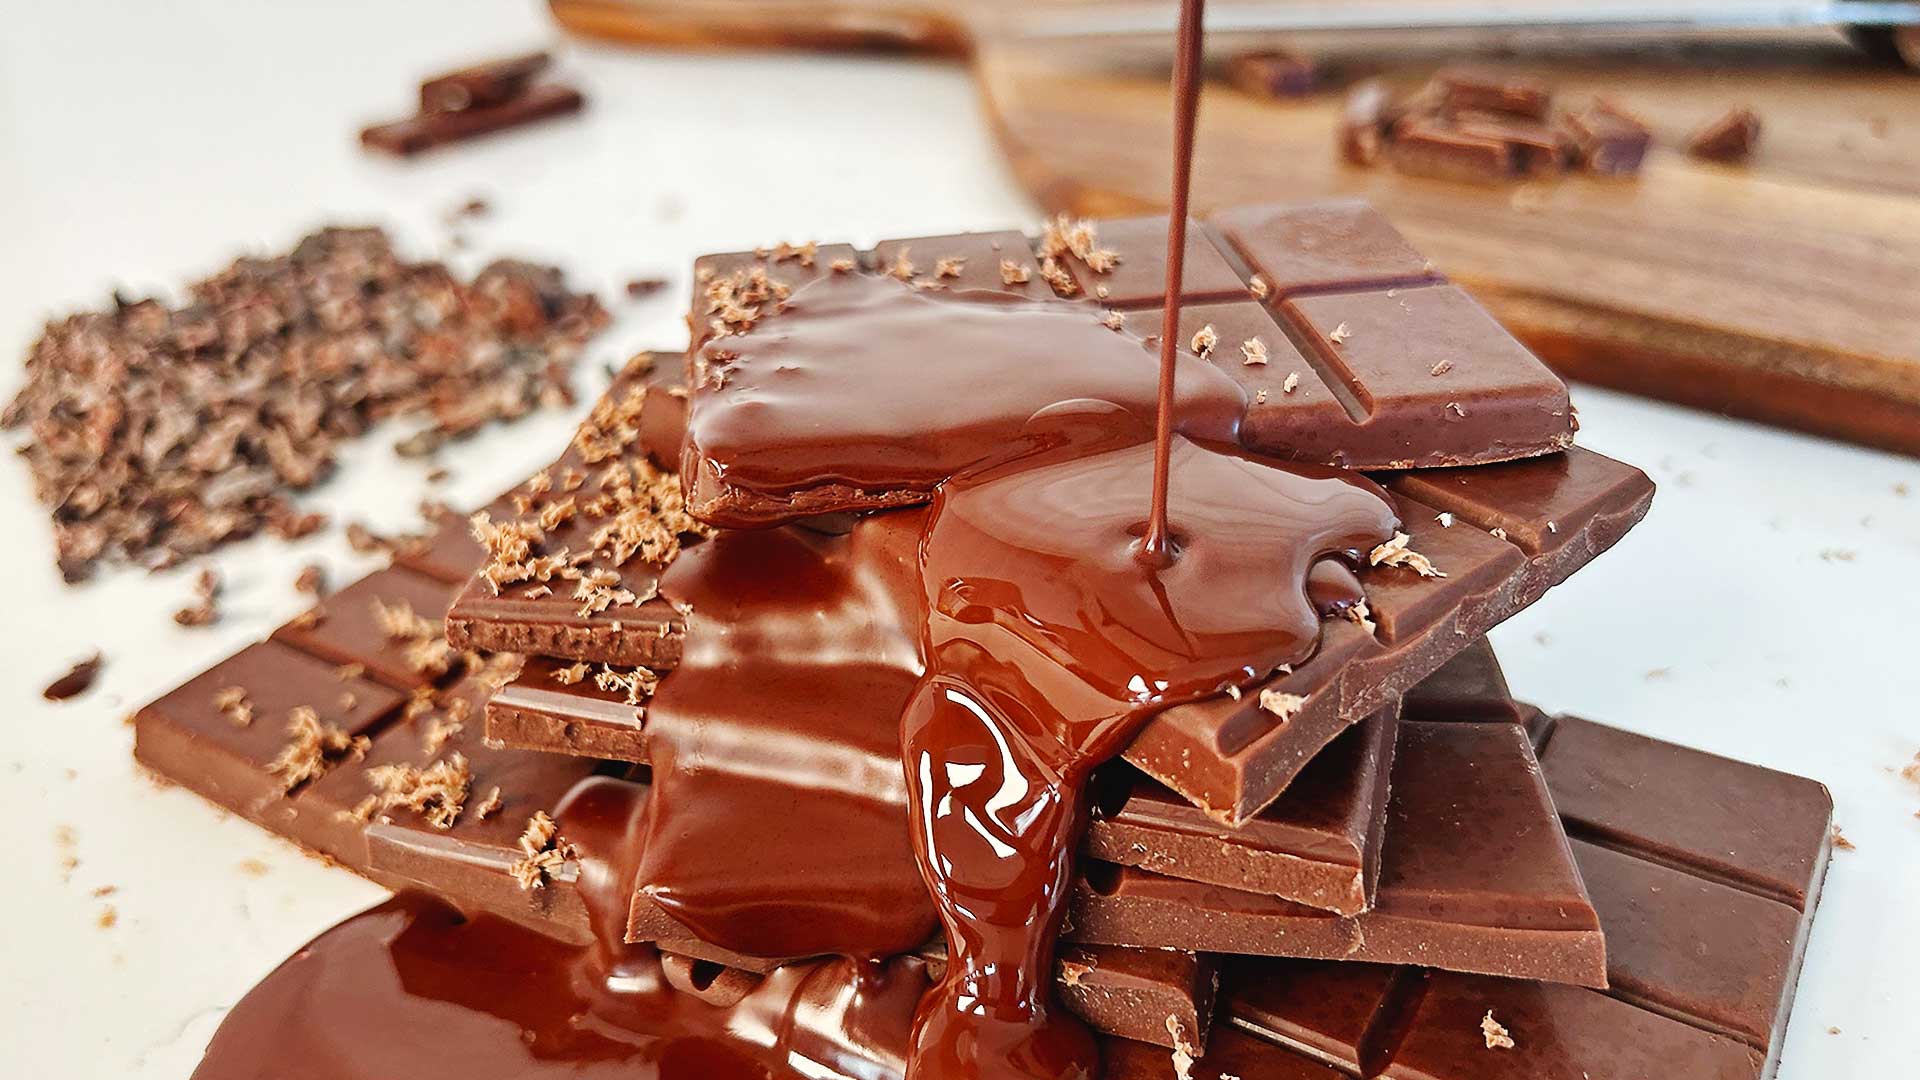
how to make VEGAN 58% Milk CHOCOLATE
- MISE EN PLACE: This is very important as this chocolate will be made very quickly and having all of your ingredients and equipment ready as well as understanding the recipe instructions will make this a smooth and easy peasy process!
- BLEND DRY INGREDIENTS: Using a high speed blender, like a Vitamix, blend your choice of sugars, salt and vanilla beans starting on low then slowly moving to high until it reaches a fine powder. If you are using store bought coconut milk powder, add it to the sugar when blending.
- ROAST COCOA NIBS: Spread the cocoa nibs evenly onto a baking tray lined with parchment (or a silicone mat). Bake in a pre-heated oven at 250°F (120°C) for 10 minutes. They should be very aromatic! If you have cacao liquor or cacao paste feel free to use it and skip this step & move onto the next.
- MELT CACAO BUTTER: over a double boiler (I use a bowl over a pot of boiling water). Add water to a small pot & place a bowl that just fits on top. Ensure that the bowl is not touching the water. Remove bowl & bring water to a boil. Turn off the stove and place the bowl with 1/2 the total cacao butter in it (115g).
- BLEND CACAO MASS: Using a high speed blender, add the roasted cocoa nibs and melted cacao butter and blend for 2-5 minutes, starting on low and progressing to high. It will slowly start to melt and become a paste then a liquid form.
- ADD HOMEMADE COCONUT MILK POWDER: If you are using my homemade coconut milk powder (flakes), add them to the blender now. If you are using store bought, you have already added it to the dry ingredients in step 2.
- ADD DRY INGREDIENTS: Slowly add the dry ingredients from step 2, blending a small amount in at a time. Blend until completely smooth, about 2-3 minutes. Gently release the steam from the lid (be careful! It will be very hot).
- ADD REMAINING SOLID CACAO BUTTER AND TEMPER: Pour chocolate into a bowl and place over ice water bath (ensuring NO water gets into the chocolate. Water and chocolate DO NOT mix and it will cause the chocolate to seize, oh no!). Add remaining 115g cacao butter and whisk continuously until it is all melted (the chocolate will cool slowly and evenly). I am not an expert at tempering and I do not measure the temperature as I find this method works well for me. However, you can absolutely use a thermometer if you wish to be more accurate with your tempering.
- ADD OPTIONAL FLAVOURING: Remove chocolate from the cooling bath and add flavourings if desired. Try our salted caramel flakes for an incredibly delicious salted caramel chocolate!
- POUR CHOCOLATE INTO MOULDS: Ensure your chocolate moulds are placed on a baking tray and pour the chocolate into the moulds.
- COOL TO SET: Either quickly chill to set in the fridge for 1-2 hours or freezer for 30 mins OR cool slowly and let cool on the countertop for 1-2 hours, then the fridge to cool for 1 hour (this is preferred if you wish to avoid any white marks on top of the chocolate which cooling quickly can cause).
- REMOVE FROM MOULDS AND ENJOY: Gently remove chocolates from the moulds & store in the fridge for
TOP TIPS FOR SUCCESS IN MAKING CHOCOLATE
- READ THE RECIPE & GET EVERYTHING READY BEFORE STARTING (MISE EN PLACE): This is very important as this chocolate will be made very quickly and having all of your ingredients and equipment ready as well as understanding the recipe instructions will make this a smooth and easy peasy process!
- USE A MIX OF POWDERED NATURAL SUGARS: I love using the mix of cane and coconut sugars as I find they compliment one another perfectly and are refined sugar free. Make sure if you chose to use icing sugar that it contains no lumps. I like to make my own powdered sugar as described in the directions above. If you don’t grind the sugar down to a powder, your chocolate will be very gritty. I avoid using liquid sweeteners like maple syrup as I find it can cause the chocolate to seize.
- KEEP WATER AND ALL LIQUIDS AWAY FROM CHOCOLATE AND ALL INGREDIENTS: If water happens to get into your chocolate it will cause it to clump together and turn dull. Don’t worry, you can still eat it or use it as a dip for fruit. However, it will not create the lovely chocolate we are trying to achieve. Make sure when using the homemade double boiler that you keep a towel around and wipe the bottom of the bowl thoroughly.
- COOLING THE CHOCOLATE = TEMPERING WHILE ADDING FINAL COCOA BUTTER: Tempering chocolate is the process of melting and cooling chocolate to create crystals from the cocoa butter resulting in a lovely shiney chocolate that snaps when you break it. The method that I use here to temper the chocolate is certainly not expert. I am attempting to make this as simple as possible so others are not afraid to try it. It works and I love it, but tempering is definitely an art and if you are interested in learning more I think you should! There is a ton of wonderful information and classes out there!
Storage instructions
Simply wrap your chocolate in parchment paper and place in either a airtight jar or a ziplock type plastic bag and it will stay lovely and fresh for 2-3 weeks in the fridge. My favourite is to store the chocolate in the freezer (same wrapping as above) where it will stay fresh for months – although I promise it won’t last that long!
I don’t recommend keeping the chocolate at room temperature as it may soften slightly and lose its snap.
Want more delicious recipes at your fingertips?
Get updates on our latest posts & recipes from TurmericMeCrazy straight to your inbox!
By clicking subscribe you are consenting to receive emails from TurmericMeCrazy. I will only email you monthly with new recipes & updates. No spam I promise!
FAQ
Can I use cocoa powder instead of cocoa nibs?
For this recipe I would not attempt using cocoa powder. Cocoa nibs are comprised of about 50% cocoa fats, whereas cocoa powder is made by grinding the cocoa beans and pressing to remove all of the fats. So using the powder (zero fat) wouldn't result in the same outcome. Plus, the aroma of the roasting cocoa nibs in your home is so satisfying and the extra step is really quite quick! I think you'll enjoy it.
However, cocoa powder can be used to make chocolate. If you prefer to use it, I'd suggest finding a recipe that is designed for cocoa powder.
Is Cacao Butter the same thing as Cocoa Butter?
Not exactly. Both of these incredible butters come from the cocoa plant. However, the way that they are processed makes them quite different in their tastes, uses, health benefits & cost.
- Processing & Taste: Cocoa butter is processed at high temperatures which causes it to lose some of its bitterness, but unfortunately also causes it to lose some of its health benefits. I find Cacao butter has a strong smell of chocolate & distinct flavour that differs from the milder cocoa butter. To get a chocolate that tastes more like a store bought (although pure & with no additives) use cocoa butter.
- Health Benefits: Cacao butter is a superfood with very high antioxidant levels which I am sure we all know have a multitude of health benefits! So if you chose to use cocoa butter (which is what most commercial white chocolate contains), it will be less bitter but also less healthy for you.
- Cost: Raw cacao butter is more expensive to purchase than cocoa butter.
- Uses: Cacao butter has a significantly more bitter taste than cocoa butter, so it can't always be swapped 1:1 for one another. They can technically be used in the same way, but will give quite different tastes! Cacao is typically used for healthier versions of chocolate & chocolate dishes, whereas cocoa is used for baked goods & hot chocolate.
My families favourite is to use a combination of cacao butter & cocoa butters. This gives us the best of both worlds with the health benefits and the milder flavour! The choice is yours!
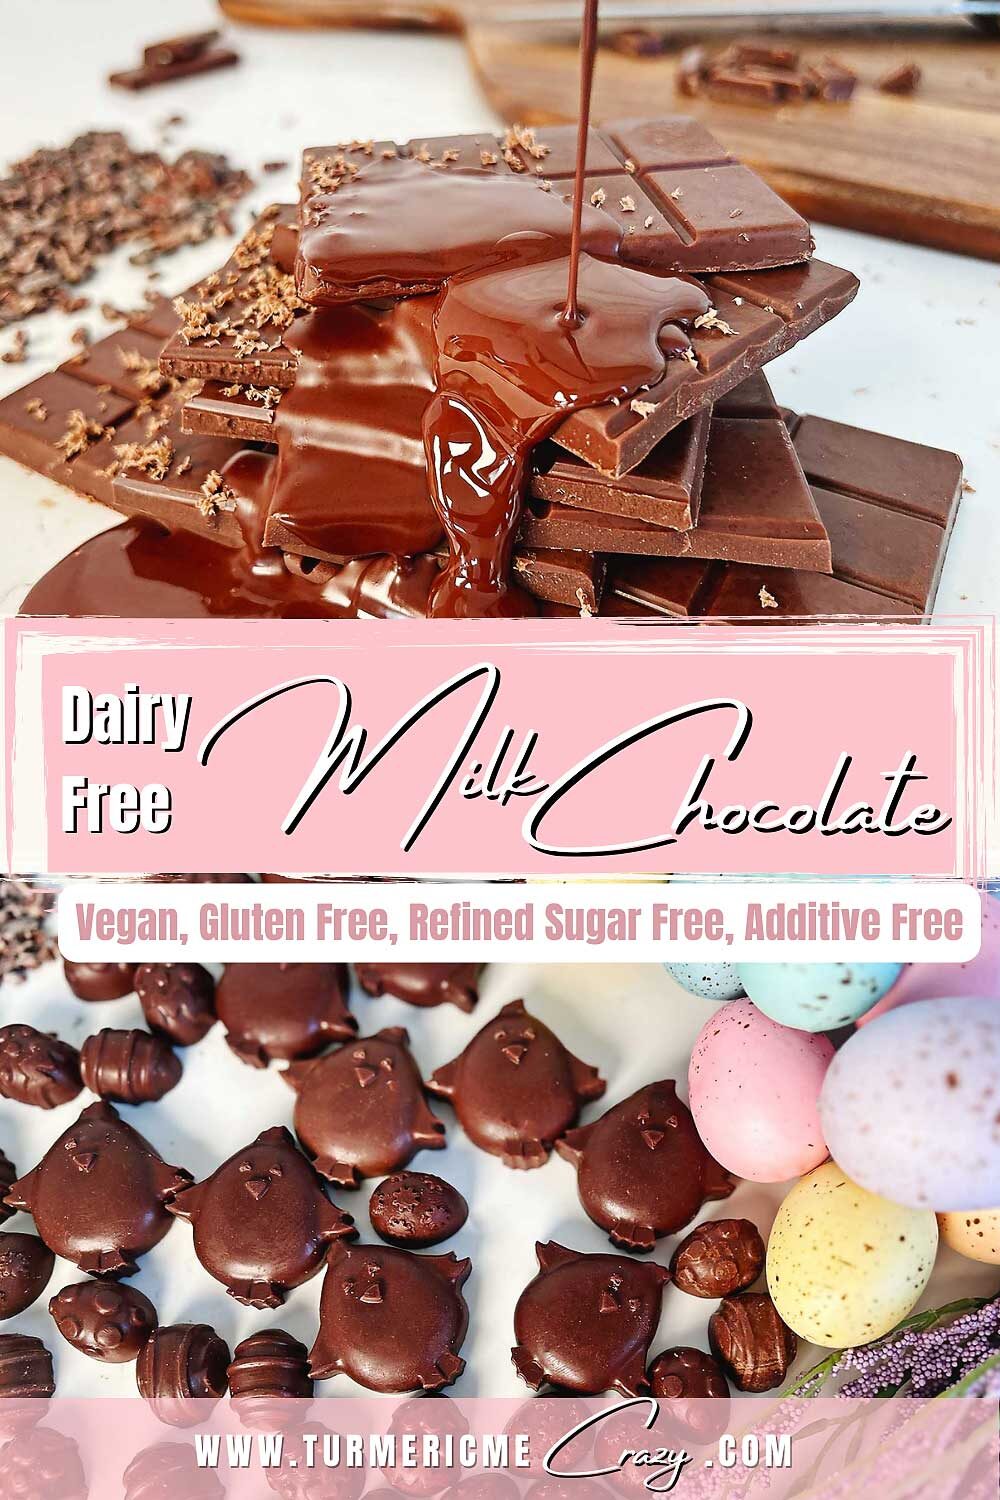
PIN THIS vegan MILK chocolate recipe for later
PLEASE RATE & COMMENT
I sure do hope you love this homemade chocolate recipe. If you try making them, I’d be ever so grateful if you’d please add a comment & a rating onto the recipe below or at the bottom of the post ♡. This will help Google recognize it and help my website grow.
Thank you once again for your readership & support.
Happy Easter everyone!

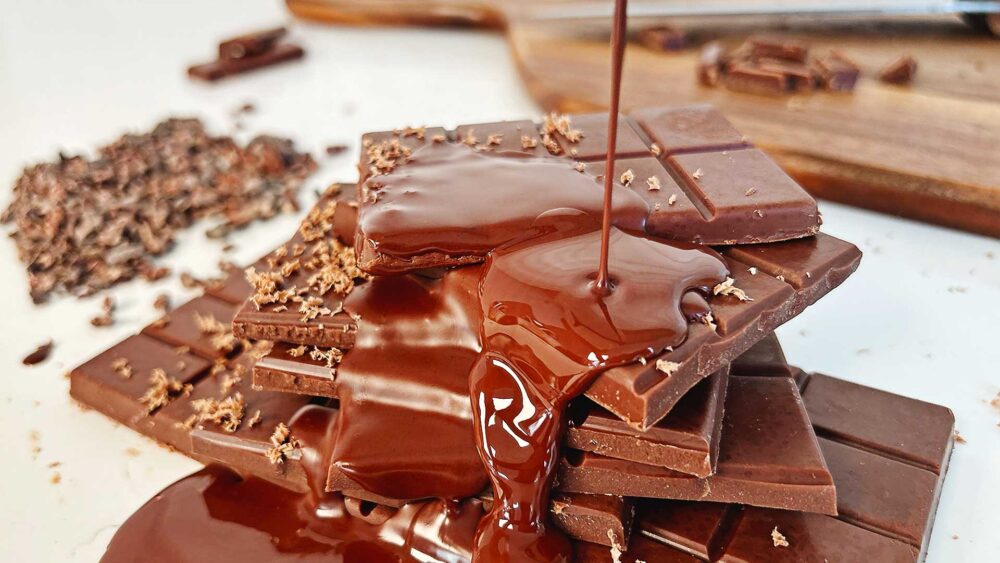
Vegan Milk Chocolate (Dairy Free, Refined Sugar Free)
Equipment Needed
- 1 High Speed Blender e.g. Vitamix
- 1 Double Boiler (or a pot with bowl on top)
- 1 Whisk
- 1 Silicone Moulds *chocolate bar mould or any shape desired (e.g. Easter eggs)
- 1 Towel
- 1 Baking tray
- 1 Bowl with ice water for cooling chocolate
- Parchment Paper or a silicone baking mat
INGREDIENTS
- 200 g Cacao Nibs aka cocoa nibs
- 230 g Cacao Butter OR Cocoa Butter (can use a mix of cacao butter and cocoa butter for a much milder taste)
- 100 g Cane Sugar * I grind my own (instructions in recipe) but you can use any natural powdered sugar
- 65 g Coconut Sugar * optional or use all cane sugar
- 150 g Coconut Milk Powder
- ½ seeds 1 Vanilla Bean * optional but recommended
- ¼ tsp Sea Salt * optional but recommended (about 1.5g)
INSTRUCTIONS
MISE EN PLACE - PREPARATIONS
Set up Double Boiler
- Add water to a small pot and place a bowl that just fits on top. Ensure that the bowl is not touching the water. Remove bowl and bring water to a boil.
Prepare your ingredients
- Chop cacao butter into thin slices. Extract the vanilla beans. See my white chocolate video for details if you are unsure how to do this.230 g Cacao Butter OR Cocoa Butter
- Blend sugars, salt and vanilla beans in a high speed blender starting on low and progressing to high for about 1-2 mins until reaches a powdered consistency (like icing sugar). If you are using store bought coconut milk powder - blend it with the sugars. If using my homemade coconut milk powder it will be added later!100 g Cane Sugar, 65 g Coconut Sugar, 150 g Coconut Milk Powder, 1/2 seeds 1 Vanilla Bean, 1/4 tsp Sea Salt
Roast Cacao Nibs
- Preheat oven to 250°F (120°C). Spread cacao nibs (aka cocoa nibs) on a baking tray lined with parchment paper. Roast nibs for 10 minutes until fragrant and slightly darkened.200 g Cacao Nibs
Melt 1/2 Cacao Butter (while cacao nibs are roasting)
- Once the water comes to a boil on the double boiler. Turn the stove off and place the bowl, with 1/2 cacao butter (115g) in it, on top of the pot. Do not let any water get into the bowl or it will cause the chocolate to seize (clump & separate).
- Whisk continuously until cacao butter is totally melted.
Blend Cacao Nibs with Melted Cacao Butter
- Pour the roasted cacao nibs and the 115g melted cacao butter into the high speed blender & blend starting on low, then high for 2-5 minutes until it reaches a smooth liquid consistency. Be patient with this, it takes a little time. It will first begin to form a paste, then slowly increase the speed and it will begin to liquify as the fats are released from the cacao nibs.
- If using homemade coconut milk powder, add it to the blender once the above mixture becomes liquid and continue mixing for 1 minute.150 g Coconut Milk Powder
Add Dry Powdered Sugar mixture
- Slowly add the powdered sugar, salt, vanilla and coconut milk powder (if using store bought) mixture to the blender, adding a little at a time and blend until smooth.
Add Optional Flavouring and Place Chocolate in Moulds
- Add any flavouring you'd like to the liquid chocolate and gently mix in.
- Place your silicone mould(s) on a baking tray.
- Carefully release the steam when opening the blender lid, it's hot! Pour the chocolate into the silicone moulds.
Chill to Set
- If you'd like to create the perfect looking chocolates, allow the chocolate to cool on the counter at room temperature for 1 hour. This will prevent any white streaks from forming on the top.
- Chill in the refrigerator for at least 30 minutes or ideally 1-2 hours (if you can wait that long)! You can also do the "quick chill method" and place it directly into the freezer for 20-30 mins.
- Remove from refrigerator & gently push chocolate out of moulds.
- Enjoy! I recommend keeping this chocolate wrapped in parchment, then inside an air tight container in a cool place. Keeps well in the refrigerator for at least 2 weeks and for months in the freezer. It will soften a little at room temperature.
Notes
- Do NOT get water into the chocolate at any point! It will seize & the chocolate will separate.
- My kids prefer the taste of the milk chocolate I make with 1/2 cocoa butter (115g) and half cacao butter (115g) as cacao butter has a much stronger flavour. Try mixing the two & slowly increasing the amount of cacao each time you make it!
Nutrition
ARE WE CONNECTED YET?
OTHER DELICIOUS GLUTEN FREE & VEGAN RECIPES TO TRY...

Gluten Free Pizza Crust (Allergen Friendly)
Two-Bite Gluten Free Brownies – Vegan

Gluten Free Sourdough Pizza Crust (Allergen Friendly)
Pumpkin Spice Latte Recipe
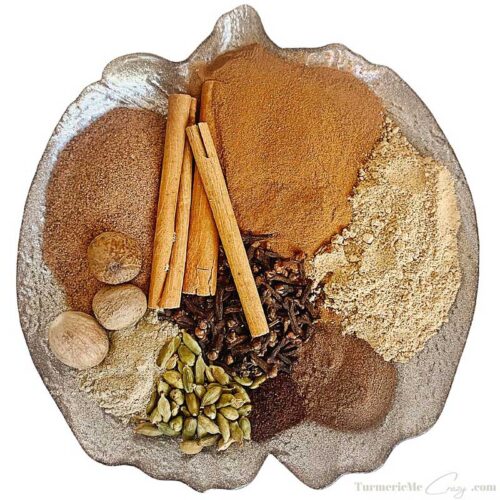
How to make your own Pumpkin Spice Mix
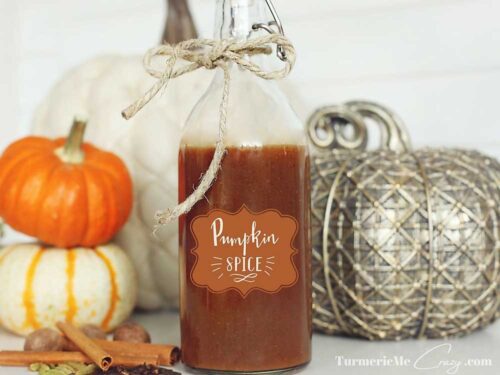
Pumpkin Spice Syrup Recipe (quick & easy)
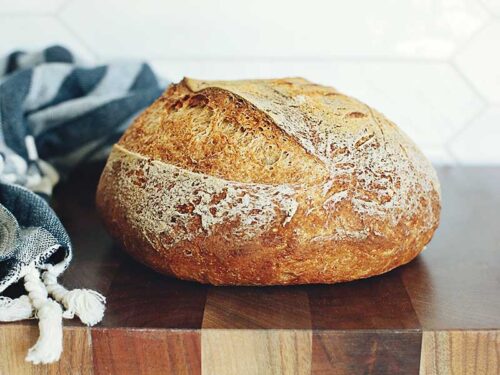
Sorghum Flour Sourdough Bread – Gluten Free & Vegan

The Best Rhubarb Cordial Lemonade













2 Responses
I love the recipe
I’m so glad! Thank you 💗