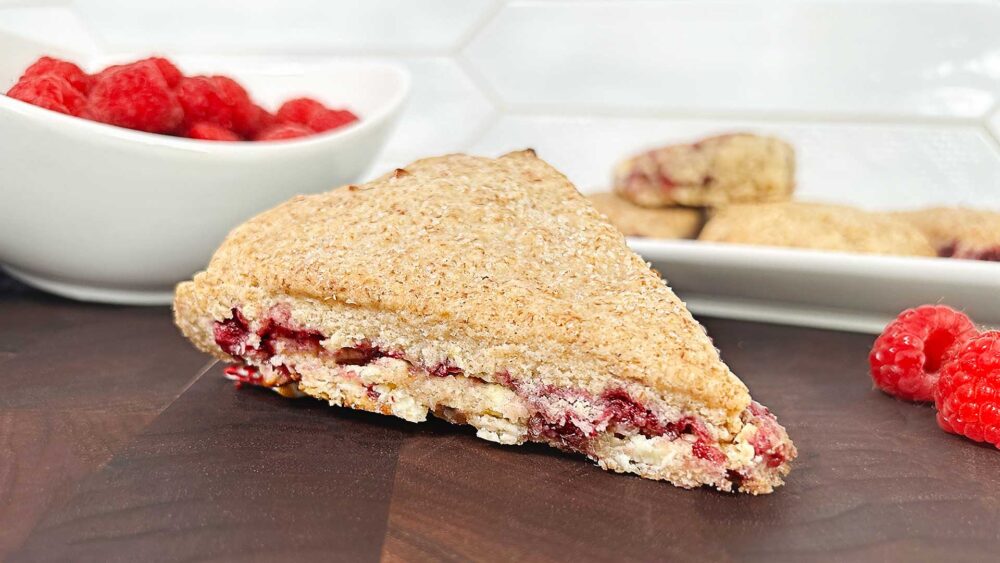
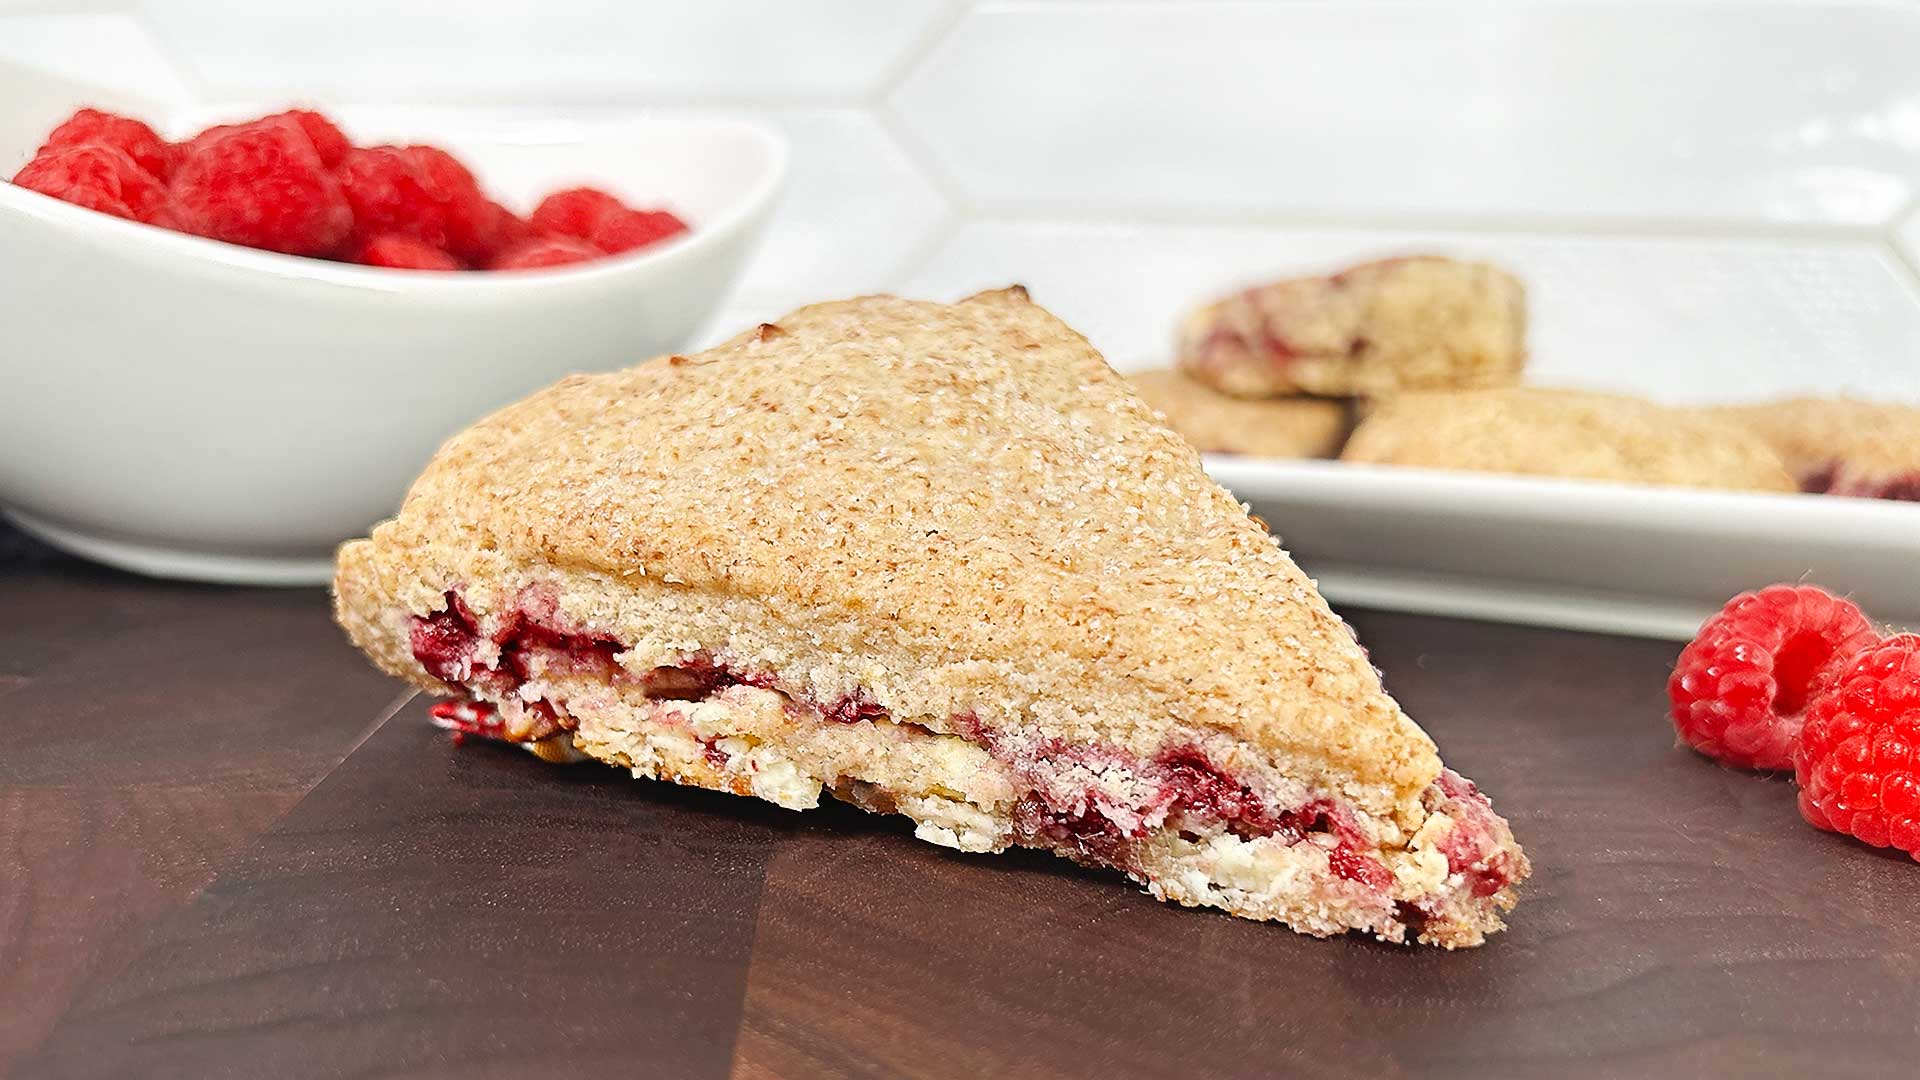
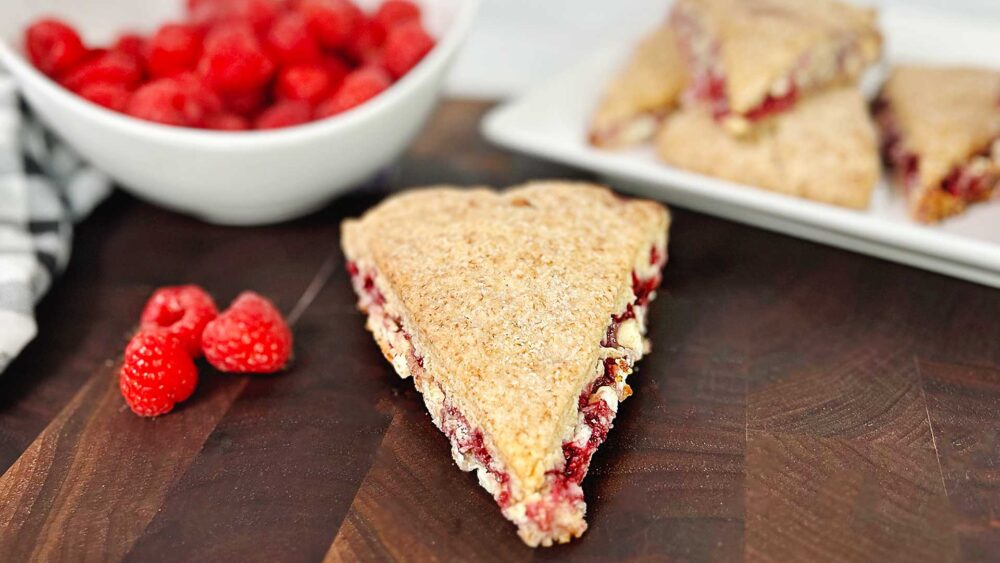
These White Chocolate Raspberry Scones will blow your mind! They are exactly how a scone is mean’t to be, crispy on the outside and perfectly fluffy on the inside. They are so incredibly delicious, that I get asked for the recipe all the time! So finally, here it is!
Not only are these scones gluten free & dairy free, they are also vegan! No eggs here! Scones are typically made with many eggs, so this recipe was a true labour of love.
This recipe is:
A friend of mine, Carla, taught me many many moons ago to make her families famous scones and everyone I made them for fell in love. So when I drastically changed my diet, I knew that Carla’s White Chocolate Raspberry Scones would need to be replicated somehow in a form that my family could safely eat. Now people always comment, “These are gluten free and dairy free? No way!” This is such a great compliment, so thank you!
WHY make your own white chocolate FOR THESE SCONES?
- Tastes incredible in these scones!
- Absolutely delicious white chocolate flavour.
- Dairy free, vegan, & free from all additives, preservatives, fillers & emulsifiers!
- Made with pure cacao ingredients and NO refined sugar.
- Quick and easy to make with easy to follow video instructions.
- Naturally gluten free.
- Can be used as a chocolate base for any vegan dessert.
INGREDIENTS & EQUIPMENT NEEDED
ingredients - WHITE chocolate RASPBERRY SCONES
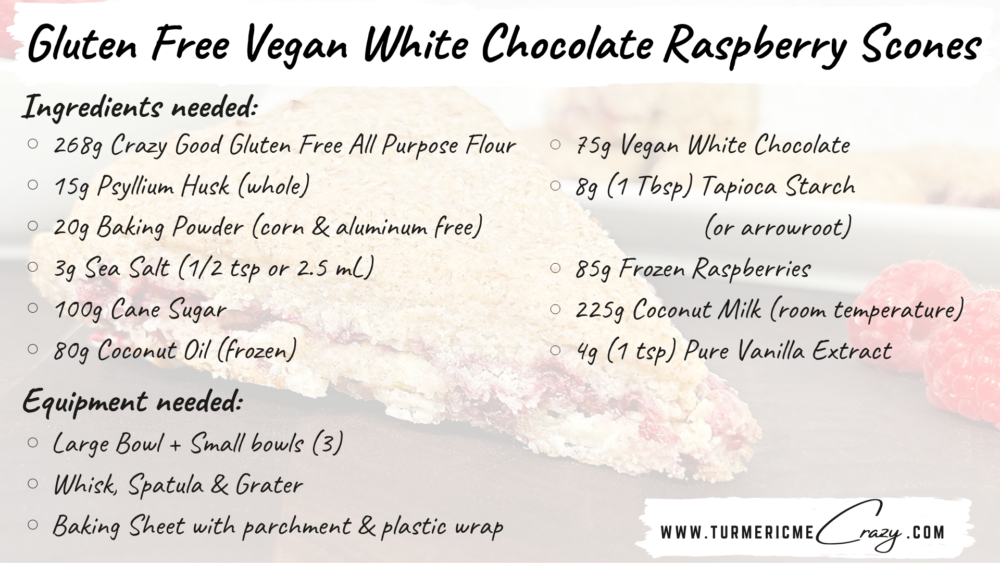
- Crazy Good Gluten Free All-Purpose Flour – I promise it is SUPER easy to create your own Gluten-Free Blend! Please believe me when I say you’ll be SO very glad you did! With a lovely blend of Gluten-Free Flours & Starches you absolutely can create an endless list of incredible Gluten-Free dishes without anyone being the wiser! It requires only very simple math and a kitchen scale. Trust me, it is TOTALLY worth the investment as you’re going to love how easy it is to enjoy ALL of your family favourites!
- Psyllium Husk – is one of the KEY ingredients to making this Gluten-Free All-Purpose Flour so versatile! Please see my post (now here) on What are BINDING AGENTS and How to USE them. for more details on this incredible mix!
- Baking Powder – I use corn & aluminum free
- Sea Salt – I like to use pink Himalayan sea salt. The salt helps balance the sweetness and enhances the flavour.
- Cane Sugar – this is my favourite sweetener for these scones. I haven’t tested coconut sugar but I am sure it would work just fine but give a stronger coconut flavour.
- Coconut Oil – we will freeze and then grate the coconut oil to help incorporate it throughout the dough & help the dough hold its shape as it bakes.
- Vegan White Chocolate – check out our homemade vegan white chocolate vegan that is free from processed sugars & additives. Made with just 6 natural ingredients, it is quick & easy to make and add an incredible flavour to these scones.
- Tapioca Starch or Arrowroot Powder – is used to coat the raspberries to help prevent the dough from turning pink.
- Frozen Raspberries – got raspberries in your garden? Freeze them on a tray for 15 mins then use them to make the most incredible scones!
- Coconut Milk – This dairy-free milk brings a lovely flavour to our scones. I highly recommend making your own coconut milk at home. It is SO easy and healthy! It is extremely hard to find one that doesn’t contain additives.
- Vanilla – this is an incredibly delicious add in.
how to make WHITE CHOCOLATE RASPBERRY SCONES
steps to make WHITE chocolate RASPBERRY SCONES
- MISE EN PLACE: This is very important as this recipe will be made very quickly and having all of your ingredients and equipment ready as well as understanding the recipe instructions will make this a smooth and easy peasy process!
- FREEZE COCONUT OIL IN A BALL: Measure out your coconut oil, shape it into a ball and place it in the freezer.
- COAT FROZEN RASPBERRIES IN STARCH: this helps separate the raspberries and prevent them from turning the dough pink.
- WHISK & CHILL DRY INGREDIENTS: Ensure to sift the flour & baking powder, then whisk in cane sugar & sea salt. Place into freezer to cool.
- PREHEAT OVEN: 425°F convection (218°C fan)
- MIX GEL: Mix room temperature coconut milk & vanilla. Then add psyllium husks and whisk until incorporated. Let rest about 5 minutes (until just thickening).
- GRATE FROZEN COCONUT OIL INTO COOLED DRY INGREDIENTS: Using a cheese grater, grate the coconut oil into the dry ingredients, then mix well with a spoon.
- ADD GEL TO DRY INGREDIENTS: Fold gel into the dry ingredients until incorporated fully.
- KNEED THE DOUGH: with your cool hands for 2-3 minutes until forms a nice ball. Ensure your hands stay cool by rinsing under cool water & drying (if needed).
- COVER DOUGH & CHILL: Cover the dough in plastic wrap or in a container with a lid for 15 minutes. This helps develop the flavour & makes the dough easier to work with. It also helps the scones to retain their shape while baking as the fats in the coconut oil will melt slowly & allow the rise to occur.
- PREPARE SURFACE: Lay out parchment paper or plastic wrap then place chilled dough on top.
- ROLL OUT DOUGH: Cover dough with plastic wrap or parchment paper and massage it slightly & work it slightly to roll out into 1/4″ to 1/2″ (0.6cm to 1.3cm) thick.
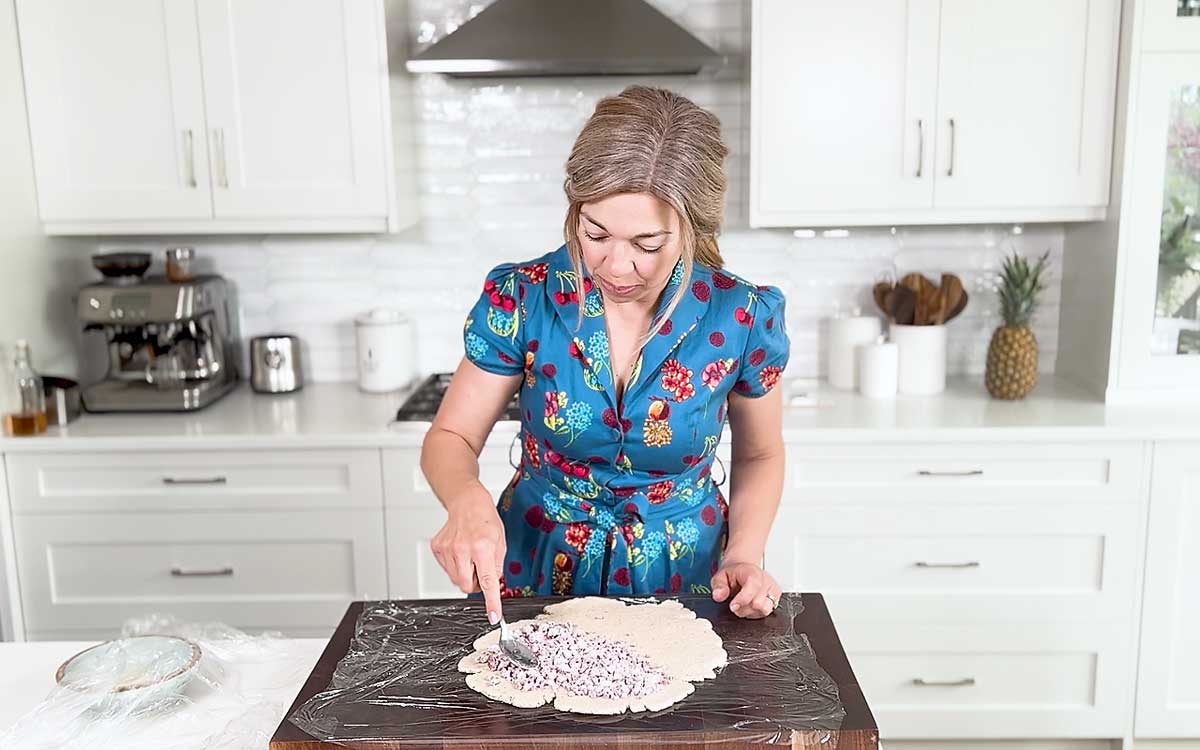
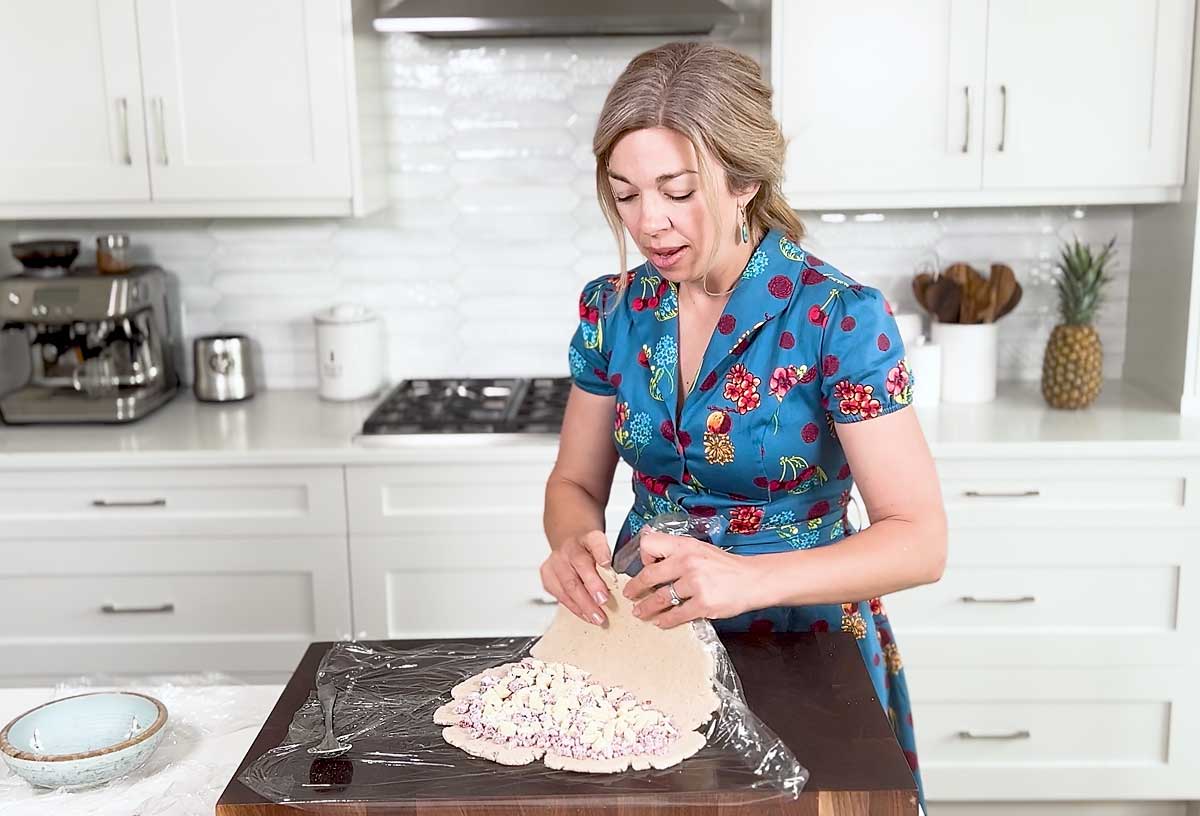
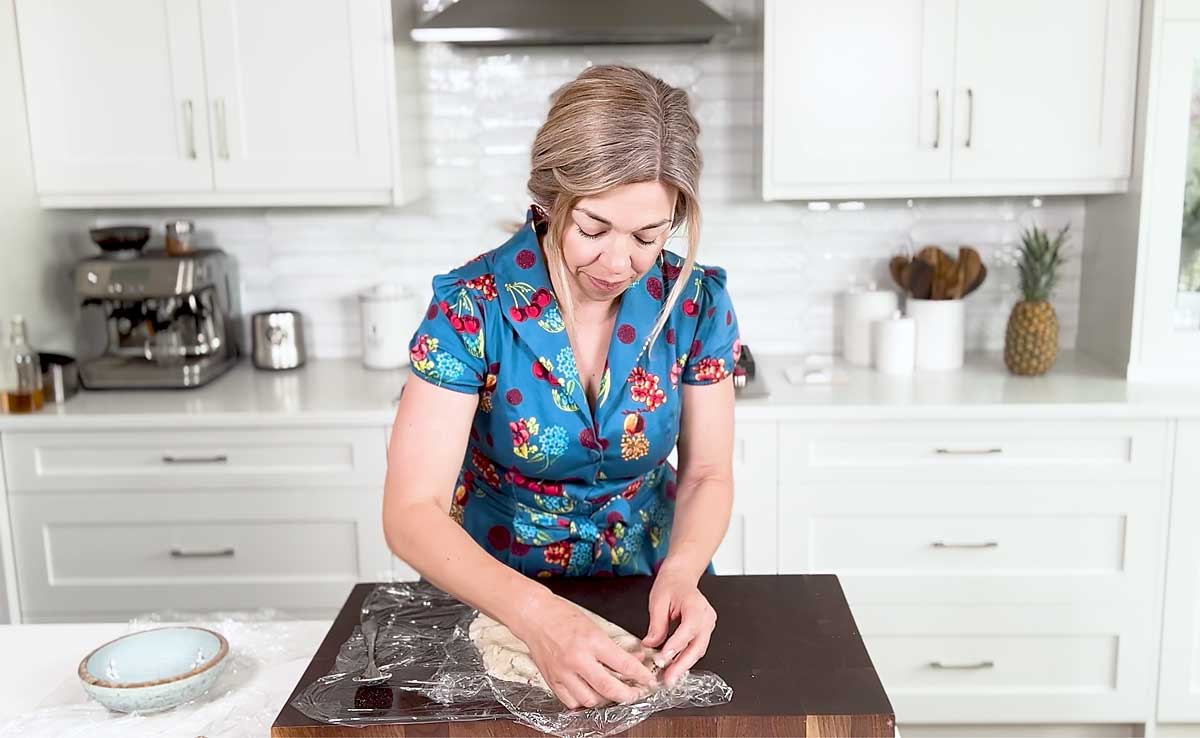
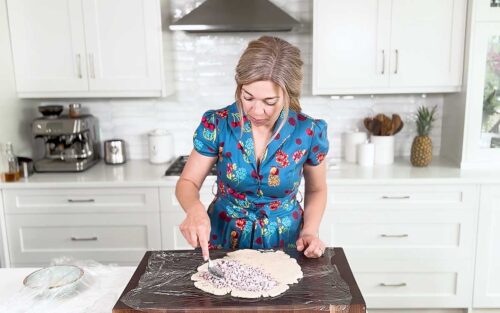
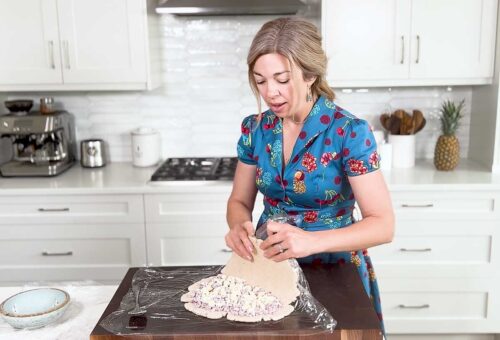
- PLACE FROZEN RASPBERRIES & WHITE CHOCOLATE OVER HALF OF THE DOUGH: Using a spoon, spread the frozen raspberries & chocolate over 1/2 of the dough. Try to avoid touching it with your hands. Using the plastic wrap (or parchment), fold the dough over the raspberries & chocolate & pinch the ends closed.
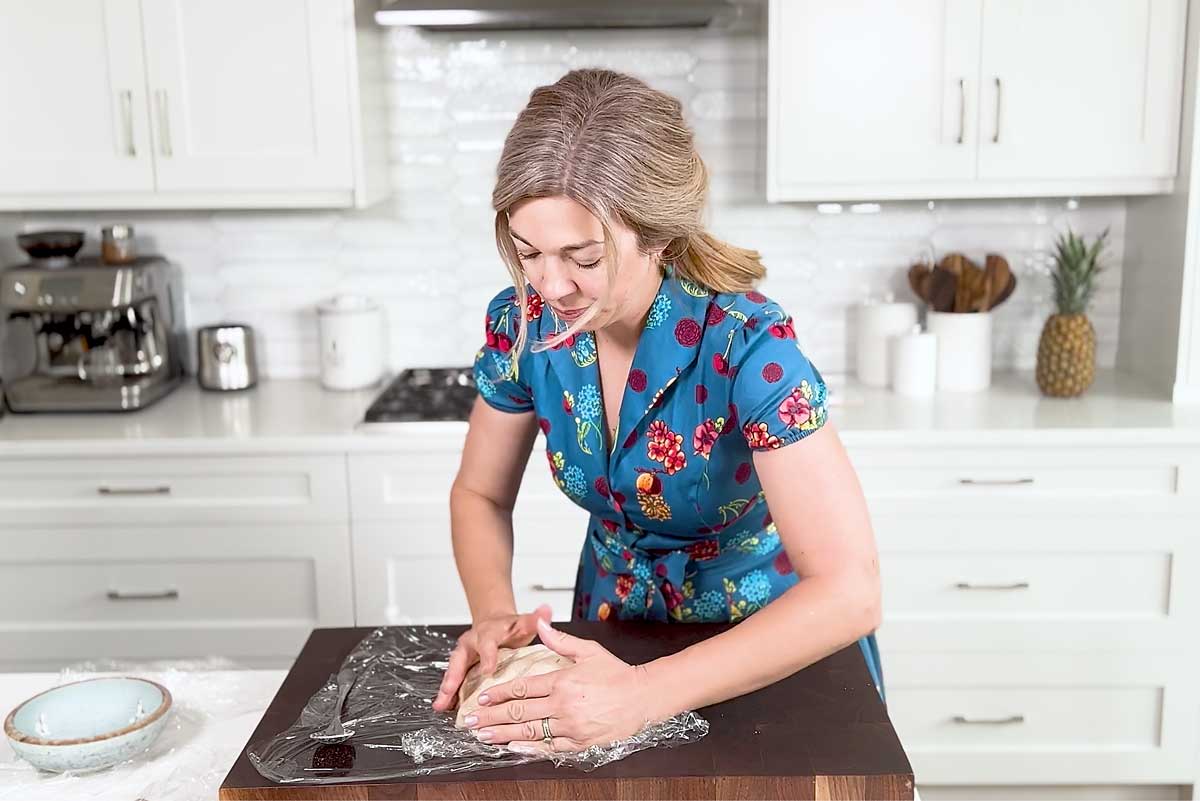
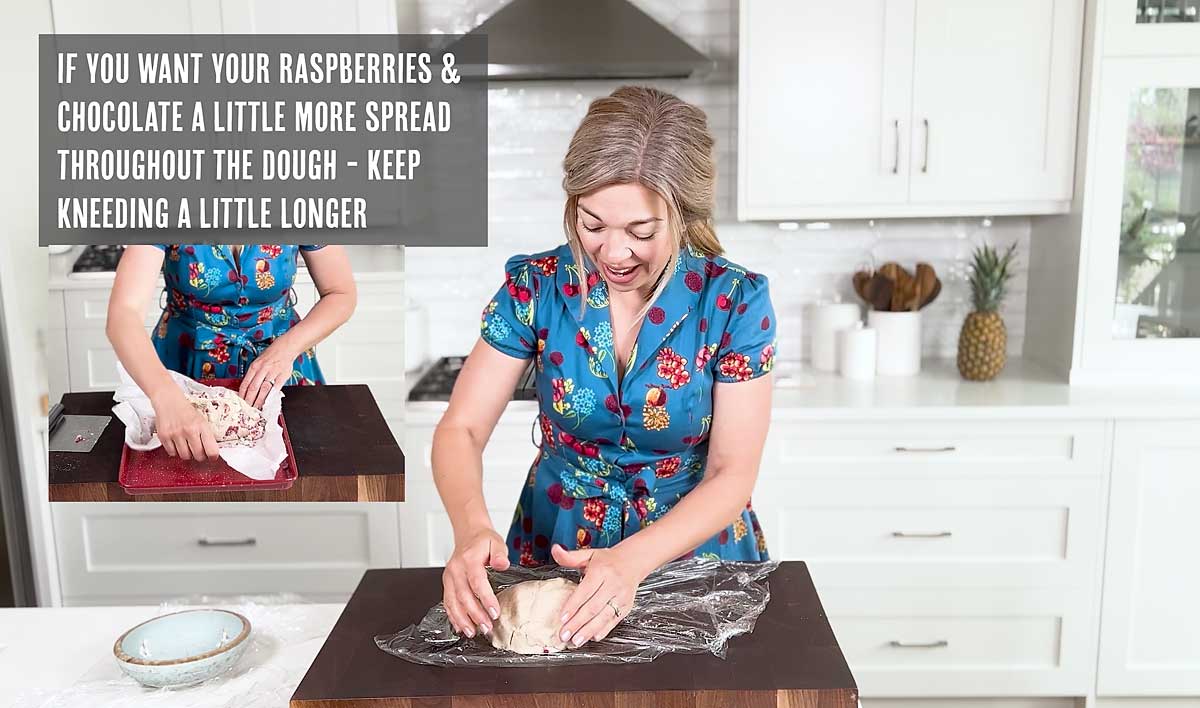
- SHAPE INTO A BALL: Using the plastic wrap (or parchment paper), shape the dough into a ball. If you wan the raspberries and chocolate more dispersed throughout work the dough a little longer to ensure they are not just in the centre.
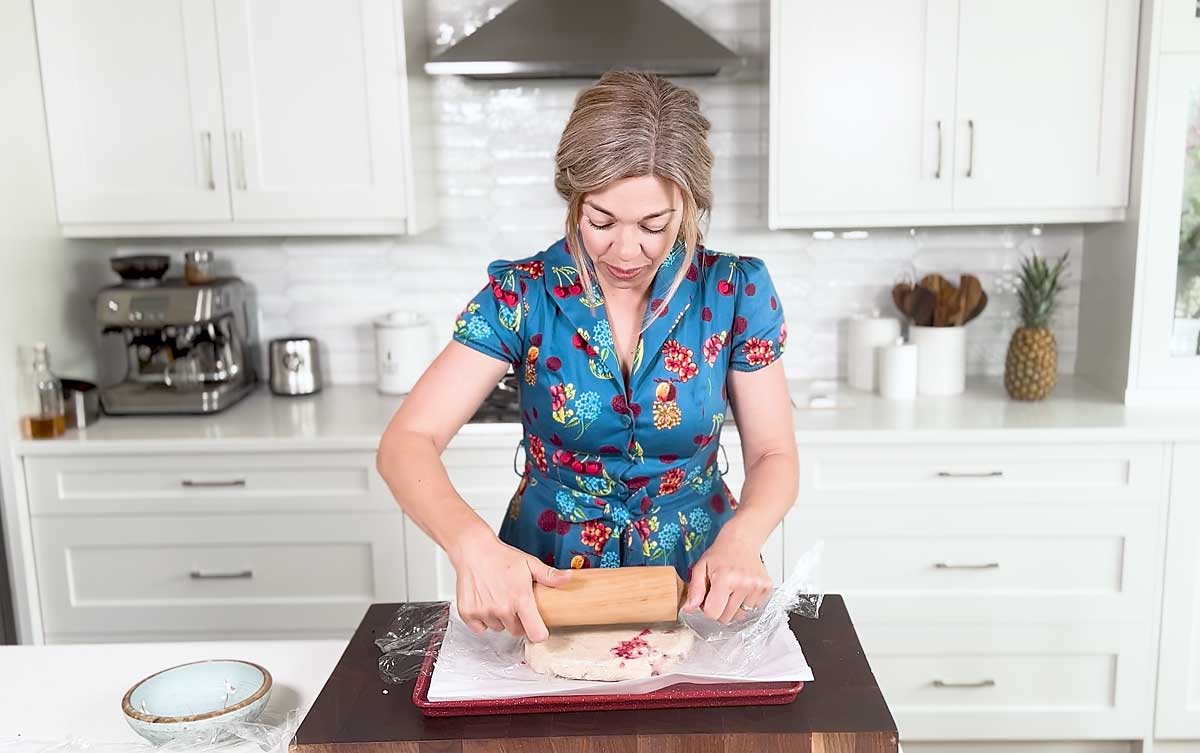
- ROLL DOUGH INTO A 1″ (2.5cm) thick by 9″ (23cm) ROUND SHAPE: Using your hands & or a rolling pin, roll the scone dough into a 1″ thick and 9″ diameter shape. Repair any cracks by gently massaging over the plastic wrap.
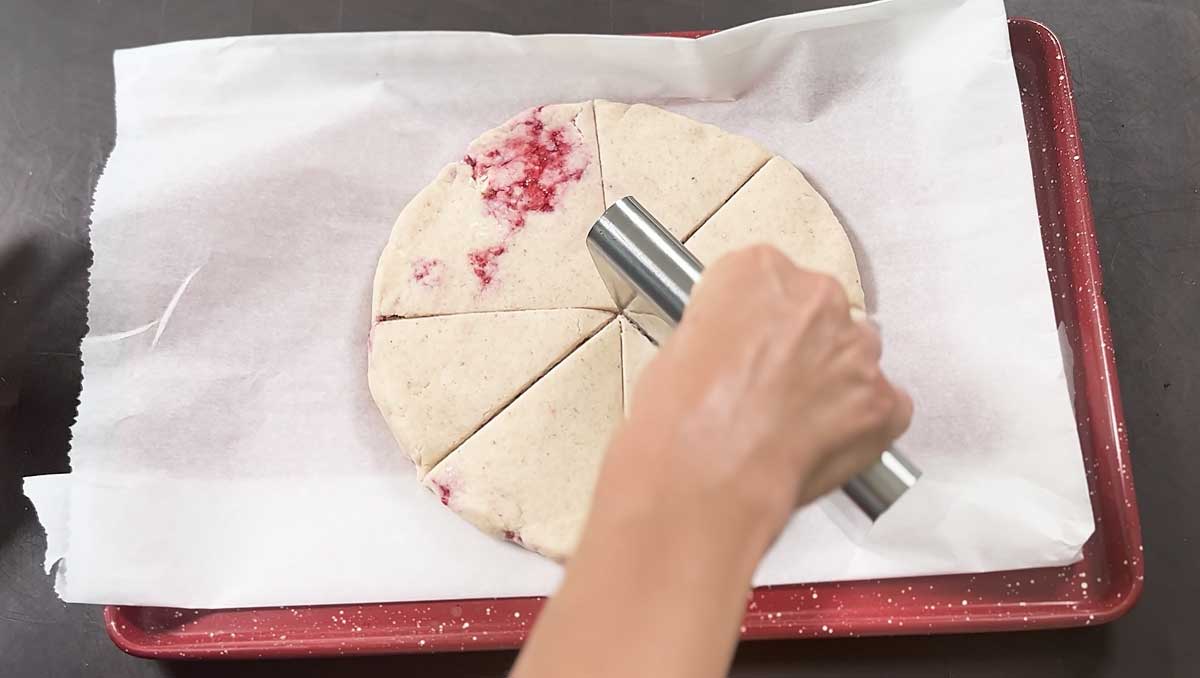
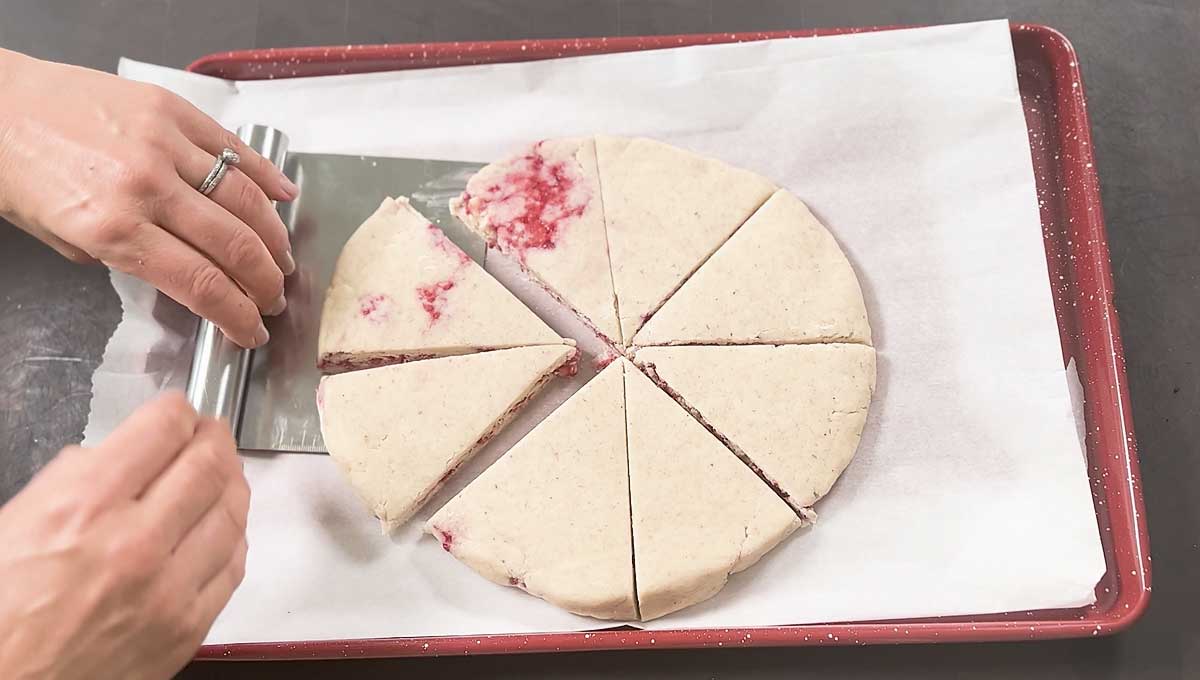
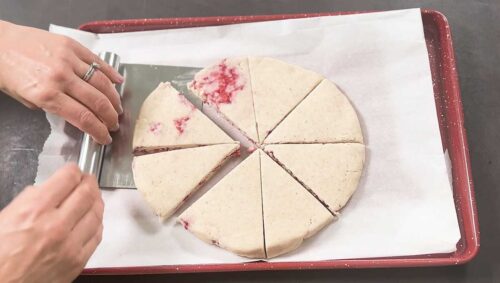
- CUT INTO 8 PIECES & SEPARATE: Using a bench scraper or a sharp knife, cut the circle into 8 equal pieces. Then separate each scone by no more than 1/4″ (0.6cm). Use a towel to wipe your knife clean in between cuts.
- COVER & CHILL 15 MINS: This final chill will dramatically help the dough in retaining its shape while baking thereby assisting its rise. Place scones into the fridge for 15 minutes.
- BAKE FOR 5-7 MINS @ 425°F convection (218°C fan): Here you’ll see the initial rise.
- TURN OVEN DOWN TO 325°F convection (163°C fan): bake for an additional 10-14 minutes until the tops are nice and golden.
- GENTLY REMOVE FROM OVEN & REST FOR 10-15 MINS: On a wire rack. It takes this amount of time to set! Do not try and lift them now or they will fall apart.
- SEPARATE WITH BENCH SCRAPER OR KNIFE: Ensure to clean your knife in between cuts. Enjoy them warm!
TOP TIPS FOR SUCCESS IN MAKING GLUTEN FREE & VEGAN SCONES
- READ THE RECIPE & GET EVERYTHING READY BEFORE STARTING (MISE EN PLACE): This is very important as this chocolate will be made very quickly and having all of your ingredients and equipment ready as well as understanding the recipe instructions will make this a smooth and easy peasy process!
- KEEP ALL INGREDIENTS COLD (except coconut milk):
- Coconut Oil: freezing the coconut oil, then grating it allows the coconut oil to be easily incorporated throughout. The fats melt as the dough is rising which helps prevent flat scones!
- Raspberries: freezing helps the raspberries retain their shape & prevents bleeding and turning the dough pink.
- Dry Ingredients: cooling the dry ingredients once mixed helps keep the dough cool while you kneed it.
- CHILL THE DOUGH: chilling the dough helps develop the flavour & makes the dough easier to work with. It also helps the scones to retain their shape while baking as the fats in the coconut oil will melt slowly & allow the rise to occur.
- AVOID TOUCHING THE INGREDIENTS WITH YOUR HANDS & KEEP YOUR HANDS COOL: As much as possible use tools like a spatula, spoon, plastic wrap, parchment paper and bench scraper to work with the ingredients. When needing the dough with your hands, keep them cool by rinsing under cold water (then drying). This will help prevent the raspberries from bleeding and making the dough pink & will help the dough stay cool thereby retaining its shape while baking.
- MASSAGE DOUGH SLIGHTLY TO CREATE A SMOOTH SURFACE: Make sure not to overwork or heat up the dough, but using plastic wrap or parchment paper & then massaging the dough slightly will help create lovely looking scones!

Storage instructions
I promise you won’t be able to keep these around long and probably won’t ever need to think about how to store them!
If you need to though, once cool, simply wrap your white chocolate raspberry scones in parchment paper and place in either an airtight container or a ziplock type plastic bag and it will stay lovely and fresh for 1-2 days on the counter or a week in the fridge. I honestly have NEVER frozen mine as they get gobbled up that same day! I am sure you could wrap them the same way and freeze for later!
Want more delicious recipes at your fingertips?
Get updates on our latest posts & recipes from TurmericMeCrazy straight to your inbox!
By clicking subscribe you are consenting to receive emails from TurmericMeCrazy. I will only email you monthly with new recipes & updates. No spam I promise!
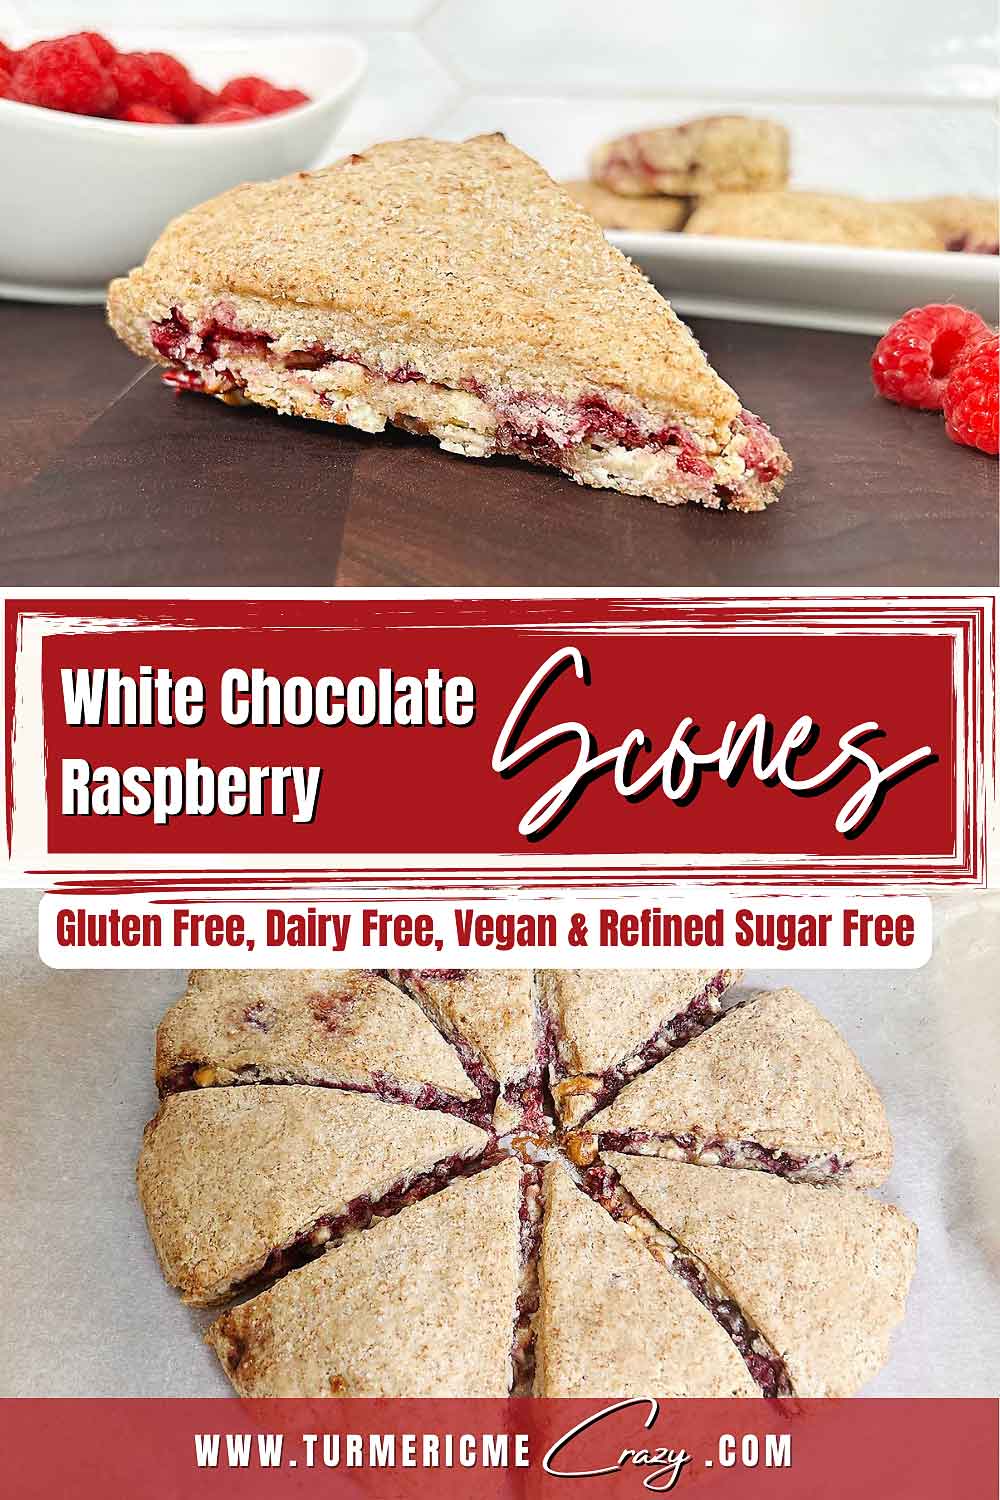
PIN THIS white chocolate raspberry scone recipe for later
PLEASE RATE & COMMENT
I sure do hope you love this white chocolate raspberry scone recipe. If you try making them, I’d be ever so grateful if you’d please add a comment & a rating onto the recipe below or at the bottom of the post ♡. This will help Google recognize it and help my website grow.
Thank you once again for your readership & support.


White Chocolate Raspberry Scones - Gluten Free, Dairy Free & Vegan
Equipment Needed
- 1 grater
- 1 Baking pan
- Plastic Wrap optional
INGREDIENTS
- 268 g Crazy Good Gluten Free All-Purpose Flour
- 15 g Psyllium Husk whole
- 20 g Baking Powder corn & aluminum free
- 3 g Sea Salt
- 100 g Cane Sugar
- 80 g Coconut Oil frozen into a ball
- 75 g Vegan White Chocolate * Try making your own!
- 8 g Tapioca Starch OR Arrowroot Powder
- 85 g Frozen Raspberries freeze for 15 mins if picking fresh
- 225 g Coconut Milk room temperature
- 4 g Pure Vanilla Extract
INSTRUCTIONS
MISE EN PLACE
- Get all of your ingredients and equipment ready. Then read through all of the instructions. This will make the process quick & easy!
- Prep the coconut oil: measure out your coconut oil, shape it into a ball and place it in the freezer.
- Coat frozen raspberries in starch. this helps separate the raspberries and prevent them from turning the dough pink.
WHISK & CHILL DRY INGREDIENTS
- Ensure to sift the flour & baking powder, then whisk in cane sugar & sea salt. Place into freezer to cool.
PREHEAT OVEN: 425°F convection (218°C fan)
MIX THE GEL
- Mix room temperature coconut milk & vanilla. Then add psyllium husks and whisk until incorporated. Let rest about 5 minutes (until just thickening).
GRATE FROZEN COCONUT OIL INTO COOLED DRY INGREDIENTS
- Using a cheese grater, grate the coconut oil into the dry ingredients, then mix well with a spoon.
CREATE DOUGH
- Add gel to dry ingredients. Fold gel into the dry ingredients until incorporated fully.
- Kneed the dough with your cool hands for 2-3 minutes until forms a nice ball. Ensure your hands stay cool by rinsing under cool water & drying (if needed).
COVER THE DOUGH & CHILL
- Cover the dough in plastic wrap or in a container with a lid for 15 minutes. This helps develop the flavour & makes the dough easier to work with. It also helps the scones to retain their shape while baking as the fats in the coconut oil will melt slowly & allow the rise to occur.
ROLL OUT THE DOUGH
- Lay out parchment paper or plastic wrap then place chilled dough on top. Cover dough with plastic wrap or parchment paper. Using your hands & or a rolling pin, massage & work it slightly to roll out into 1/4" to 1/2" (0.6cm to 1.3cm) thick.
- Using a spoon, spread the frozen raspberries & chocolate over 1/2 of the dough. Try to avoid touching it with your hands.

- Using the plastic wrap (or parchment), fold the dough over the raspberries & chocolate & pinch the ends closed.

- Using the plastic wrap (or parchment paper), shape the dough into a ball. If you want the raspberries and chocolate more dispersed throughout work the dough a little longer to ensure they are not just in the centre.

- Using your hands & or a rolling pin, roll the scone dough into a 1" thick and 9" diameter shape. Repair any cracks by gently massaging over the plastic wrap.

- Using a bench scraper or a sharp knife, cut the circle into 8 equal pieces. Then separate each scone by no more than 1/4" (0.6cm). Use a towel to wipe your knife clean in between cuts.

COVER & CHILL 15 MINS
- Cover with plastic wrap & place scones into the fridge for 15 minutes to chill.
BAKE
- Bake for 5-7 mins @ 425°F convection (218°C fan). Here you'll see the initial rise.
TURN OVEN DOWN TO 325°F convection (163°C fan)
- Bake for an additional 10-14 minutes until the tops are nice and golden.
GENTLY REMOVE FROM OVEN & REST FOR 10-15 MINS
- Rest scones on a wire rack. It takes this amount of time to set! Do not try and lift them now or they will fall apart.
- Separate with bench scraper or knife. Ensure to clean your knife in between cuts. Enjoy them warm!
Notes
- This recipe has been specifically created with my Crazy Good Gluten Free All-Purpose Flour. I have not tested alternate flours. If you have a question about substituting out one of the flours or starches within this blend please feel free to reach out ♡.
- 66g Sweet Rice Flour
- 54g Brown Rice Flour
- 54g Sorghum Flour
- 54g Potato Starch
- 40g Tapioca Starch
- Crazy Good Gluten Free All-Purpose Flour:
- 1/3 cup + 1 Tbsp (0.23 cups) Brown Rice Flour
- 1/2 cup Sweet Rice Flour
- 1/3 cup + 1 tsp Sorghum Flour
- 1/3 cup Potato Starch
- 1/4 cup Tapioca Flour (aka Tapioca Starch)
- 3 Tbsp Psyllium Husk (whole)
- 1Tbsp + 1tsp Baking Powder
- 1/2 tsp Sea Salt
- 1/2 cup Cane sugar
- 1/3 cup Coconut Oil
- 1/2 cup White Chocolate (chopped)
- 3/4 cup Frozen Raspberries
- 1 Tbsp Tapioca Starch
- 1 tsp Pure Vanilla Extract
- 1 cup - 1 Tbsp Coconut Milk
Nutrition
ARE WE CONNECTED YET?
OTHER DELICIOUS GLUTEN FREE & VEGAN RECIPES TO TRY...

Gluten Free Pizza Crust (Allergen Friendly)
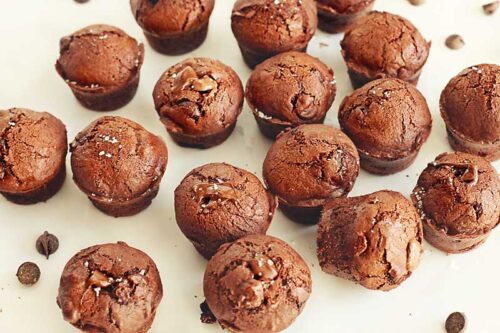
Two-Bite Gluten Free Brownies – Vegan

Gluten Free Sourdough Pizza Crust (Allergen Friendly)

Pumpkin Spice Latte Recipe
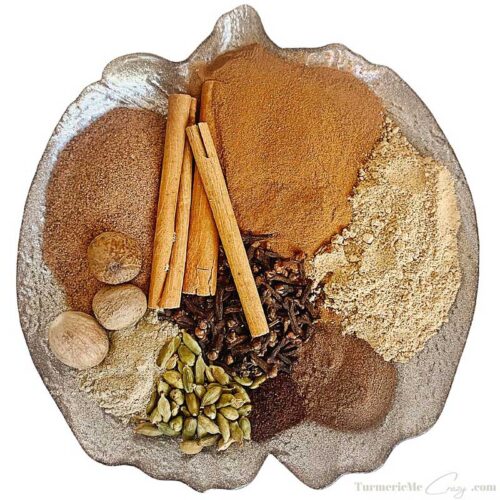
How to make your own Pumpkin Spice Mix

Pumpkin Spice Syrup Recipe (quick & easy)
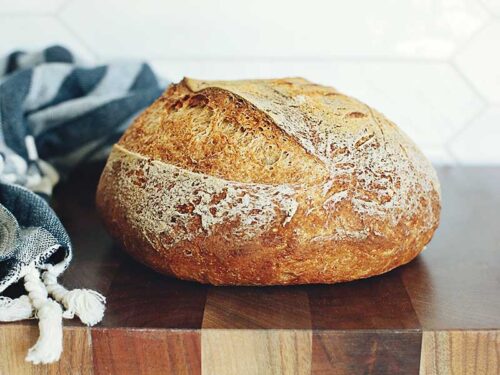
Sorghum Flour Sourdough Bread – Gluten Free & Vegan

The Best Rhubarb Cordial Lemonade










3 Responses
I would love to try this recipe but it’s written in metric terms and I just don’t do metrics..so i’m having difficulty getting things converted.
Hello Genevieve. I would love for you to try the scones, they are so incredibly yummy and are one of our favourites! I am so sorry for the lack of imperial measurements ♡. Do you use a weigh scale? I have not added any measurements by cups as I find it much more difficult to reproduce my recipes this way. I find weighing with a scale is much more accurate and reproducible. I am thinking perhaps you don’t have a scale and are looking for the measurements by cups? I can try and do my best to convert this to cups/tsp/Tbps for you as soon as I can. Let me know if this is what you’re looking for 🙂 I’ll post a note here once those conversions are ready. I hope this helps.
♡ Trish
Hello Genevieve,
I have now tested and updated my white chocolate scones recipe with imperial measurements. I hope you love it! Please let me know if you have any further questions and how you love them ♡
Link to scones: https://turmericmecrazy.com/white-chocolate-raspberry-scones-gluten-free-dairy-free-and-vegan/
♥︎ Trish