

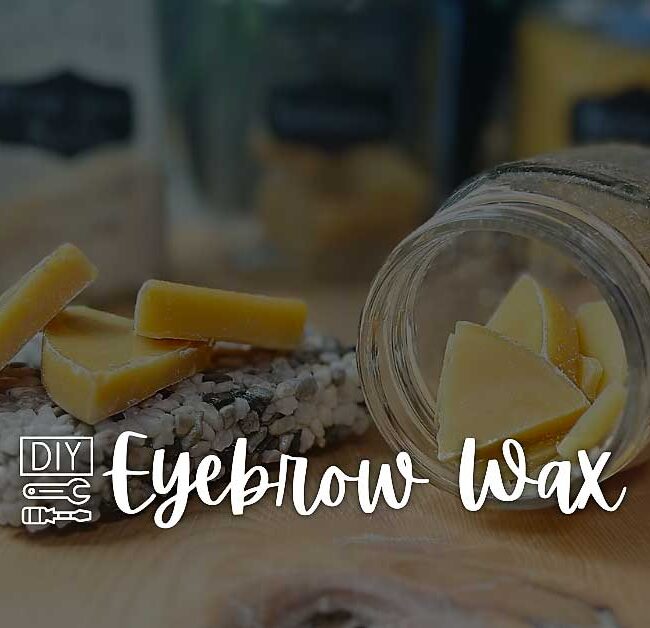


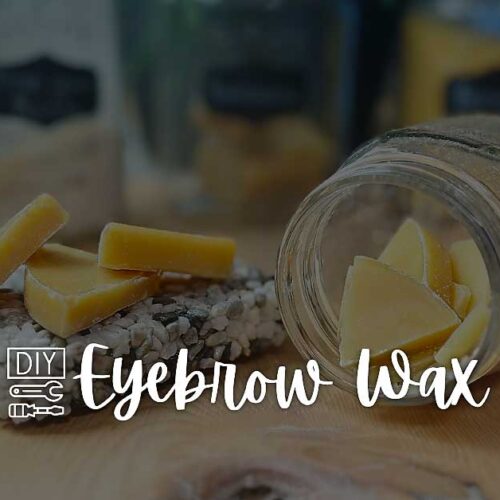
DIY Hard Wax - Eyebrow wax
With this DIY beeswax and pine gum resin hard wax, you can achieve smooth, hair-free skin without exposing yourself to harsh chemicals. Enjoy the natural beauty of your skin and the satisfaction of creating your own spa experience at home! With just 2 ingredients, DIY beauty is so easy!
Yield: 100 g
Cost: $10
Equipment
- 1 Wooden Wax Stick
Materials
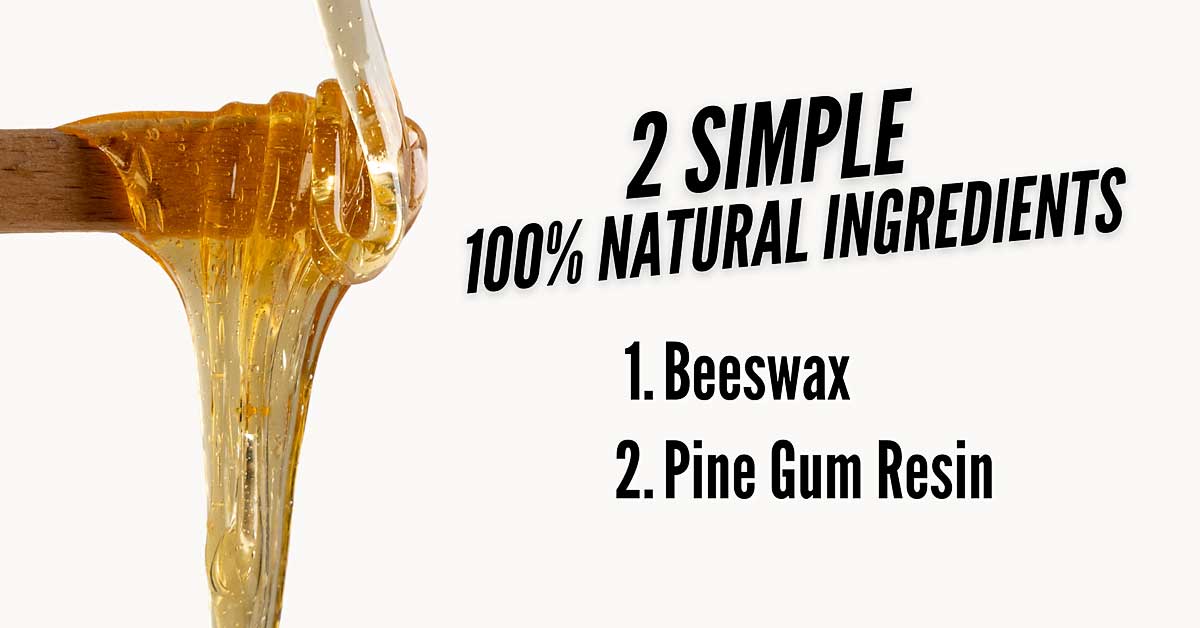
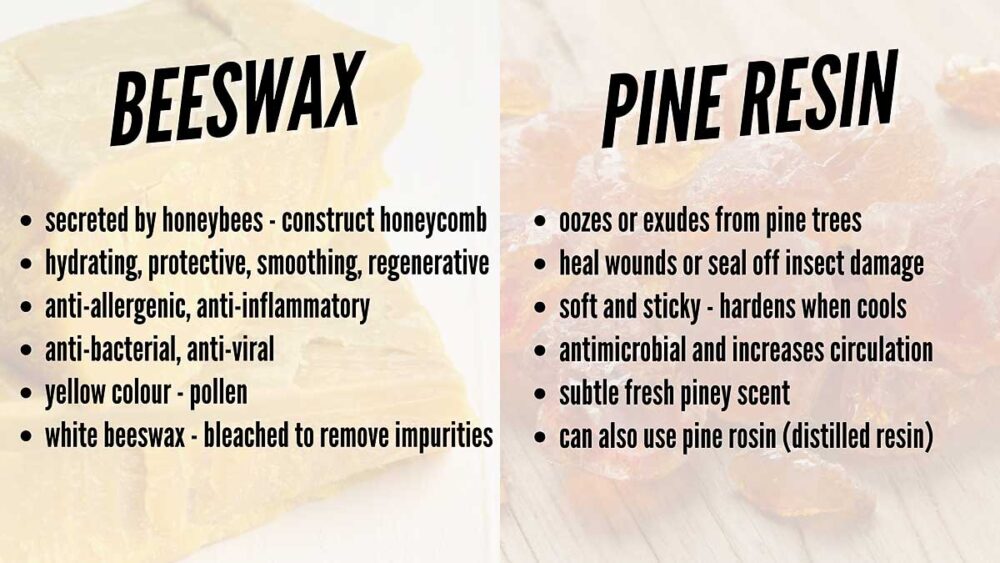
- 20 g Beeswax
- 80 g Pine Gum Resin
- 1 tsp Hand Sanitizer or Coconut Oil / Olive Oil to remove any wax residue
Instructions
1. Measure & melt ingredients
- In a wax warmer, a double boiler or a heat-safe bowl placed over a pot of simmering water, melt 20g Beeswax Pellets & 80g Pine Gum Resin (or Rosin)
- Stir occasionally until fully melted and combined. Be cautious with heat; resin can ignite if exposed to direct flame.
2. Mix thoroughly
- Once melted, stir the mixture well with the applicator to ensure the resin is fully incorporated into the beeswax.
3. Cool completely until hardened & break apart into small pieces (wax beads)
- Allow mixture to completely cool until it hardens. Break apart the solid mass with your hands and or cut with a sharp knife into small pieces or beads. This is now your hard wax to use as you normally would a commercial hard wax! It is that easy!
Video
Notes
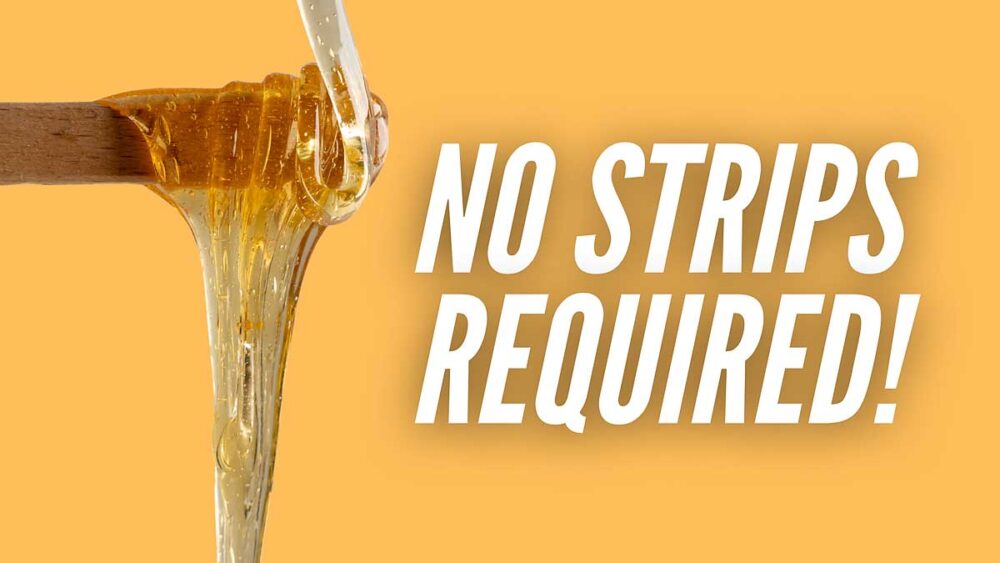
TO USE HARDWAX: see post above for detailed instructions on how to use this gentle hardwax to remove any unwanted hair!

I hope you enjoy this super easy DIY Hard Wax tutorial! If so, please feel free to share the link to this page on your social media or PIN this picture to your Pinterest account.
I want to once again extend my deepest gratitude & thanks in advance for subscribing to my blog & YouTube Channel as well as following me & liking my posts on Pinterest, FaceBook & Instagram! All of your comments and ratings on my recipes & social media is truly one of the most supportive things you can do for me! So thank you ever so much.