…without anyone being the wiser!
Welcome to my HOW TO GLUTEN-FREE SERIES – Part 1
I’m SO thrilled to begin this How to Gluten-Free Series with you today! Thank you ever so much for joining me! During this 1st week in this series, I’ll release 1 post/day that will help guide you along your Gluten-Free journey. Today we start with what I think is one of the most useful posts How To Make ANY Recipe Gluten-Free in 3-Simple Steps! Be sure to check out my Cheat Sheet (now here) to give you a quick reference guide!
My sincere hope is that by creating this series, I can prevent you from experiencing some of the growing pains that I went through when switching to Gluten-Free! The goal is to give you as many tools as possible so that you may enjoy ALL of your family favourites again without worrying about the gluten content. I hope you’ll join me in my Canadian World Kitchen as we journey to Gluten-Free living together!
It’s easy, I PROMISE!
I promise it is super easy to alter your favourite family recipe to gluten-free so that your family can enjoy absolutely anything! When I say easy, I mean that once you have a basic understanding of the factors that influence your success in your gluten free kitchen, the process becomes simple. It will take a little time to learn, and some of my recipes have a lot of detail. This doesn’t mean they are complicated or hard, just that I want you to have all of the background knowledge so that you can be successful! Just follow this How to Make ANY Recipe Gluten-Free in 3-Simple Steps and I’ll walk you through the process step by step. I requires only very simple math and a kitchen scale. Trust me, it is TOTALLY worth the investment as you’re going to love how easy it is to enjoy ALL of your family favourites!
You’ll LOVE this post if:
- You miss your favourite family recipes & need help to make them Gluten-Free.
- You would like to cook for someone who is Gluten-Free.
- You’re looking to learn more about ingredients in Gluten-Free cooking and what will make you successful at cooking Gluten-Free.
- You want to find a fantastic but easy substitute for wheat flours in your recipes.
- All of this Gluten-Free stuff overwhelms you.
Contents (Jump AHEAD anytime)
- Gluten-Free Flours VS Gluten-Containing Flours what’s the difference?
- How to make Gluten-Free Flour Blend ACT LIKE Gluten in baking.
- How to make your own Gluten-Free Flour Blend.
- BINDING AGENTS and why you MUST add them to your Gluten-Free Blend.
- How much BINDER should I use?
- Why make my own Gluten-Free Flour Blend? Can’t I just buy a pre-made one?
- Key Ingredients needed to make almost ANY recipe Gluten-Free.
- My Go-To THICKENING AGENTS.
- What you’ll need to make almost ANY recipe Gluten-Free.
- Make almost ANY SAVOURY recipe Gluten-Free in 1-Easy Step!
- Make almost ANY BAKING recipe Gluten-Free in 3-Simple Steps!
- What about NUT Flours?
1. Gluten-Free Flours VS Gluten-Containing Flours what’s the difference?
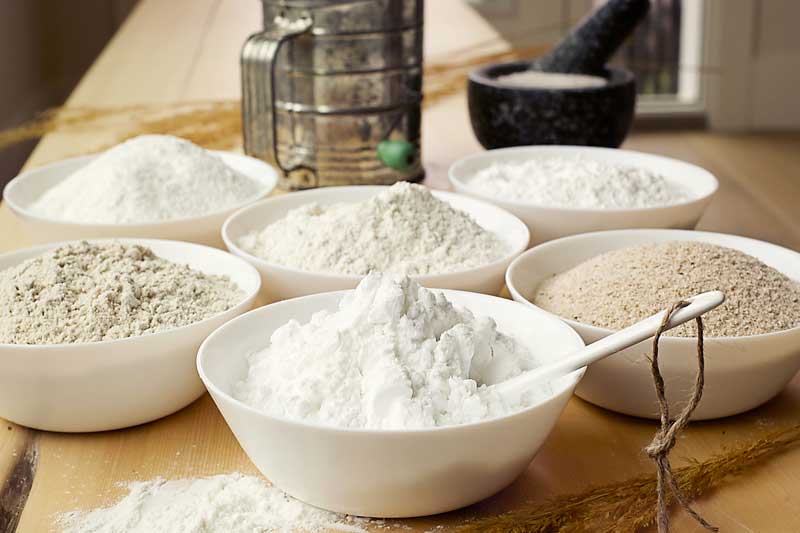
Gluten-Free Flours & Starches
With so many gluten-free flours and starches to chose from, where on earth do you start? I felt the same way when I chose to have a gluten-free diet. I was simply OVERWHELMED by all of the options out there. I had no clue where to start! If you’re at that point, please know you are not alone. Here I’ll try and give you as much simple explanation as possible as to why I chose the amounts of flour I did for my Crazy Good Gluten-Free All-Purpose Flour Blend. I’ll also provide you with another post, in this How to Gluten-Free Series, where I’ll explain what I’ve learn’t about many different gluten-free flours and when to use each (How to chose the BEST Gluten-Free Flour for a Recipe-coming soon). That way, you can substitute any of the flours I use anytime! So let’s get to it!
What is Gluten?
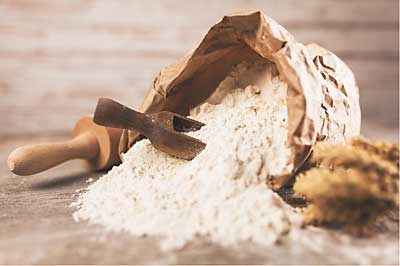
Gluten is the name given to a family of powerful proteins found in all forms of wheat, barley and rye and many other food products (see here for Mayo clinics comprehensive list of gluten-containing foods and food products). The Celiac Disease Foundation also has a great post listing all of the gluten-containing grains and there derivatives.
That darn GLUTEN!
What are the benefits of gluten?
In order to have success with Gluten-Free Cooking it is important to understand what gluten does for traditionally prepared foods.
Gluten offers a variety of functional culinary benefits and is responsible for providing:
- Strength & Structure – avoids crumbling.
- Texture – soft, chewy texture that is characteristic of many gluten-containing grain-based foods.
- Moisture
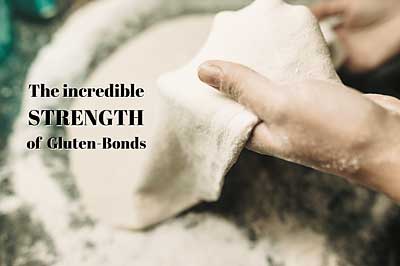
Experts explain that when these gluten proteins are mixed with water to form a dough, they form an elastic network of strong interlocking bonds, like a spiders web, that can stretch and trap gas when heated. These strong gluten protein bonds give the dough its structure, strength and elasticity, which in turn, gives baked goods their light, fluffy, almost bouncy texture! Gluten also helps maintain moisture in baked goods, almost like a spiders web can trap water.
If you’ve ever made homemade sourdough with a sourdough starter, you’ve felt with your hands the effect gluten gives to dough when you stretch it and fold it.
2. How to make Gluten-Free Flour Blend ACT LIKE Gluten?
Please check out my post How to Choose the BEST Gluten-Free Flour for a Recipe (coming SOON) where I go into detail about each type of gluten-free flour and starch and help you unravel the mystery of the differences between them and when to use each type!
Let’s be honest, gluten-free flours on their own just don’t have the same baking abilities as wheat flours do! This is because Gluten-Free Flours don’t have the same protein composition as gluten-containing grains do. Gluten imparts the binding and elastic properties to wheat flour that Gluten-Free Flours simply can not create on their own. That darn gluten!
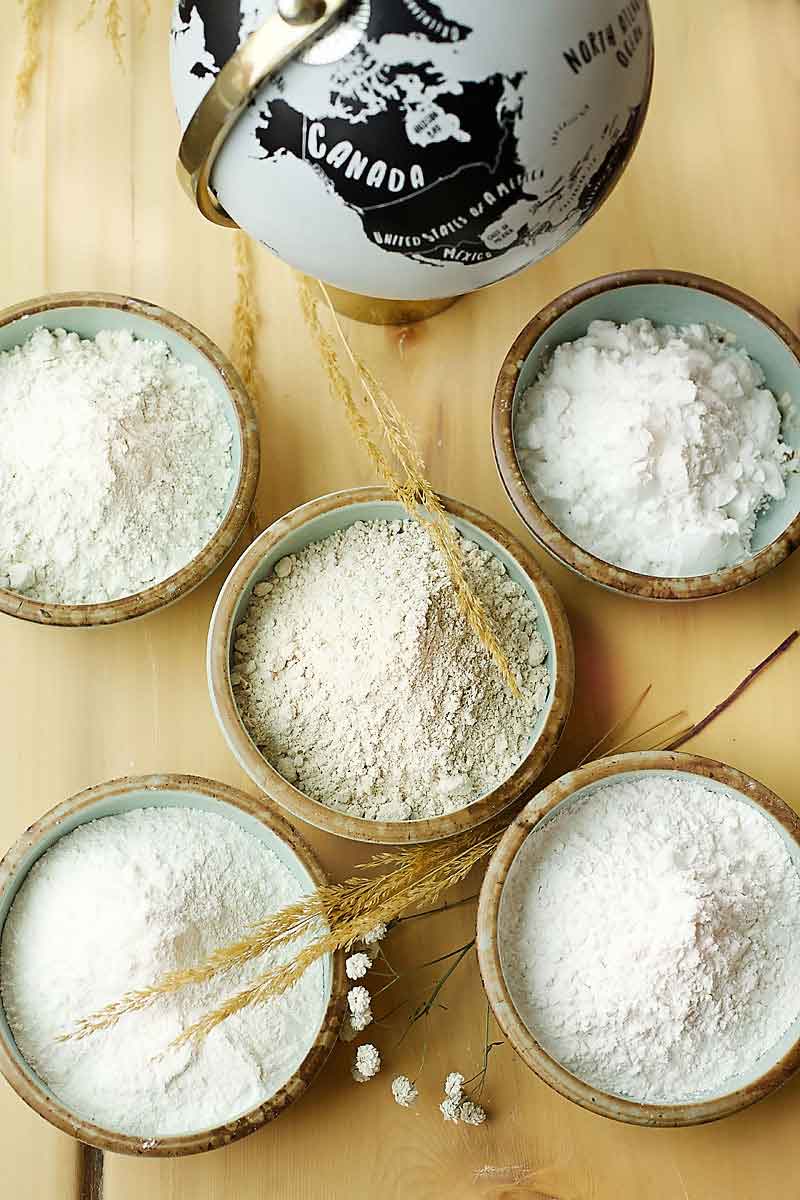
The GOOD NEWS is we can MIMIC wheats properties quite easily by combining the proper combination of Whole Grain Flours, Starches, Binding Agents, Thickening Agents and a Key Ingredient you may already have in your refrigerator! YAY right?
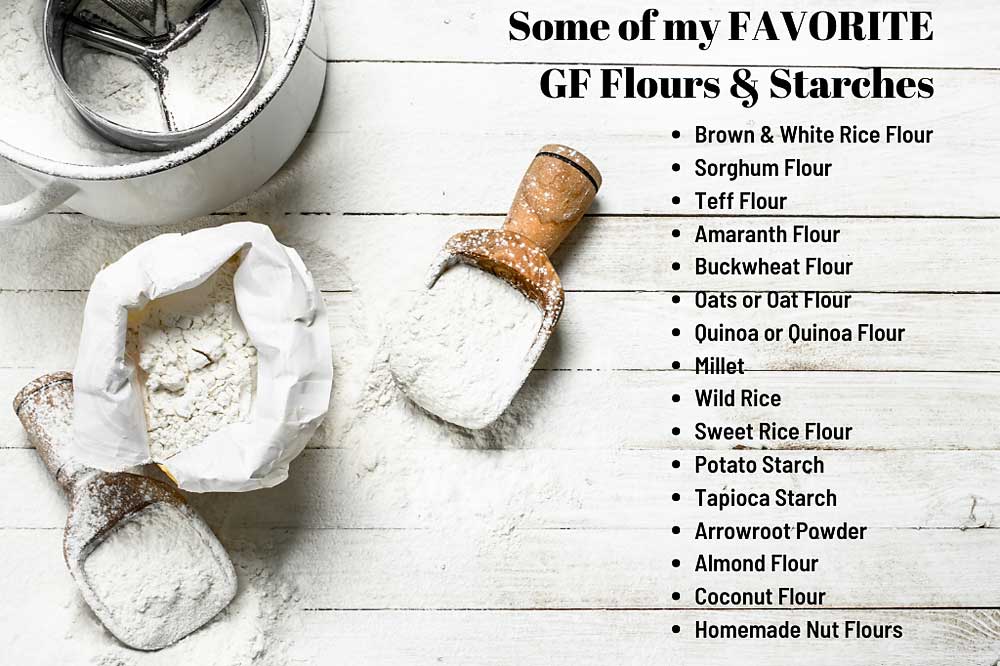
- Whole Grain Gluten-Free Flours (impart texture & flavour)
Sorghum Flour, Brown Rice Flour, Teff Flour, Amaranth Flour, Buckwheat Flour, Oats, Quinoa, Millet, Wild Rice & White Rice Flour.
- Gluten-Free Starches (bind & give structure)
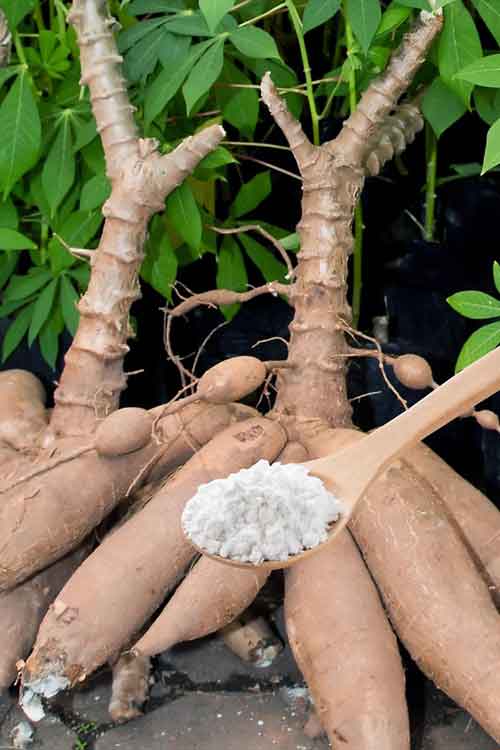
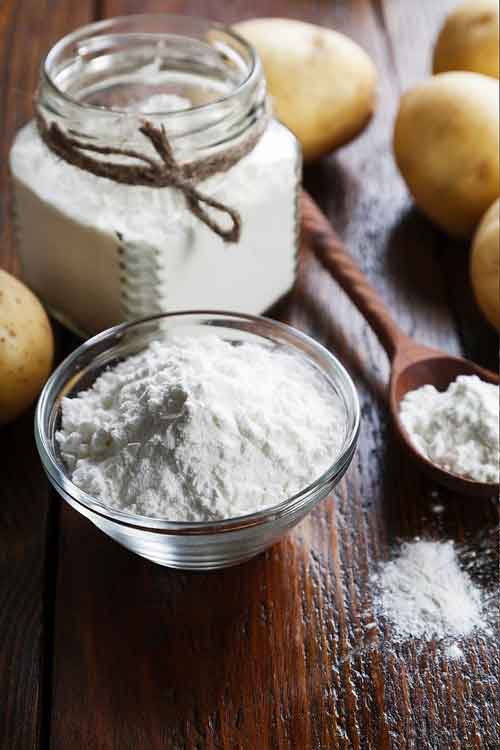
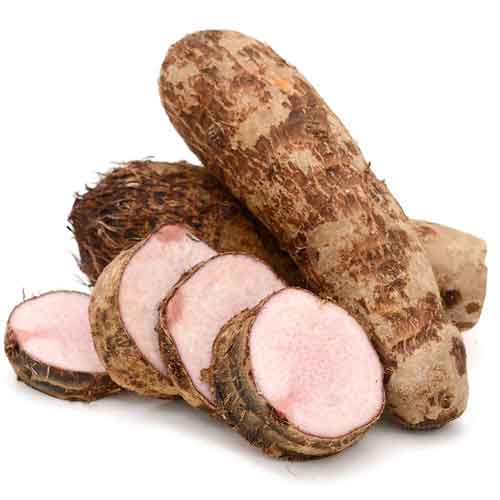
Root Starches – Potato Starch (not the same as Potato Flour), Tapioca Starch (aka Tapioca Flour), Arrowroot Powder
Grain Starch – Sweet Rice Flour (aka Glutinous / Sticky / Glue Rice Flour – it’s Gluten-Free). Sweet Rice Flour is often considered a Whole Grain Flour but I find it acts more like a starch with its ability to bind. Corn Starch (I don’t use in my kitchen).
- Binding Agents (help mimic Gluten)
Psyllium Husk Powder, Chia Seeds, Flax Seeds, (Guar Gum & Xanthan Gum – I never use these gums as many people, including myself, are sensitive to them). Please see my post What are BINDING AGENTS & How to USE them for more information on binders.
- Key Ingredients (help mimic Gluten)
Apple Cider Vinegar – see below for details on this amazing key ingredient and why I so often add it to my recipes!
Increase Leavening Agents – Baking Powder or Baking Soda when used in recipes act as leavening agents to increase volume and rise of dough.
- Thickening Agents
Tapioca Flour, Potato Starch, Arrowroot Powder, and Chia Seeds are all powerful thickening agents which can be used to make any SAVOURY recipe Gluten-Free in 1-Simple Step!
3. How to Make Your Own Gluten-Free Blend
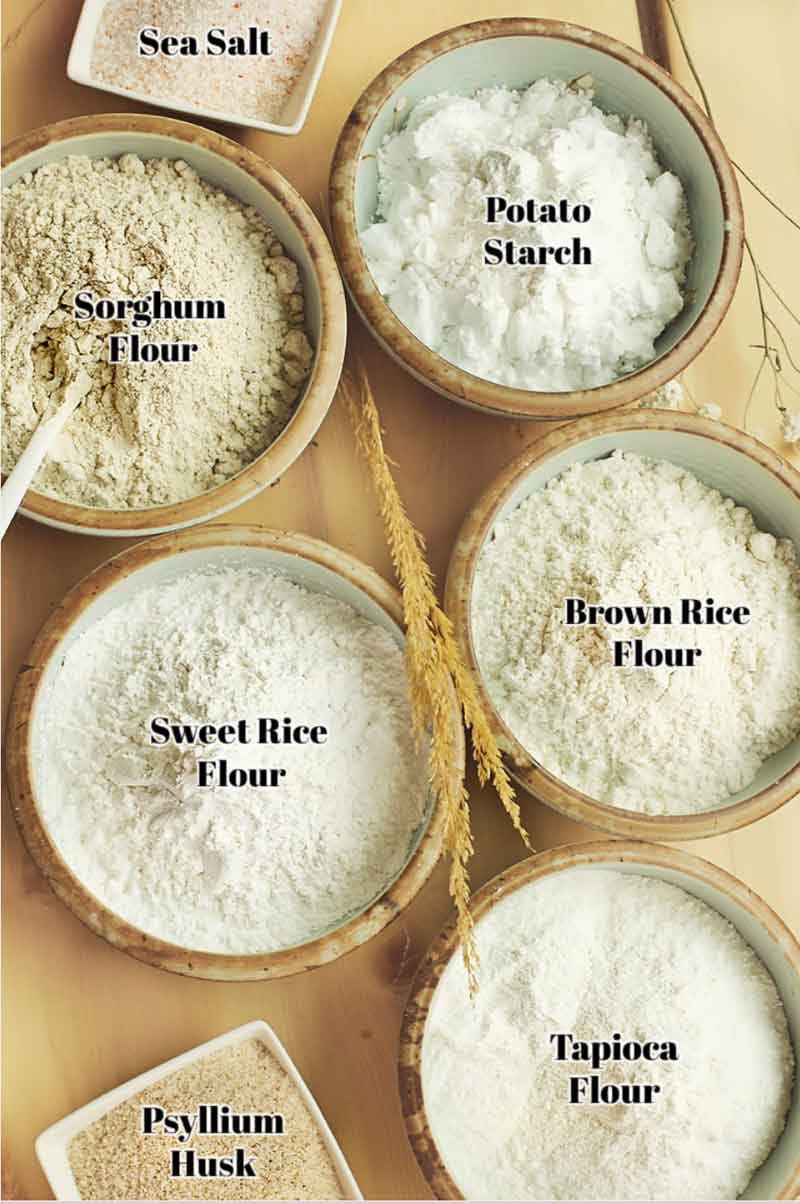
It is truly fun to make your own Gluten-Free Flour Blend! I have created a separate post which will give you the know how to begin to play with percentages of flours and starches. Before you know it, you’ll be making incredible Gluten-Free Blends individual to your families needs and taste buds!
Please check out my How to CREATE your own Gluten-Free Flour Blend (now here) where I guide you step-by-step to making a gorgeous Gluten-Free Blend! You’ll never buy a pre-made blend again! I am currently working on an additional post where I’ll dive into the different types of Gluten-Free Flours and Starches to take away the mystery of it all! When it’s ready, after the holidays, I’ll post a link here.
As the saying goes, Rome wasn’t built in a day, and it will take time for you to figure out the perfect balance of each grain and starch for each of your different recipes. I plan to create many more posts of my favourite blends to use for different purposes, but my Crazy Good Gluten-Free All-Purpose Flour is a great starting point for you to get going!
Do you have a favourite blend that contains a different proportion of Whole-Grains : Starches that you’d like to share with our community? I’d LOVE to hear from you!
* ALWAYS make sure to use a BINDING AGENT to help mimic Gluten!
4. BINDING AGENTS – Why you MUST add one to your GF Blend
As we now know, gluten is an incredible binder. So sometimes, adding a glutinous or sticky flour is just not enough to mimic the effects of gluten in our recipes! Not to fret! There’s a simple solution! BINDING AGENTS!
Gluten-Free Binding Agents serve the same purpose in gluten-free flour that the proteins, known as gluten, serve in wheat flour (also rye & barley). These agents prevent your gluten-free food from becoming a pile of tiny crumbs! Trust me, I’ve made this mistake and it’s SO sad!
My Favourite Binding Agents
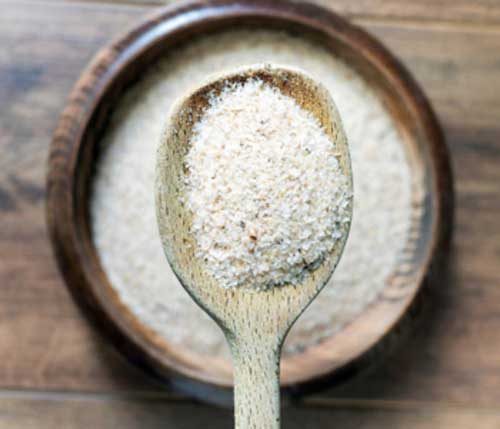
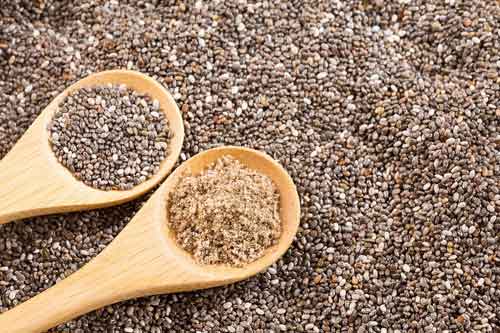
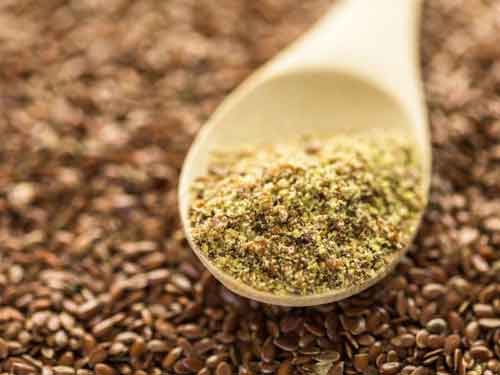
Please see my post What are BINDING AGENTS & How to USE them (now here!) to learn more about each of my favourite BINDING AGENTS and why they are so amazing at mimicking Gluten in Gluten-Free Baking!
5. How much BINDER should I use?
This depends on the type you chose. You can use one of these binders or a combination of more than one to achieve the desired effect. Follow these general guidelines below and I’m sure you’ll achieve success!
Start off on the lower end and adjust as needed to increase binding, moisture, thicken and improve texture.
Too much binder will result in a gummy texture and too little will result in a crumbly, dry texture.
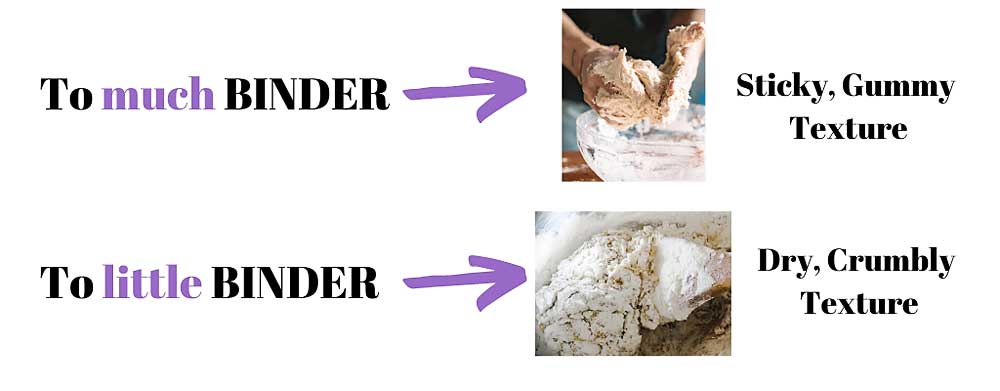
Please see my post What are BINDING AGENTS & How to USE them (now here) for general guidelines on how much Binder to use and when!
Xanthan & Guar Gum (I don’t use these in any of my recipes)
To learn more about Xanthan & Guar Gum and why I don’t ever use them in baking, please check out my post on Why I never use Xanthan Gum or Guar Gum in Baking (coming soon).
If you chose to cook with Xantham Gum or Guar Gum, the general rule is to add 1 teaspoon of Xanthan or Guar Gum per 120g (1 cup) of gluten-free flour.
Do I HAVE to add a binder to every recipe?
No. You don’t have to use a binder in all of your gluten-free recipes. The drier the dough and the less rise it needs, the less structure is required and the less binder you need.
So, for recipes with either a drier dough (e.g. cookies) or a lower rise (e.g. pie crust) that require less structure, you may not need to add much of the binder, or very little, if any. However, when using my favourite binders (psyllium husk fibre, chia seeds & flax seeds) I always think…why wouldn’t you add them! They add so many potential health benefits!
Do you use a different binding agent in your Gluten-Free Recipes? Please leave a comment below to share with our community!
6. Why make my own Gluten-Free Flour Blend? Can’t I just buy a pre-made one?
There are plenty of options out there for Pre-Mixed All-Purpose Gluten-Free Flour Blends that you may like. I have tried numerous options, and although they work fine, they never quite give me the beautiful finish and flavour that making my own achieves. I find my baking falls flat and lacks depth of flavour when using these mixes. I promise it is easy to make your own and strongly encourage you to do so, but the pre-mixed blends can be a good place to start. Just don’t get discouraged if your baking doesn’t turn out quite right. Try again making your own!
Premixed Blends usually contain Xanthan Gum & / Guar Gum, both are processed thickeners / binders which work well to mimic the effects of gluten. See above for definition and explanation to why I don’t use these Gums!
7. KEY Ingredients needed to make almost ANY recipe Gluten-Free in 3-Simple Steps!
Leavening Agents
Leavening agents are ingredients that help baked goods to rise. They include but are not limited to baking soda, baking powder, yeast, or even Apple Cider Vinegar!
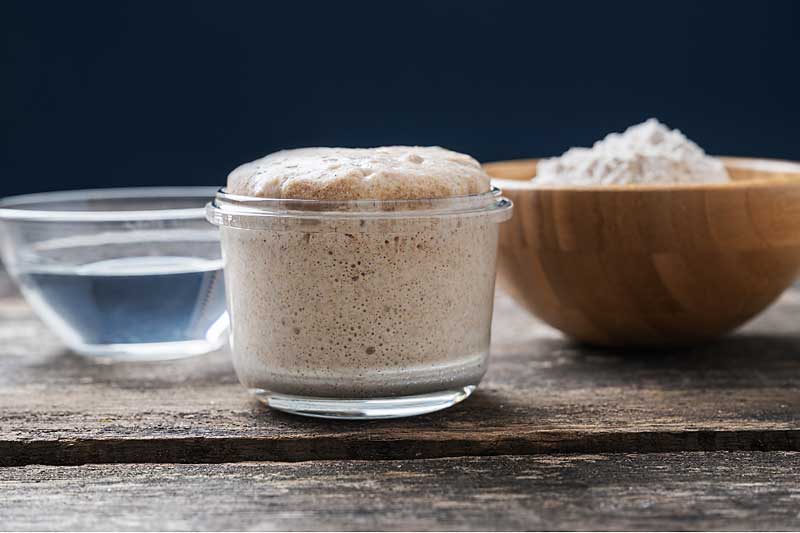
Baking Soda, Baking Powder and Apple Cider Vinegar are all chemical leavening agents, a substance that causes expansion of doughs and batters through a chemical reaction. This chemical reaction results in a release of gas that thereby causes batter or dough to rise.
Yeast, is a living microorganism called a biological leavening agent. Yeast works its magic by breaking down (eating) sugars in the dough or batter, then releasing carbon dioxide waste, causing the baked goods rise.
1. Apple Cider Vinegar
Apple Cider Vinegar is made from fermented apple juice. Apples are crushed, then squeezed. Bacteria and yeast are then added to ferment the sugars into alcohol. The alcohol is then fermented again to convert the alcohol to acetic acid. Acetic acid imparts the sour taste to apple cider vinegar.
Apple Cider Vinegar – Superpower your Gluten-Free Kitchen!
Apple cider vinegar is often used in baking, but why? It is a great leavening agent, but it also has powerful flavour enhancing properties. I find it adds the perfect amount of depth of flavour, and helps activate baking soda creating a lovely airy texture.
How does Apple Cider Vinegar work?
Vinegar is highly acidic. Remember those science experiments as a young child, where you’d add vinegar to baking soda to create a volcano effect! Science tells us that when vinegar is combined with baking soda it produces carbon dioxide, which, in turn, gives incredible rise to your dough! It is therefore used in many baking recipes to start this chemical reaction and activate baking powder & baking soda. This then gives the lift needed to help baked goods rise and create a better crumb.
If you are egg free or vegan, apple cider vinegar, along with a binder, like psyllium or ground flax seeds, can help replicate the effects of egg whites in your baking.
How much Apple Cider Vinegar do I add to my recipe?
I like to add 8 grams (1 tsp) of Apple Cider Vinegar to all of my baked goods, from Bagels to Pizza Dough to Muffins. It is a fantastic addition to any dough!
Should I add Apple Cider Vinegar to EVERY Recipe?
Although there’s no rule saying you can’t, you don’t need to add Apple Cider Vinegar when you are using a Gluten-Free Blend or a single starch as a thickener for a Sauce / Gravy / Soup or Filling. Really anything that doesn’t need to rise.
Vegan Baking Applications of Apple Cider Vinegar
According to Mattie, at veganbaking.net, apple cider vinegar can be used to enhance dairy-like flavours!
Mattie suggests adding 1 ½ teaspoons of apple cider vinegar to 1 cup of soy milk and let stand for about 10 minutes. He says this allows the soy milk to curdle and can create dairy-like flavours! Let me know if you try it!
2. Baking Powder & Baking Soda – Give a your baking a BOOST!
Without gluten to give structure and support during the rise of dough, it helps to add a little extra lift any way you can! Additional baking powder or Baking Soda can do just that!
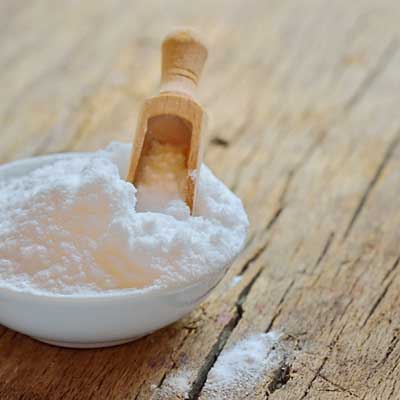
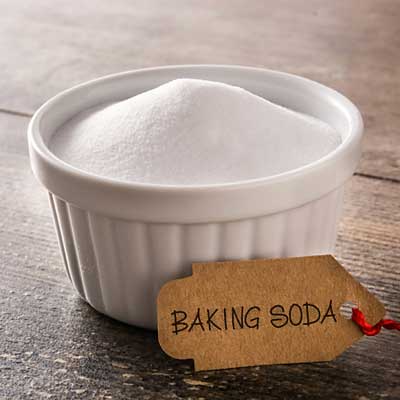
How much extra Baking Powder / Soda should I add?
Following the advice I got from Jill at Ethels.com, if you are transforming a traditional recipe to gluten free, you’ll find more success if you increase the amount of baking powder/baking soda by 25%.
In essence, if the recipe calls for 5g (2 tsp) of baking powder, simply multiply it by 1.25 and use 6.25g of baking powder. If your scale is not accurate to decimal points, you can round up (e.g. to 7g) and get excellent results.
Like we mentioned above, increasing the leavening agent (help dough to rise) results in a lighter, fluffier, bouncier texture, once again helping to mimic the effects of gluten!
REMEMBER: Check the ingredients on your baking powder and baking soda to ensure that they are aluminum, gluten and corn free.
High Altitude Baking
If you live at an altitude of > 1,065m or 3,500ft then you may need to adjust many factors that impact baking at high altitudes. Please check out my post The BEST Gluten-Free Baking TIPS & TRICKS for some guidelines on how to adjust for altitude.
8. My Go-To Thickening Agents
Please see my post How to use Natural THICKENING Agents in Gluten-Free Cooking (now here) for detailed descriptions and uses of each of my favourite THICKENING AGENTS found in nature!
- Tapioca Starch (aka Tapioca Flour)
- Potato Starch
- Arrowroot Powder
- Chia Seeds
9. What you’ll need to Make ANY recipe Gluten-Free in 3-Simple Steps!
- Kitchen Scale
Basic Kitchen Scale like this one is all you need! It is a basic, essential tool for your Gluten-Free Kitchen.
- Gluten-Free Flours & Starches
For my Crazy Good Gluten-Free All-Purpose Flour you’ll need:
Whole Grains: Brown Rice Flour, Sorghum Flour
Starches: Sweet Rice Flour, Potato Starch, Tapioca Flour (aka Tapioca Starch)
- All-Purpose Wheat Flour or Flour that is in original recipe
This is for the 1st time you convert recipe only and is not absolutely necessary. I recommend measuring this once for your reference, but you can always use a conversion chart like this one (from Bob’s Red Mill) if you prefer.
- Sifter
Not absolutely necessary, but recommended.
- Binding Agent
Psyllium Husk Powder, Chia Seeds, or Flax Seeds
- Key Ingredients
Apple Cider Vinegar, Baking Powder &/ Baking Soda (not always necessary)
- Thickening Agents
Tapioca Flour, Potato Starch, Arrowroot Powder, and Chia Seeds are all powerful thickening agents which can be used to make any SAVOURY recipe Gluten-Free in 1-Simple Step!
10. Make ANY SAVOURY Recipe Gluten-Free in 1-EASY STEP!
(Sauces, Gravy, Fillings, Soups, Casseroles, Breading)
When altering a Savoury Recipe, the adjustments are much more straightforward than with baking.
For a quick reference guide, please check out my cheat sheet How to make any SAVOURY recipe Gluten-Free in 1-Simple Step!
How to make Sauces / Gravy / Soups Gluten-Free!
Many recipes use gluten containing grains or corn starch to thicken sauces, gravies or soups. These recipes often ask you to dissolve the flour or starch in water to create a “slurry”. You can simply substitute the wheat flour or corn starch for any of the starches listed above in a 1:1 ratio as long as it calls for less than 2 Tbsp or so. I prefer to use Tapioca Starch, Potato Starch, Chia Seeds or Arrowroot Powder.
What are your fav thickening agents? Comment below to share with our community!
How to Create a “SLURRY” (combination of starch & cold liquid)
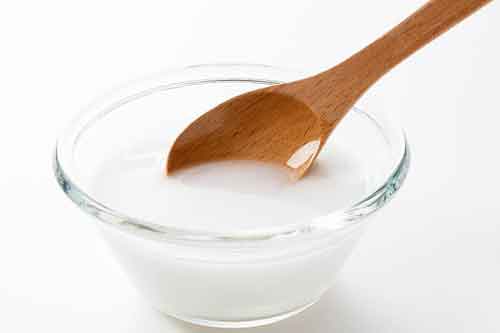
Recipes often call for a “slurry” to thicken soups, sauces and gravies. To create a gluten-free “slurry” to thicken any sauce, gravy or soup, just whisk together equal amounts of cold water, vegetable / chicken / beef stock, or even wine, with your choice of starch until smooth. I usually start small (1 Tbsp starch to 1 Tbsp stock but it doesn’t have to be exact. Keep adding, until the sauce reaches the desired consistency. You’ll need to keep whisking the slurry into your sauce to avoid lumps.

Add at the END of cooking just before serving!
You’ll need to add these starches in at the end of cooking your sauces, gravies, or soups because these root starches gelatinize at a lower temperature than corn starch and wheat flour slurries. They also tend to break down after cooking for longer periods. So just add them in at the end, just before serving, and at a lower temperature.
PLEASE NOTE: these starches will create a sauce that is a bit shinier looking and smooth feeling to the palate. The taste will still be amazing and no one will be the wiser!
How to make Fillings / Casseroles Gluten-Free

As long as the amount of flour in a filling or casserole recipe is <1/2 cup or < 60g, you can simply substitute your favourite Gluten-Free All-Purpose Flour Blend at a 1:1 ratio. Just make sure you chose a blend that has some starches in it to increase the thickening effects. My Crazy Good Gluten-Free All-Purpose Flour works great for this purpose!
If your recipe calls for < 2 Tbsp of flour or cornstarch, simply substitute any of the starches listed above in a 1:1 ratio. You may need slightly more potato starch to cornstarch (4 tsp potato starch to every 1 Tbsp cornstarch).
How to make Breading Gluten-Free

To bread fish, chicken or even vegetables, you can use any gluten-free flour you have in the pantry. I like to use my Crazy Good Gluten-Free All-Purpose Flour for this purpose. I find the addition of the starches in this blend help create a crispy breading.
Arrowroot powder, Tapioca Flour (Starch) or Rice Crumbs on their own or in combination also work great to add a little crunch to any dish, like sweet potato fries!
11. Make ANY BAKING Recipe Gluten-Free in 3-SIMPLE STEPS!
Be sure to check out my Cheat Sheet (now here) to give you a quick reference guide!
It is super easy to transform your favourite family BAKING recipe to gluten free! Just follow these 3-SIMPLE STEPS!
- CHOOSE the recipe you’d like to alter & CHANGE the amount of flour from a VOLUME to a WEIGHT measurement.
- CALCULATE the amounts of each Gluten-Free Flour & Starch & SIFT weighed flours and starches together.
- ADD KEY INGREDIENTS to the recipe as needed.
1. Choose the recipe to alter & CHANGE from VOLUME to WEIGHT
- CHOOSE the Recipe you’d like to alter. This calculation works very well to replace ANY all-purpose flour, whole wheat flour or even cake flour.
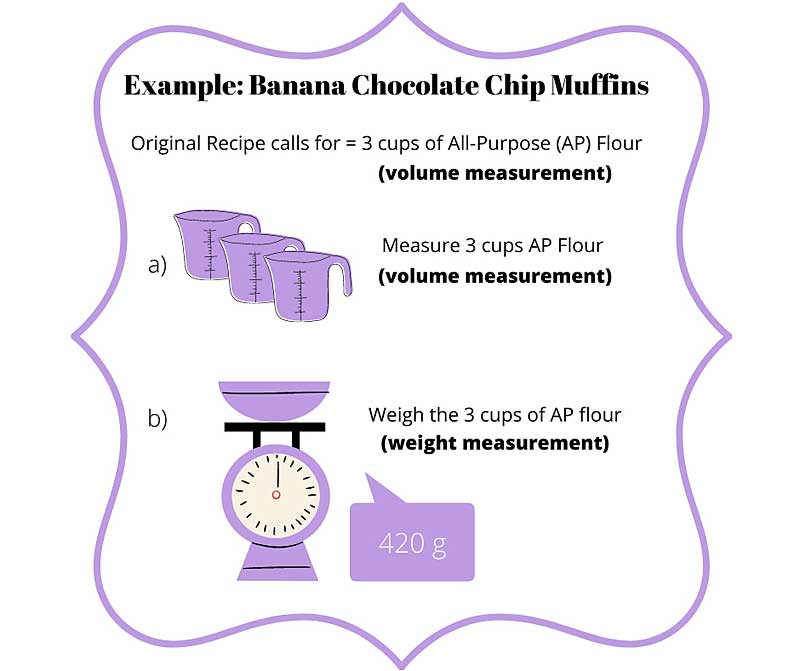
- CHANGE the amount of flour in your chosen recipe from a VOLUME measurement (cups, Tbsp, etc.) to a WEIGHT measurement (grams).
a) Measure Volume of Gluten-Containing Flour in original recipe: click here to see how to properly fill a cup (coming soon).
b) Weigh the pre-measured flour: Figure out how much that volume of All-Purpose Flour weighs.
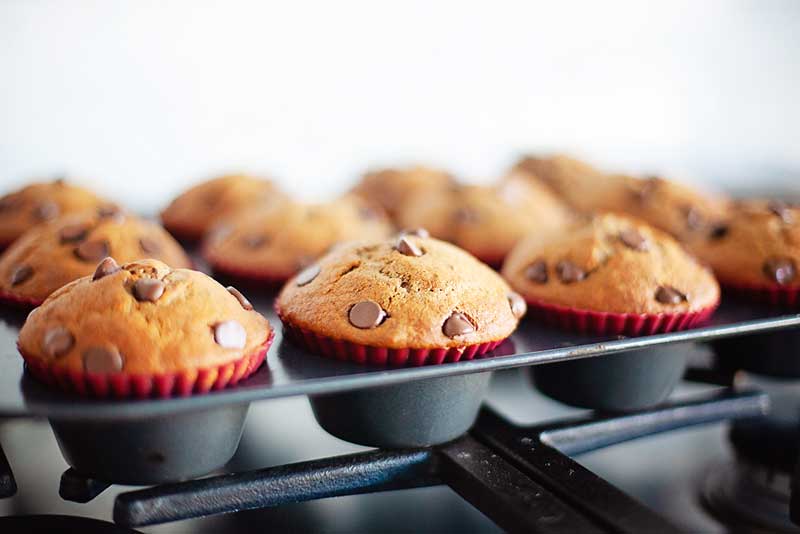
My Gluten-Free Banana Chocolate Chip Muffins are delightfully delicious! I promise to post the recipe here soon!
Want to skip this step?
I’d highly recommend you don’t, as not every flour, even the same type, weigh the same. However, in a pinch you can use a Conversion Table, like this one, from (Bob’s Red Mill). They have included volume to weight conversions for many of my favourite gluten free flours. Thanks to Bob’s Red Mill for providing this excellent resource!
Why should I measure it myself?
Are you trying to alter a tried and true family recipe? Only you know how YOU measure 1 Cup. For example, I may measure a volume of 1 cup with my method and measuring and find it weighs 140g. You may measure your 1 cup with your method and find it weighs 125g. Therefore, if this is a tried and tested family recipe that you want to alter, follow these steps once, write it down, and you’ll be able to replicate the true goodness of your recipe over and over again!
2. CALCULATE weight of each Gluten-Free Flour
(easy math I promise)
a) What type of Gluten-Free Flours & Starch will you use?
First you’ll need to decide the types of gluten free flours you’d like to use in your recipe. For this example, I’m going to use my Crazy Good Gluten-Free All-Purpose Flour ingredients and percentage of total weight. However, if you’d like to switch out any of the individual flours I’ve used, please feel free to do so! In my post How to Choose the BEST Gluten-Free Flour for a Recipe (coming soon, after the holidays), I’ll give you more tools to help you do just that!
b) Calculate weight via percentages of each flour
Using the 60% Gluten-Free Starches : 40% Whole Grain Flours rule to our Banana Muffins Recipe:
Total Weight Regular AP Flour = 420 g
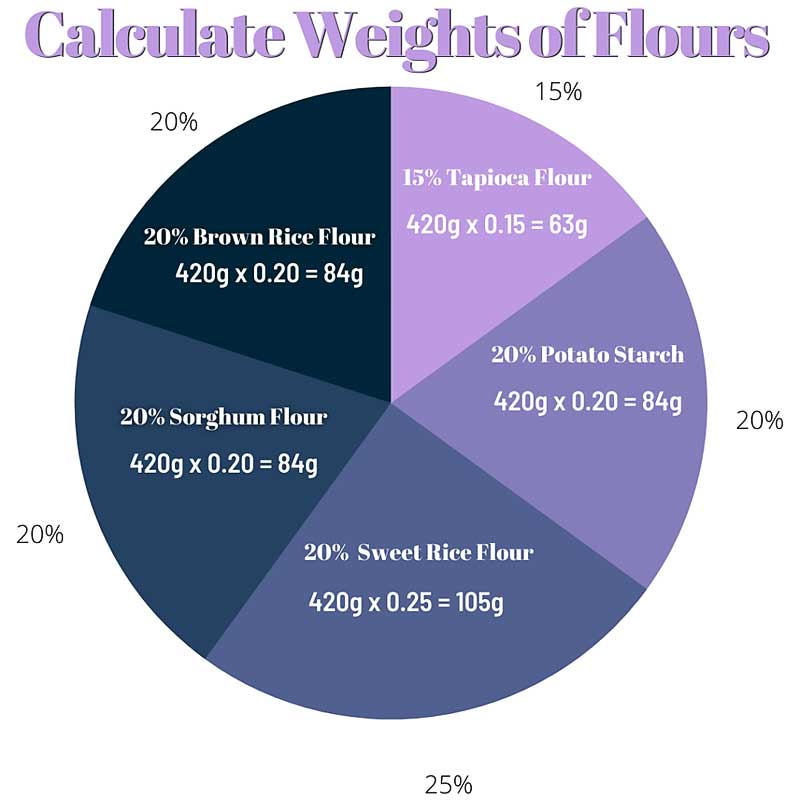
c) Weigh out each Flour & Starch & SIFT them together!
d) Substitute into your recipe on a 1:1 WEIGHT ratio.
If you’d like to experiment with different gluten free flours and starches you have laying around you can! Or if you have an intolerance to one of the flours I use in this recipe, you’ll be able to calculate exact ratios of a substitute flour or starch. Just check out my post on How to Choose the BEST Gluten-Free Flour for a Recipe (coming soon after the holidays). It will help you understand the differences between the array of different types of Flours & Starches and when you may want to use each!
3. Add KEY INGREDIENTS
FOR Baking Recipes:
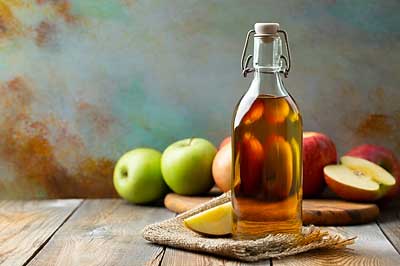


a) Apple Cider Vinegar: I like to add 8 grams (1 tsp) of Apple Cider Vinegar to all of my baked goods, from bagels to pizza dough too muffins. It is a fantastic addition to any dough! See why here.
b) Baking Powder & / Baking Soda boost: I like to increase the leavening (ability to rise) of my dough, and give it an extra boost, by increasing the baking powder & / baking powder by 25% (multiply the amount by 1.25). This will result in a lighter, fluffier, bouncier texture, once again helping to mimic the effects of gluten!
REMEMBER: Check the ingredients on your baking powder and baking soda to ensure that they are aluminum, gluten and corn free. I get my Gluten, Corn, Aluminum Free Baking Powder at Blush Lane Organic Market here in Calgary.
FOR Savoury Recipes:
Typically, I don’t add any additional Baking Powder or Soda to Savoury Recipes as they do not need to rise. However, I occasionally add Apple Cider Vinegar to enhance the flavour profile of the dish (you be the judge!)
AND…your done! As we say in Calgary, YAHOO!
12. What about NUT Flours?
Nut flours can be a beautiful addition to your Gluten-Free World Kitchen! Nut flours are extremely versatile and quite easy to find these days. You can even easily make your own!
Nuts are rich in protein, so in following the tips above it makes sense that they would help to create more structure in your bakes.
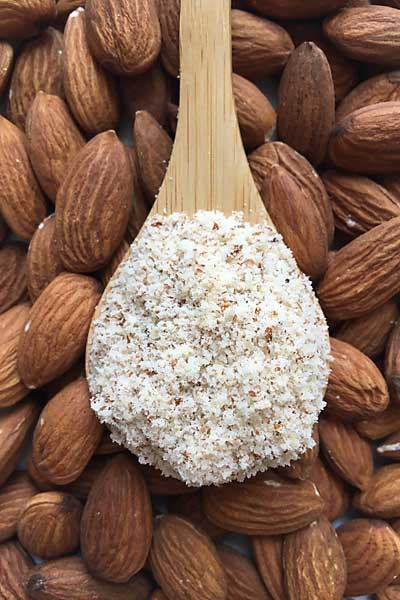

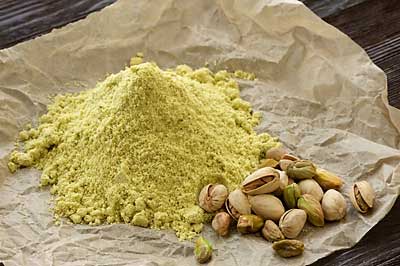
I will include a section on nut flours in my post on How to Choose the BEST Gluten-Free Flour for a Recipe (coming soon in the new year).
In the meantime, Georgina, “From the Larder” has an excellent post called “The Ultimate Guide to Nut Flours” that I think is extremely helpful. If you want to learn more about Nut Flours please check it out.
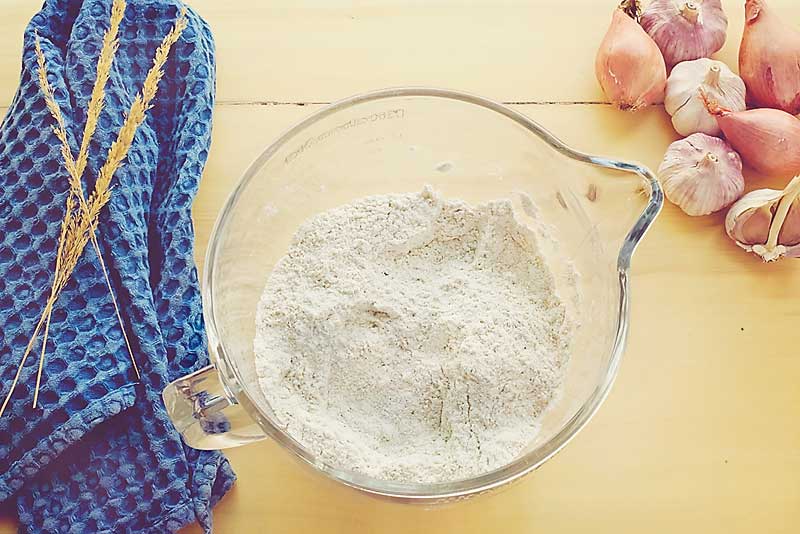
ENJOY!
I sincerely hope that this instructional guide helps you to enjoy all of your favourite family recipes now that you or your loved ones are gluten free! If you’ve enjoyed it please share it with your friends and family and rate it below. If you have any questions I’d be happy to help! Contact me anytime. If you’ve enjoyed this How To Gluten-Free Series so far, I’d love it if you’d rate it below and share it on Instagram, Facebook & Pinterest!
Hugs and love,

How to make almost ANY recipe Gluten-Free in 3 simple steps!
Equipment
Materials
- 200 g Brown Rice Flour
- 200 g Sorghum Flour
- 250 g Sweet Rice Flour
- 150 g Tapioca Flour (aka Starch)
- 200 g Potato Starch
- 8 g Apple Cider Vinegar (1 tsp) needed for baking recipes
- Increase 25% Baking Soda / Baking Powder As needed
- Flour in original recipe (if needed to convert volume to weight)
Instructions
- CHOOSE the Recipe you'd like to alter & CHANGE the amount of flour from a VOLUME to a WEIGHT measurement.
- CALCULATE the amounts of each Gluten-Free Flour & Starch & SIFT weighed flours and starches together.
- ADD KEY INGREDIENTS to the recipe as needed.
Notes
REFERENCES
I have used many sources for this How to Gluten-Free Series including scientific studies and experienced chefs from all over. I will continue to add my references for all of my How to Gluten-Free Series posts on my How to Gluten-Free page. Thank you to the scientists and many chefs who’ve provided information from their research, and on their websites for the public to access. These many sources have allowed me to gain knowledge and wisdom regarding Gluten-Free cooking over the years! I believe we are a community and would like to acknowledge these individuals with a thank you. Below is a list of references if you’d like to do any further reading or learning on this topic. I try to only use high-quality sources, including peer-reviewed studies, to ensure our content is accurate, reliable and trustworthy. Each site has so much to share!
Scientific Studies or Websites:
- Pubmed – Peter R Shewry, Nigel G Halford, Peter S Belton, Arthur S Tatham. The structure and properties of gluten: an elastic protein from wheat grain. NLM. 2002.28;357(1418):133-42.
- MDPI – Alcorta A, Porta A, Tárrega A, Alvarez MD, Vaquero MP. Foods for plant-based diets: challenges and innovations. Foods. 2021;10(2):293.
- EFSA Journal – Mortensen A, Aguilar F, et al. Re‐evaluation of xanthan gum (E 415) as a food additive. EFSA Journal. 2017. e04909.
- NCBI – Satya S. Jonnalagadda , Lisa Harnack, Rui Hai Liu, Nicola McKeown, Chris Seal, George C. Fahey. Putting the Whole Grain Puzzle Together: Health Benefits Associated with Whole Grains—Summary of American Society for Nutrition 2010 Satellite Symposium. The Journal of Nutrition. 2011. 141(5): 1011S–1022S.
Websites:
- Wikipedia
- Bob’s Red Mill
- Mayo Clinic
- From the Larder
- Celiac Disease Foundation
- Beyond Celiac
- The Gluten-Free Club
- Gluten-Intolerance Group
- Gluten-Free Palate
- King Arthur Baking
- Tasty Yummies
- Baking with the Gluten-Free Girl
- Healthline
- Ethels Baking Company
- Wheat Montana Farms & Bakery
- The Bread Kitchen
- Blessed Beyond Crazy
- She Knows
- The Heritage Cook
- The Spruce Eats
- Zest for Baking





8 Responses
I tried this recipe with the buckwheat flour. My problem is that the dough never raised. I let it rise for over 2 hours. and followed the instructions as you wrote them. I think the dough was too stiff, but I baked it off anyway thinking that the steam would help it rise. So the results were a very flat ( too salty because the volume was half of what it should have been. The crumb was
very nice though. Do you have any suggestions? This recipe took a long time for only resulting i a small loaf. Next time I will try it with a different GF flour as with the buckwheat flour it had a bitter smell even after toasting.
I would love a little help with this. I live in Colorado- mile high altitude.
Thank you very much,
Myrna Mirow
Hello Myrna! I’d be very happy to help. First may I ask, which one of my recipes did you try? The comment was on the “How to make almost ANY recipe Gluten-Free in 3-Simple Steps”. Once I know which loaf you were making, I can definitely help in any way I can 💜. I find buckwheat is a lovely flour to work with but it definitely needs blending with other whole grains and starches!
This has the be the most comprehensive explanation that I’ve ever read on gluten free baking!
I sure hope it helps! Thanks so very much for the comment 🥰
The food is so so delicious I could have it every day. And the steps are so easy. Thank you for your wonderful blog. It Makes my life so much easier. All the food is delicious!
Aren’t you just the absolute sweetest! Thank you so much Ella for the loving comment!
Thank you for this helpful guide.
You are most welcome! I’m so glad you like it.