


Welcome to my HOW TO GLUTEN-FREE SERIES – Part 7
I’m SO thrilled to continue this How to Gluten-Free Series with you today! Thank you ever so much for joining me! Today we will dive into my favourite Gluten-Free Baking TIPS & TRICKS I have learn’t along the way that have helped me elevate my Gluten-Free Kitchen to a new level.
My sincere hope is that by creating this series, I can prevent you from experiencing some of the growing pains that I went through when switching to Gluten-Free! The goal is to give you as many tools as possible so that you may enjoy ALL of your family favourites again without worrying about the gluten content. I hope you’ll join me in my Canadian World Kitchen as we journey to Gluten-Free living together!
You’ll LOVE this post if:
- You’re cooking Gluten-Free but feel like you’re missing something.
- You miss your favourite family recipes & need help to make them Gluten-Free.
- You would like to cook for someone who is Gluten-Free.
- You’re looking to learn to figure out what keeps causing your flops in Gluten-Free baking cooking and what will make you successful at cooking Gluten-Free.
- All of this Gluten-Free stuff overwhelms you.
Contents (Jump AHEAD anytime)
- STRUCTURE – how to improve the structure of your Gluten-Free Baking.
- MOISTURE – how to find the perfect balance.
- Let your dough and batters REST.
- BAKE TIME may need to increase slightly.
- WATCH your bake closely.
- Let bake REST in hot pan.
- ALTITUDE EFFECTS on baking.
- Which VARIABLE should I change first?
1. STRUCTURE
The below can help improve the structure of your Gluten-Free baking by mimicking gluten, thereby preventing that all to common mistake of dense or crumbly gluten-free baking! Check out my post How to make ANY recipe Gluten-Free in 3-Steps for more details on each of these factors.
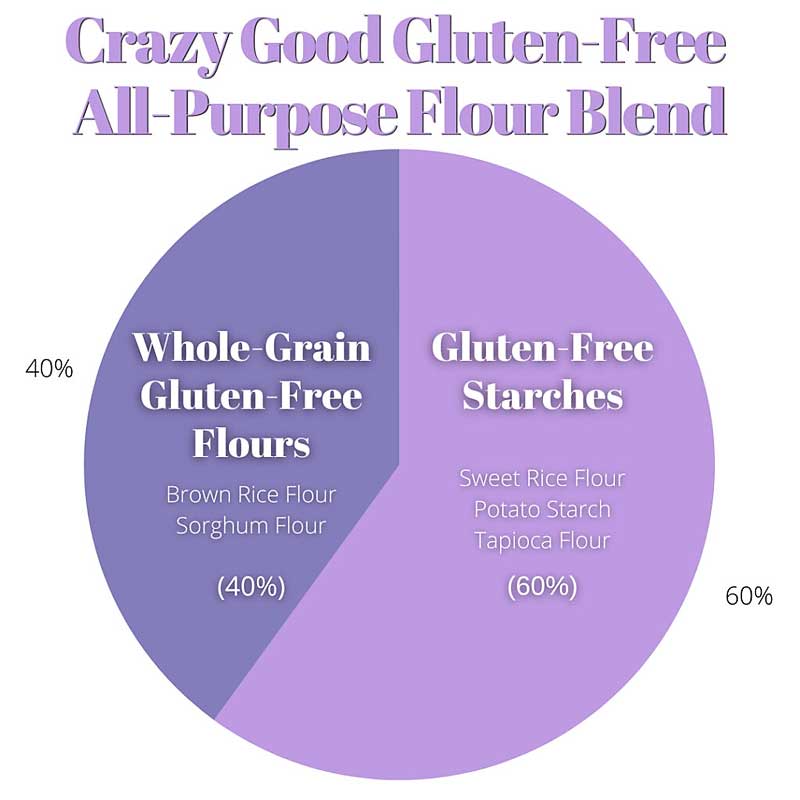
- Whole Grains, Starches & Proteins in the right balance.
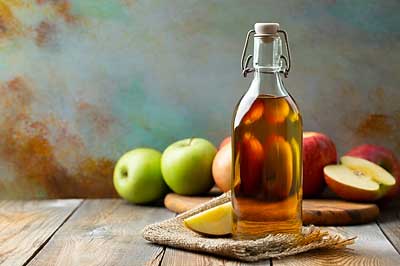
- Adding the KEY INGREDIENT Apple Cider Vinegar.
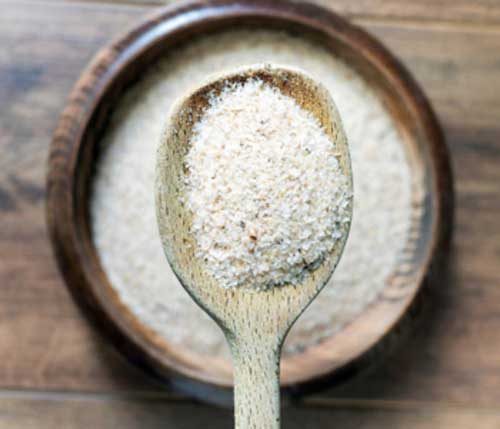
- Adding a BINDER (Psyllium Husk Powder, Chia Seeds or FlaxSeed)
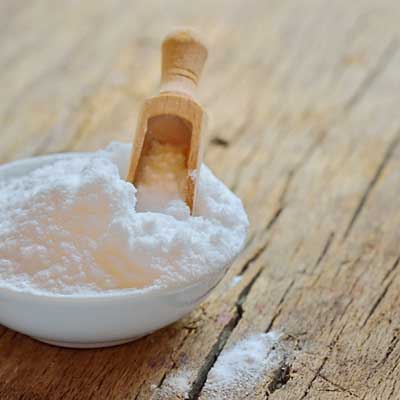
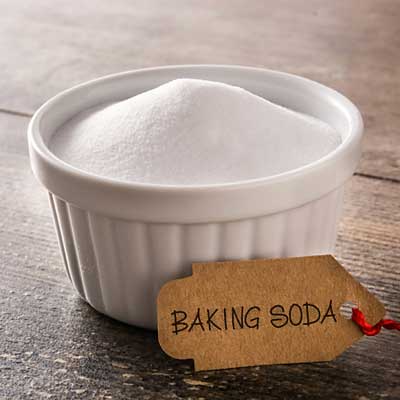
- Increasing the Baking Powder & / Baking Soda
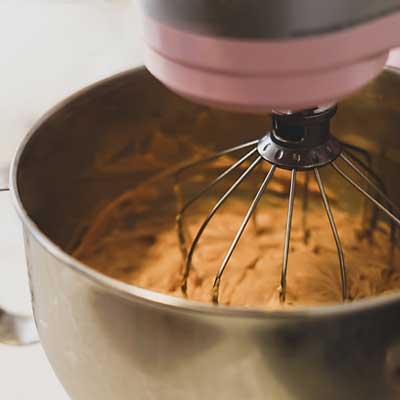
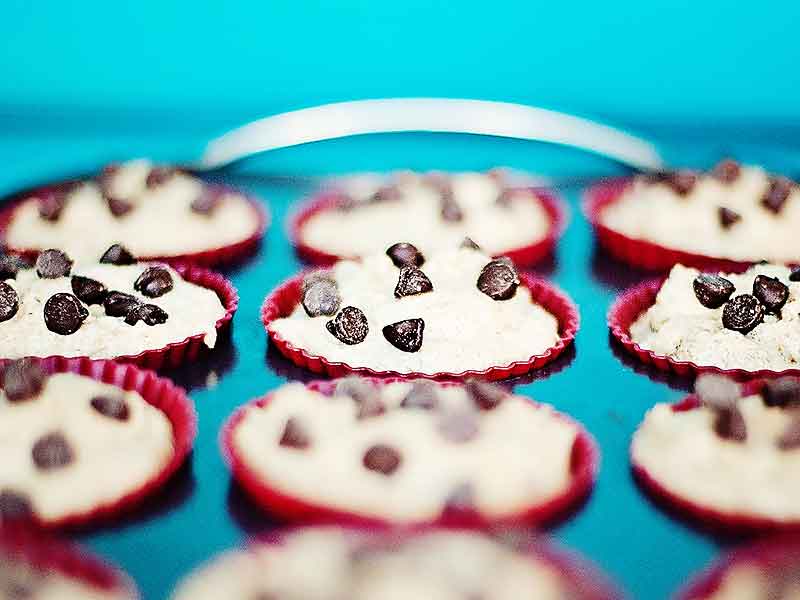
- Mixing batters longer. I totally agree with America’s Test Kitchen who suggest that mixing batter longer results in a better rise and nicer chew to your bake! Well mixed Gluten-Free dough can better support additions like blueberries or chocolate chips in muffins for example. They show a photograph on their site which shows the difference between under-mixed and well-mixed batter in terms of overall height and ability to support blueberries evenly. Check it out here.
2. MOISTURE
When converting a recipe to Gluten-Free, especially baking, it may be necessary to include (or slightly increase the amount) of a moisture rich ingredient like yogurt, oil or water. However, I find that in most cases if you use the balance of the above ingredients, this is not absolutely necessary. Just keep this in the back of your mind if you find your dish to be a little dry in comparison to its gluten-containing counterpart.
If your BAKE rises beautifully, then falls flat as it cools, it could be the ratio of liquid to dry ingredients is to high. Try decreasing the amount of liquid slightly and see what happens.
3. Let your dough and batters REST for 30′
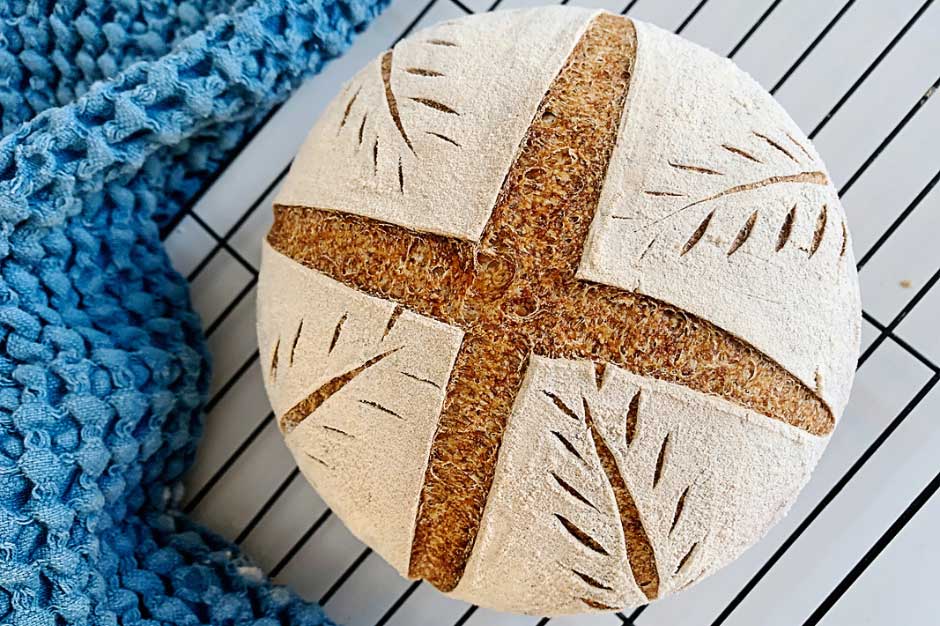
I love to bake sourdough bread from scratch with my wonderful starter, Bob (yes I named my starter Bob), which I made from scratch years ago. From baking with my starter, I’ve learn’t much about fermenting & proofing dough and how those affect my bakes. I have tried to take what I have learn’t from baking with Bob, and apply it to my Gluten-Free baking. Proofing the dough or batter, and letting them rest always helps improve the structure, texture, taste and rise of my Gluten-Free bakes.
I have always let my dough and batters rest, but not always on purpose! Over the years I often have gotten distracted by children, my hubby, or just life, and “accidentally” let my dough or batter rest for 30 mins when my recipe did not instruct me to do so. But low and behold, I found that this “accident” actually works to improve the quality of all of my bakes! So now, I “accidentally on purpose” let all of my batters and doughs rest covered for 30 mins.
America’s Test Kitchen explained to me why letting the dough and batters rest works! Resting your dough or batter, simply gives the flours and starches time to absorb the liquid before baking. Batters have time to improve viscosity or thickness and dough firms up and becomes less sticky!
Do NOT overproof your dough. Gluten dough needs to proof in order to develop strength. With Gluten-Free Doughs, I found if I overproof my dough or batter by letting it rest for >30mins, it tends to fall flat while it’s cooling.
4. BAKE TIME may need to INCREASE slightly
Gluten-free baked goods often need a little extra liquid to hydrate the flour blends and create a fluffy, light texture. However, it’s very important to bake off this extra moisture, or your baking will have a gummy texture. For example, when altering my Mom’s Bagel recipe I grew up making, I had to not only increase cook time but also the temperature of the oven (I believe due to living at a higher altitude) in order to achieve success with my Momma’s Marvellous Montreal Style Bagels.
I recommend ensuring your bake is in the centre of the oven and starting off with the same temperature and bake time as you normally would and using trial and error from there. If after resting your bake seems under cooked, try first increasing your cook time in 2-5 min increments until you find a perfect time and temperature! With a little practice I promise it’ll be a snap for you to alter your recipes! Also, make sure you look at all of the other factors I mention in this post as you may be able to alter another factor and keep your bake time the same.
Remember that if you increase the temperature of your bake, you may need to DECREASE the bake time. So please watch your bakes carefully the first time and adjust as needed.
Many suggest using a baking thermometer to test doneness. Although this is excellent advice, I find that with a little practice it isn’t absolutely neccessary. However, if you like to be exact, or if you’re struggling, you may find investing in an oven thermometer.
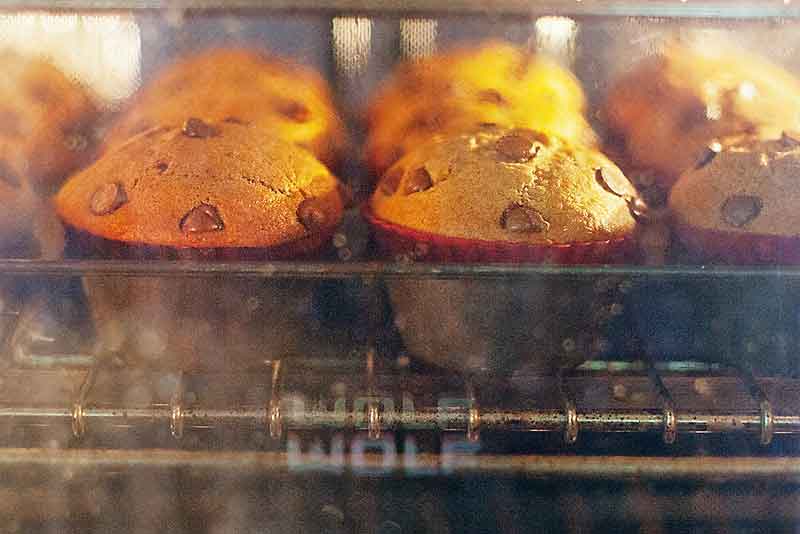
5. WATCH your bake closely
Until you get to know each new recipe you try, make sure to keep a close eye on your bake. Baking times can vary greatly with different Gluten-Free flours. So keeping a constant eye and looking for colours, textures, rise and other signs to indicate doneness is key!
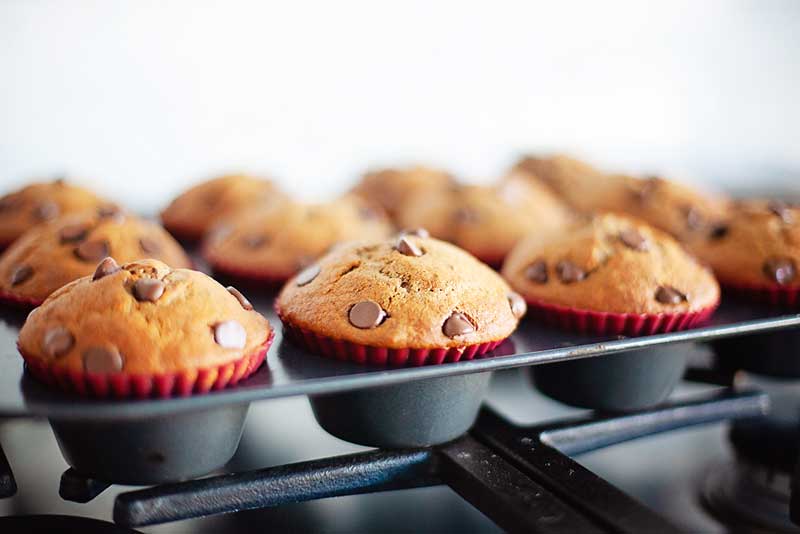
6. Let the bake REST in hot pan
I always found it hard to know when my bakes are REALLY done baking! This couldn’t be more true with Gluten-Free baking! Traditional techniques that many of us learn’t from our parents or even grandparents just don’t work with Gluten-Free bakes! Using a toothpick or the finger pressing on the top of muffins are not accurate indicators of doneness with Gluten-Free Baking! Many Gluten-Free bakers agree that when their baked goods are actually done cooking in the oven, they still look underdone. This is because, like it’s gluten-containing counterpart, Gluten-Free baking continues to cook while it’s cooling. However with Gluten-Free baking, this effect is actually necessary to achieve a successful bake! As the starches cool, they set and the bake becomes more firm. I remember baking with wheat based flours and removing the goods to cool on a cooling rack to stop the cooking. Don’t do this with Gluten-Free bakes. Let them REST in the hot pan for at least 15 minutes.
7. ALTITUDE EFFECTS on baking
Like my Mom always told me, baking just isn’t the same in Calgary (1,076m / 3,531ft altitude) as it was where she grew up in Newfoundland (sea level). She always told me I had to alter my recipes a bit, playing with amounts of yeast, liquids, baking powder etc. Although she may not have always known why, my amazing Mom was correct!


How Does Elevation Affect Baking?
Where I’m from, Calgary, Alberta, Canada, we live at quite a high elevation being so close to the Rocky Mountains. If I try to use recipes which were created at sea level, I often find the baking rises beautifully and then flops! So SAD!
As altitude rises, air pressure drops and the amount of gas molecules in the air decreases making the air “thiner”. Thin air at higher altitudes exerts less pressure than air at sea level. So in a city like Calgary, the air pressure is lower and the air is actually thiner than a city at sea level.
WheatMontana.com explains so beautifully, at a higher altitudes, the air is thiner, causing less resistance for the leavening agents as they push the dough higher and higher.
The air in Calgary, as in other locations with a high elevation, is also much drier, so the batter dries out and rises very quickly. Wheatmontana.com explains that this results in “an irregular rise that creates large, random air pockets in the baked good, causing them to fall flat after you get them out of the oven. Often, baked goods will rise before the ingredients have set up enough of a structure to support the rise, and the result is a flat and imploded batch of brownies.”
FACTORS that impact bakes at higher ALTITUDES and how to adjust for them:
Here high altitude in relation to baking is considered = or > 3,500ft or 1,065m. If this is you try the below tips!
I agree with and have followed the tips that wheatmontana.com has given on their post regarding baking at higher elevations. Keep in mind though that these guidelines are for baking with gluten-containing grains. Although the science of higher altitude is still relevant to Gluten-Free baking, please follow my above tips and look to these impacts of altitude if you’re not having success!
Here are the guidelines from Wheat Montana Farms & Bakery:
- FLOUR
Increase by 1Tbsp to help steady the rise and add structure.
If even more structure is needed, try using a HIGHER total % protein in your Gluten-Free Blend.
- YEAST
Decrease by 25% & account for a shorter rising time.
Yeast breads will rise faster at higher elevations. If you don’t decrease the amount of yeast, they may collapse once cooled.
- SUGAR
Decrease by 1 tbsp per cup.
Since liquids evaporate faster at higher elevations, the concentration of sugar goes up. Be sure to reduce to prevent your baked goods from collapsing.
- LIQUIDS
Increase by 1 to 2 tbsp per 1,000 ft.
To compensate for faster evaporation and keep things from drying out and crisping before they rise.
- BAKING POWDER / BAKING SODA *
Decrease by 20% above 3,500 ft
Decrease by 50% above 5,000 ft
Decrease by 75% above 6,500 ft
Decreasing the amount leavening agents is mean’t to help your bakes to rise more gradually at higher elevations.
I actually find I need to increase my baking powder / soda with Gluten-Free Baking (as I mentioned above) despite living at a higher altitude. Please let me know what you have success with!
- OVEN TEMPERATURE
Increase by 15-25℉.
At higher altitudes the air is much drier and evaporation happens faster. Raising the temperature will help the baked goods set faster preventing them from drying out.
- BAKING TIME *
Decrease by 20-30%.
To compensate for the increased oven temperature. Watch your bake closely!
I leave my bake time the same as my original recipe to start because of the balancing act of high elevation and need for increased bake times for Gluten-Free baking.
* Where the CONFUSION comes into play!
Some may say, but Trish, I live at a high altitude AND I’m baking Gluten-Free! Some of these tips are opposite of your advice above (for example, to increase Baking Powder to improve structure or the bake time)! Yes, this is true. If you are like me and live at an altitude of 1,067m or 3,500ft or higher, it is a complete balancing act. You will have to try and find what works for you.
Does the high altitude affect your bake more? Or is the need to improve structure more important? My advice is to try the above tricks first, but decrease the amount of yeast by 25% and go from there. If you find your baking still falling flat, then adjust for the high altitude as needed. Sadly, there is no one right answer here. But, have faith, you can do this! I am always here to help!
8. Which VARIABLE should I change 1st?
Not having any luck with a recipe and think you need to follow the above tips to get more success? Just make sure to change 1 VARIABLE AT A TIME.
Baking, and truly any cooking, is a science experiment, and as such if you want to know the effect of one variable on the outcome of your dish, then you need to change one variable at a time and record your success or failures. Then just keep trying until you’ve reached your desired goal!
Example: Attempting to convert a Banana Muffin Recipe to Gluten-Free
- I convert the recipe as per my cheat sheet and find the muffins rise beautifully but then fall slightly flat once cooled.
- Which variable should I examine first? Read through the above 7 tips and see which factor you feel may have the most impact. Chose 1 – I chose to slightly decrease the liquids.
- Attempt bake again with one variable changed.
- What is the result? Is it to your liking or do you need to adjust another variable? If improved but not quite right go to step 5.
- If needed go back to Step 2 and change a second variable. Keep everything else the same.
- Keep changing one variable at a time until you perfect your recipe! I had to increase the Baking Soda and Baking Powder slightly more than 25% and the results were superb!
- Usually you’ll only have to alter 1 or 2 variables to perfect your recipe as long as you follow the TIPS & TRICKS!
We ALL flop sometimes. Just keep trying! I promise…

ENJOY!
If you’re attempting to figure out why your recipe won’t work for you and you need a little more help, please don’t hesitate to contact me! I’m always here to help! Please subscribe to keep up to date on my most recent additions to TurmericMeCrazy.com!
If you’ve found this helpful, please PIN it to your Pinterest page!
I’d be SO excited if you followed me on Instagram and Facebook! Please check it out.