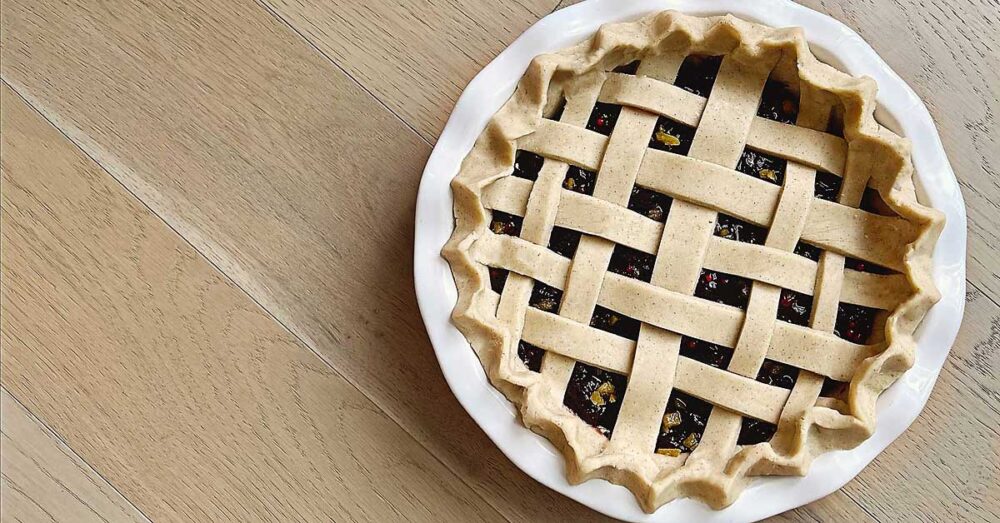
What is a holiday celebration without pie? This Cherry Cranberry Pie will truly steal the show this season! With a gorgeous aroma and the perfect amount of sugar and spice, it is bound to become a new family favourite ♡. There’s nothing like a gorgeous cherry pie bubbling through a rich, flakey pie crust! Make the BEST cherry pie from scratch with our Easy Gluten Free Eggless Pie Crust and frozen cherries!
This recipe is:
The holiday season is a time for indulging in delightful treats that warm the heart and bring joy to every gathering. If you’re looking to elevate your festive dessert spread, our Cherry Cranberry Pie Filling is a must-try. This delightful fusion of sweet cherries and tart cranberries creates a symphony of flavours that captures the essence of the holidays. Let’s dive into the magic of this festive pie filling and get ready to spread some holiday cheer!
THE BEST GLUTEN FREE EGGLESS PIE CRUST
I promise you’re going to fall in love with this easy flakey pie crust recipe that has a rich buttery flavour! With just 7 natural simple ingredients (NO SHORTENING HERE) this pie crust is not only free of gluten and eggs but also bursting with flavour and flakiness. With a vegan (dairy free) option, I hope absolutely everyone can enjoy an irresistible pie this holiday season!
We included Amazon affiliate links below to our favourite tools for making pie dough!
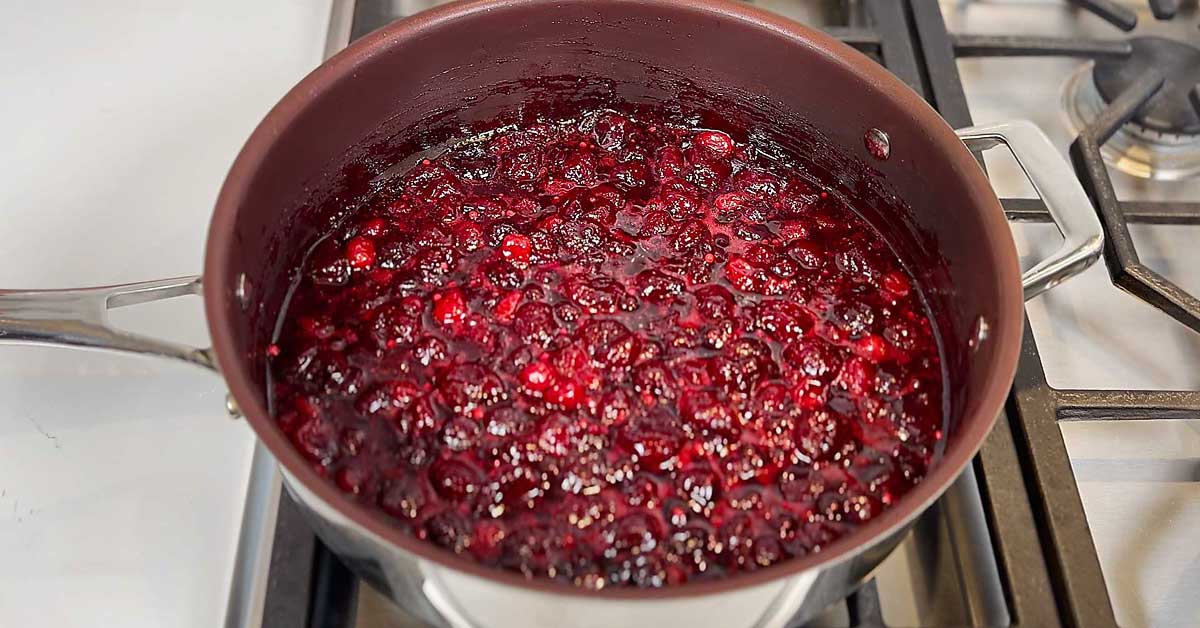
INGREDIENTS for cherry cranberry pie
With these basic ingredients, it truly doesn’t get any easier than this! You may even have everything you need to make homemade cherry cranberry pie already!
Simple INGREDIENTS IN cherry cranberry pie
- 860g (6 cups) Frozen Sweet Dark Cherries (or variety)
- 150g (1.5 cups) Frozen Cranberries
- 30mL (2.5 Tbsp) Freshly Squeezed Lemon Juice
- 8g (1.5 tsp) Pumpkin Spice Mix
- 30g Tapioca Seeds (aka seed tapioca or small white tapioca pearls)
- Pie Crust – you will need two disks to make the base & lattice top (1x recipe of Pie Dough)
watch me make cherry cranberry pie filling (video)
See Trish make her favourite holiday pie filling recipe, Cherry Cranberry Pie Filling.
If you enjoyed this Cherry Cranberry Pie video tutorial, please check out all of our video recipes on our Youtube Channel. If you enjoy our videos, please subscribe to our channel on Youtube so you will be the first to know when we post a new video!
watch me make gluten free egg free pie crust (video)
See Trish make her go-to pie crust recipe. I just know that you will love the irresistible flavour of this cherry pie with the best pie crust that I hope everyone can enjoy no matter what their dietary needs!
If you enjoyed this Cherry Cranberry Pie video tutorial, please check out all of our video recipes on our Youtube Channel. If you enjoy our videos, please subscribe to our channel on Youtube so you will be the first to know when we post a new video!
4 Easy steps: perfect cherry cranberry pie filling
Step 1: soak tapioca seeds (aka small white pearl tapioca)
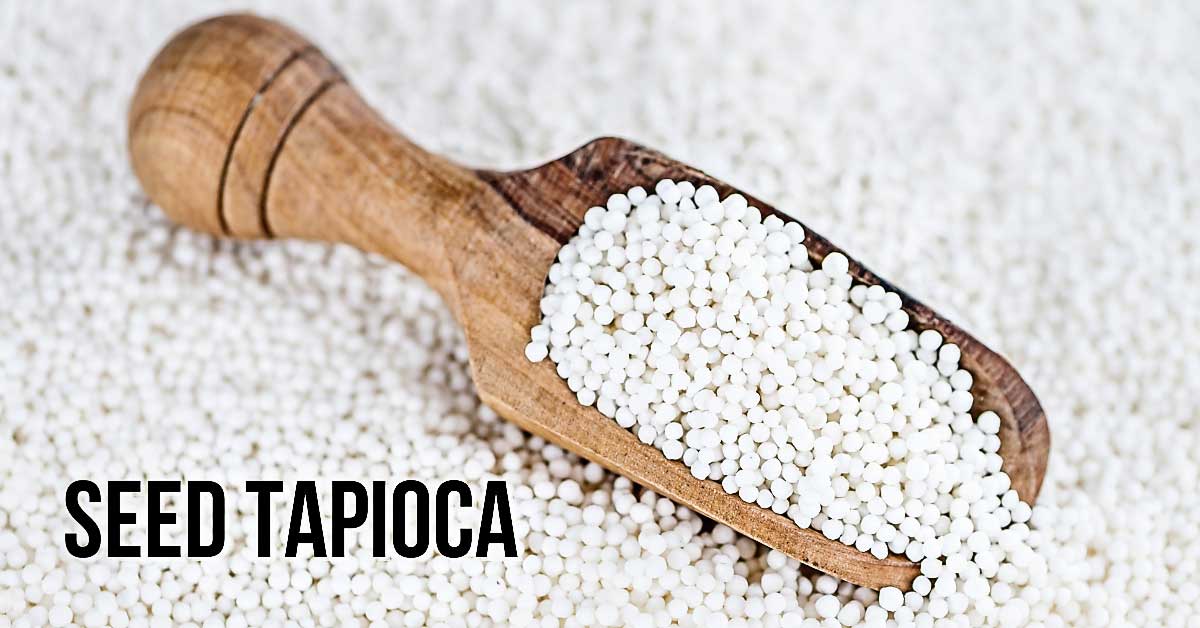
Simply soak the seed tapioca in water for about 30 minutes. This not only washes them, but sort of prepares them by softening them just slightly. These tapioca seeds (aka small white tapioca pearls) are the thickening agent for this corn free pie filling!
Step 2: heat frozen berries to release liquid
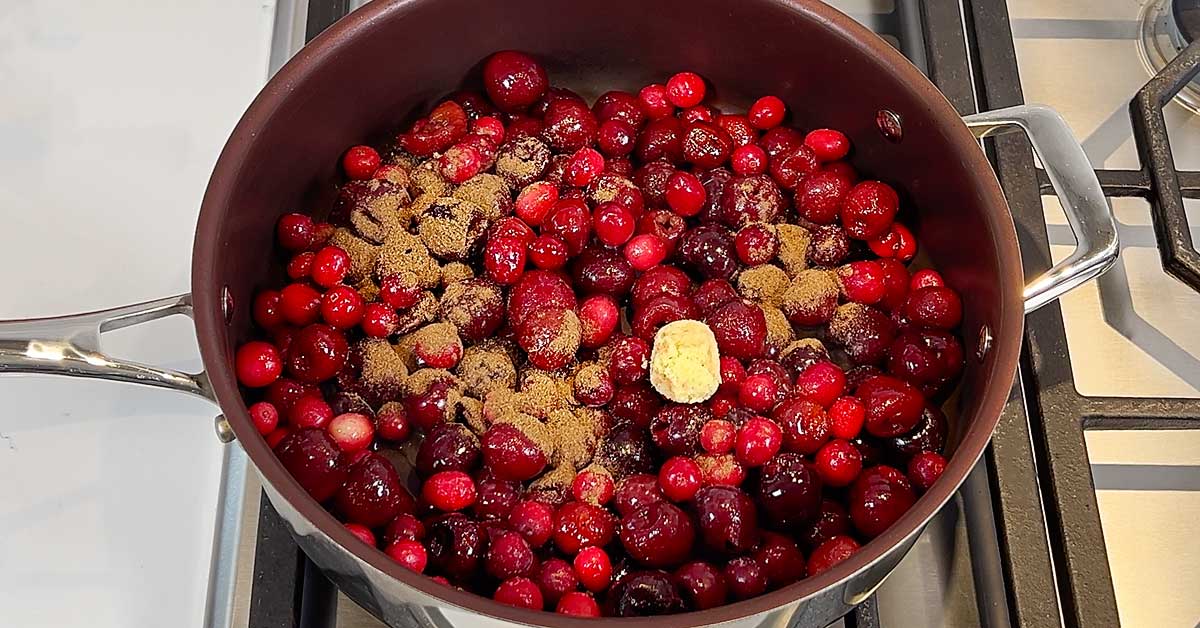
Place all of the frozen berries, cherries and cranberries, along with the lemon juice, ginger and pumpkin spice mix (try making your own, you won’t regret it I promise) into a large pot (large diameter is best).
Mix to combine, cover and heat over medium high heat for about 2-3 minutes until the berries have released their liquid.
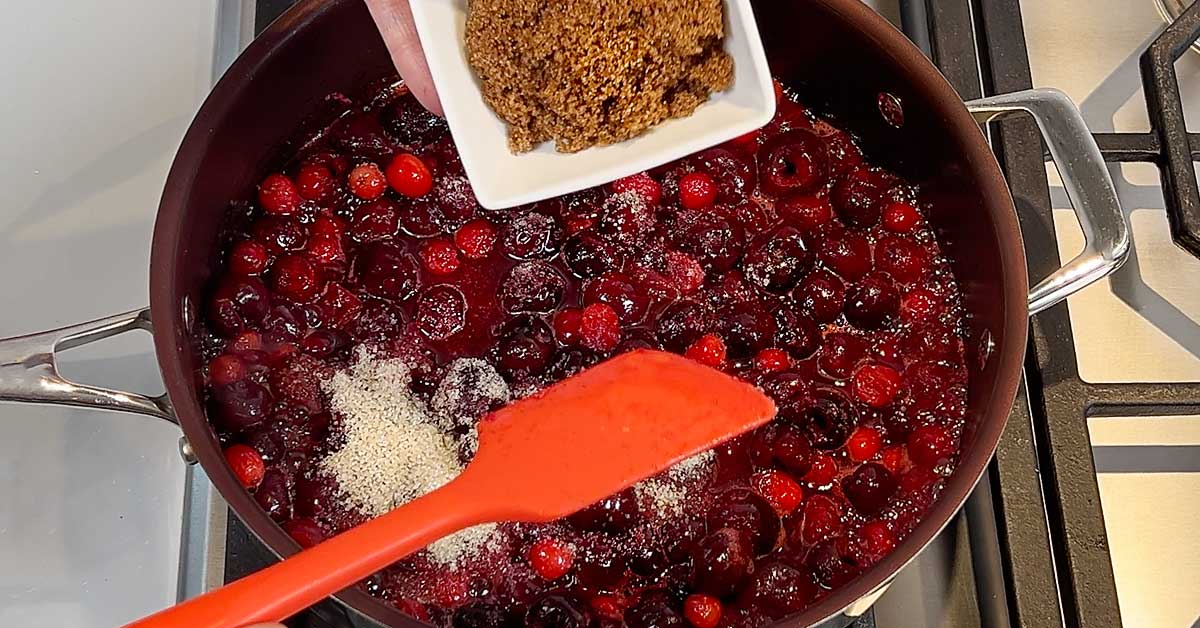
Step 3: add sweetness
The tartness of the cherries and cranberries are perfectly balanced with a little dark brown sugar & cane sugar. The molasses flavour of the dark brown sugar complements the berries and spice just perfectly!
Step 4: add tapioca seeds & simmer to thicken
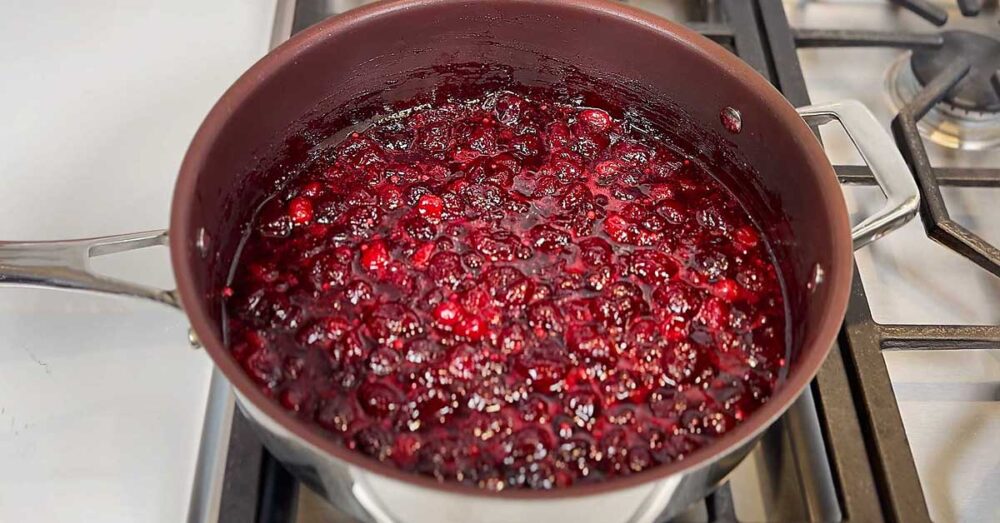
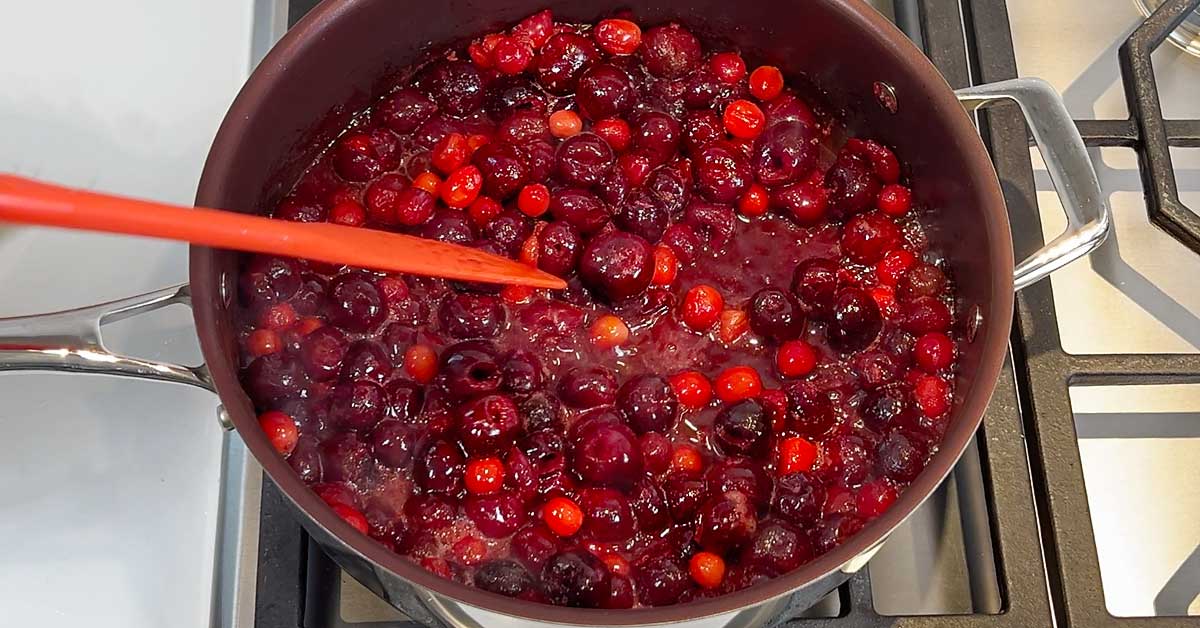
Strain the water from the soaking tapioca seeds and add them directly to the pot. Mix to combine and bring the mixture to a gentle simmer (see video). Keep a close eye on your delicious pie filling to ensure it doesn’t boil hard as it will burn and ruin your cherry pie filling!
Simmer for about 30 minutes to reduce the liquid and thicken. It will also continue to thicken once removed form the heat as it cools.
Step 5: cool completely before adding to pie crust
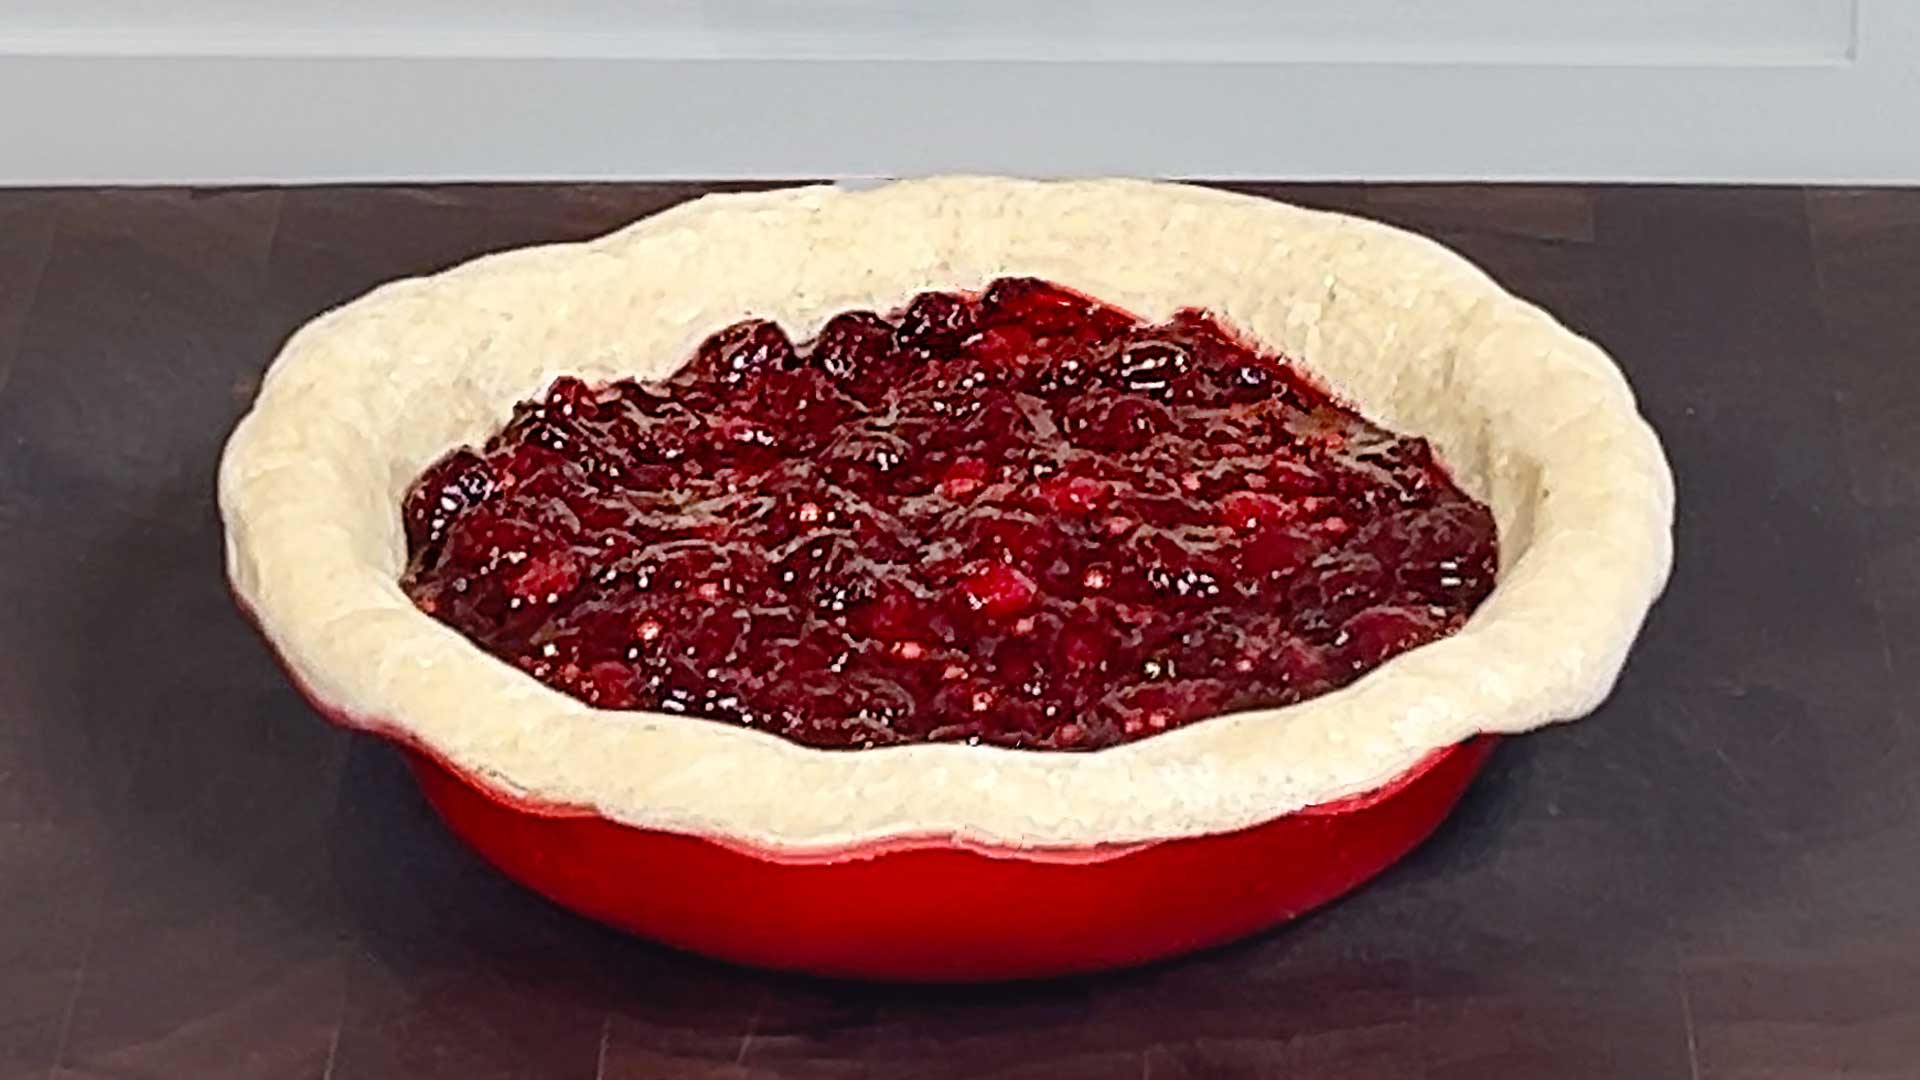
Ensure that your cherry cranberry pie filling is completely cooled before adding to your pie crust. If you add it hot, it will cause your pie crust to become soggy and lose it’s flakiness! You can use an ice bath to speed up the cooling process significantly!
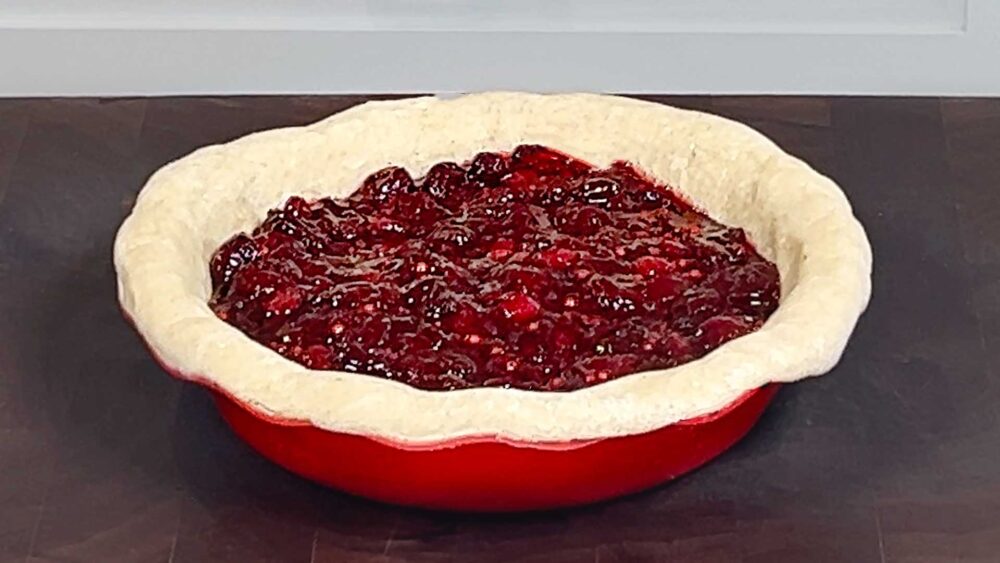
Adding a lattice top to your cherry cranberry pie
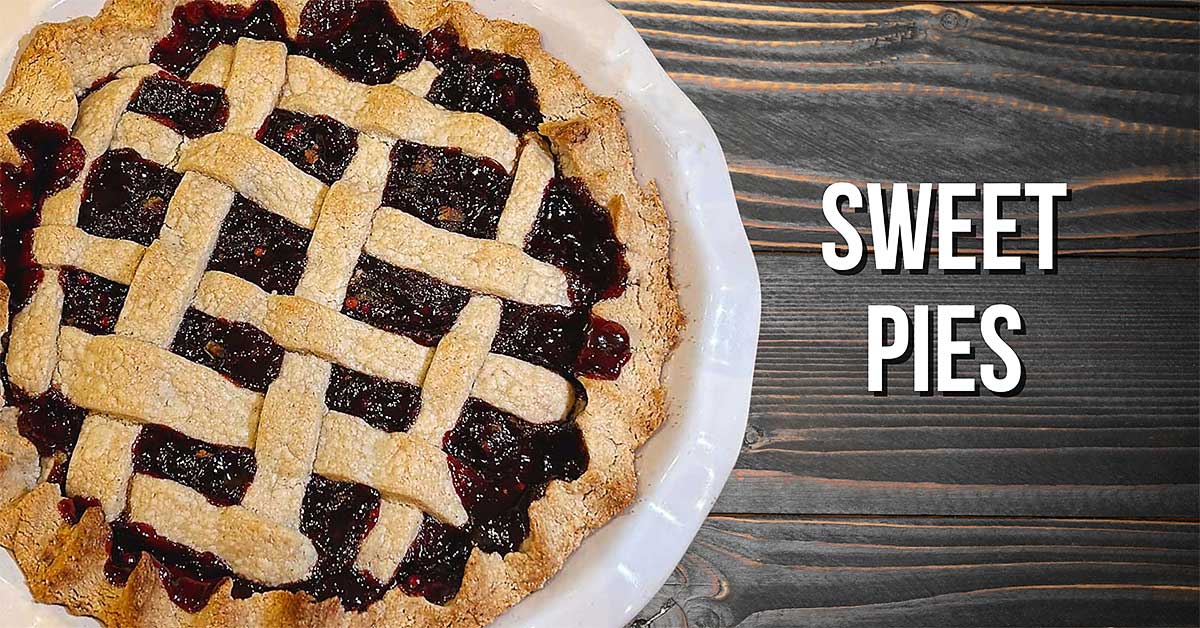
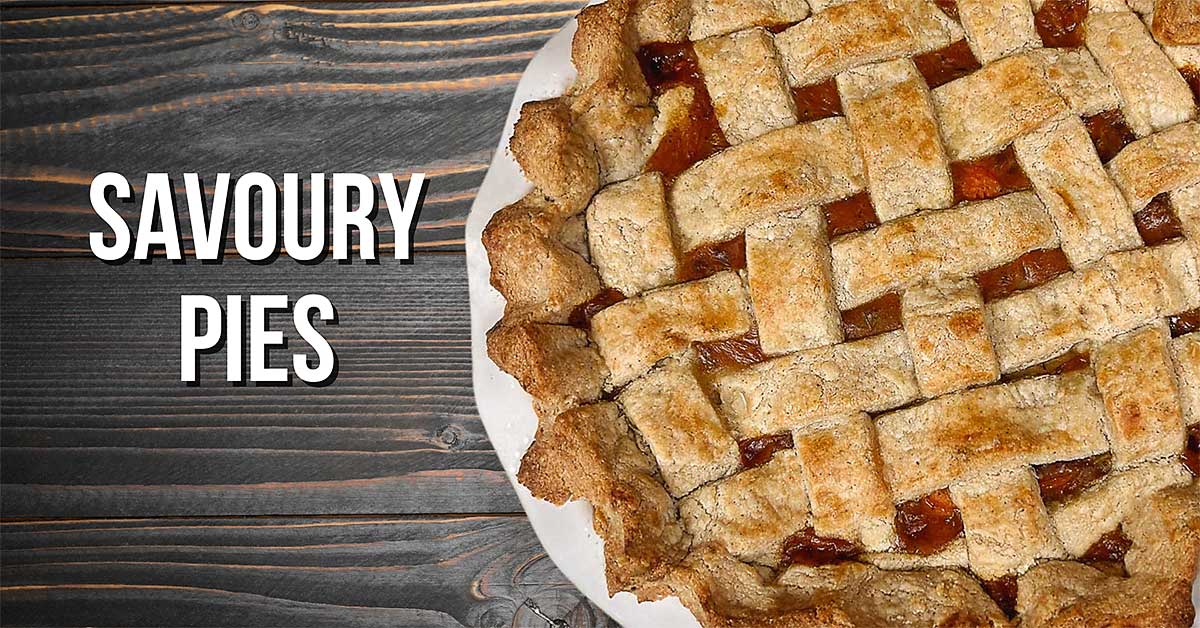
Want to take your pie to the next level? Add a beautiful lattice top! It’s easy to do even with my more delicate gluten free, egg free pie crust! Learn how here!
baking your cherry cranberry pie
- COOL: Before baking your gorgeous pie you’ll want to ensure that the crust is cold. This will ensure that the pie crust has an incredible flakey texture & helps prevent it from browning to fast. Cover and refrigerate your completed cherry cranberry pie for at least 30-45 minutes prior to baking.
- PREHEAT: ensure your oven is nice and hot prior to baking. Preheat to 400°F (204°C).
- BAKE: place pie onto the lower 3rd rack and bake uncovered for 20 minutes. Turn heat down to 325°F (163°C), rotate pie 180° and bake for an additional 25-30 minutes. Watch to ensure that your pie crust is not browning to quickly as every oven is different. If it is, cover with foil or a pie crust shield.
Tips for Transferring the Dough to a pie plate
WATCH MY HOW TO VIDEO HERE!
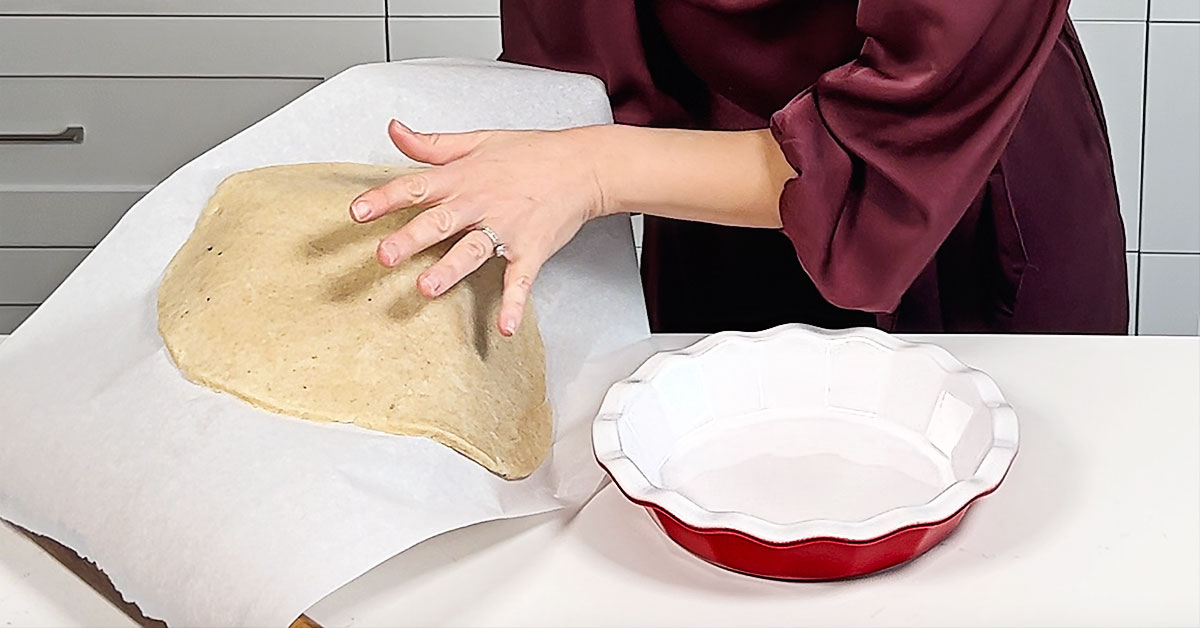
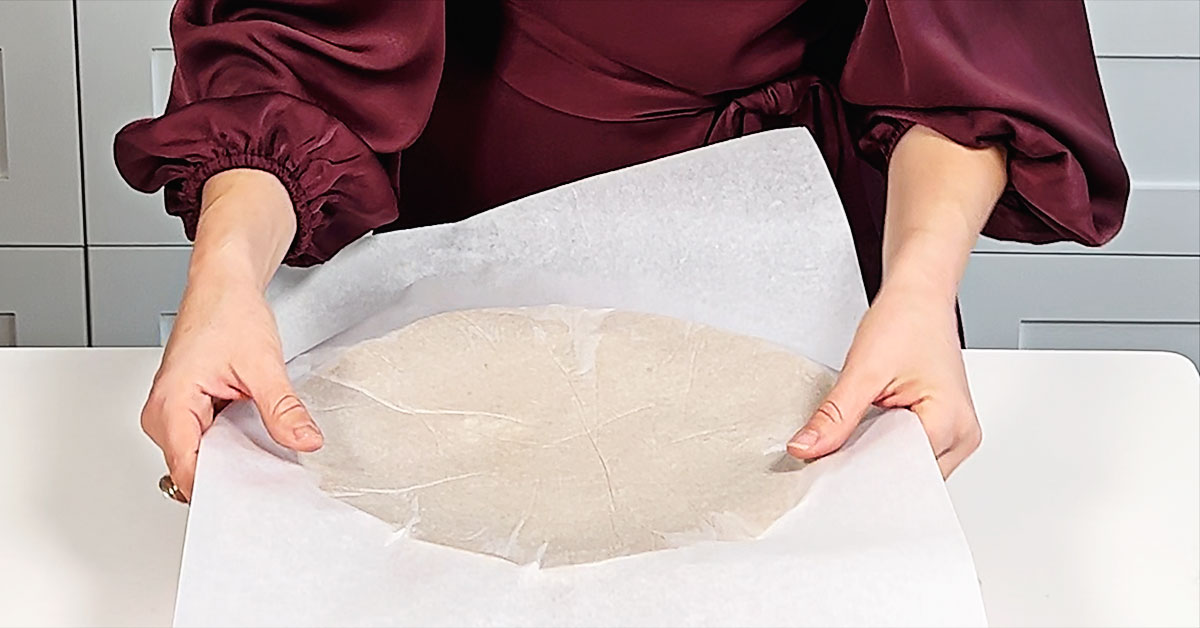
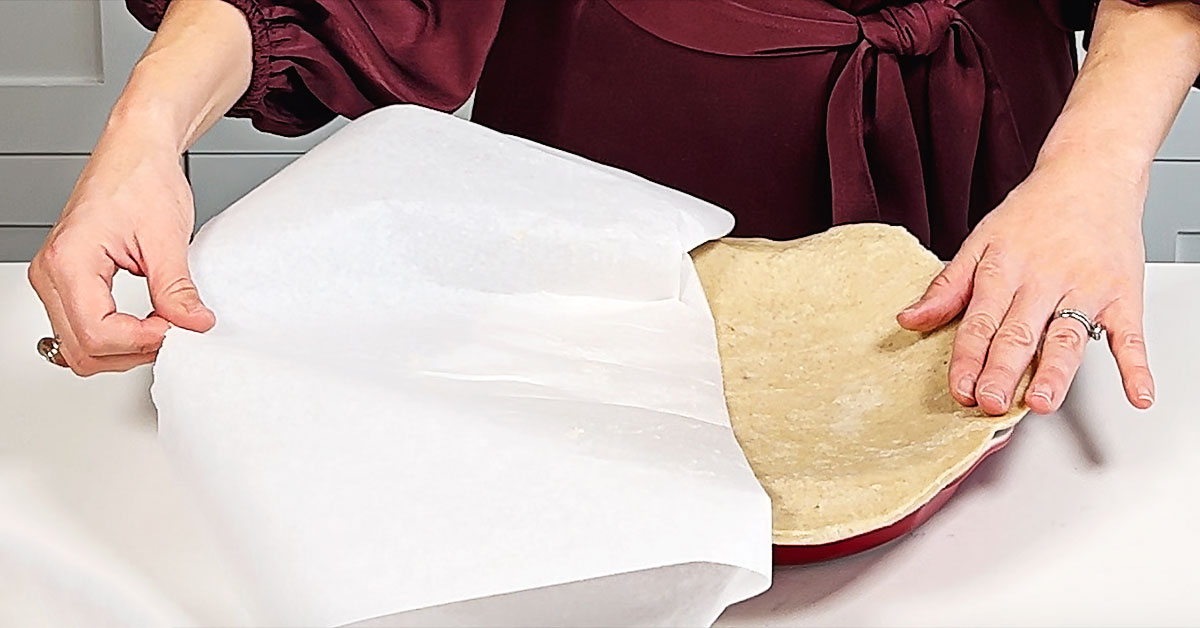
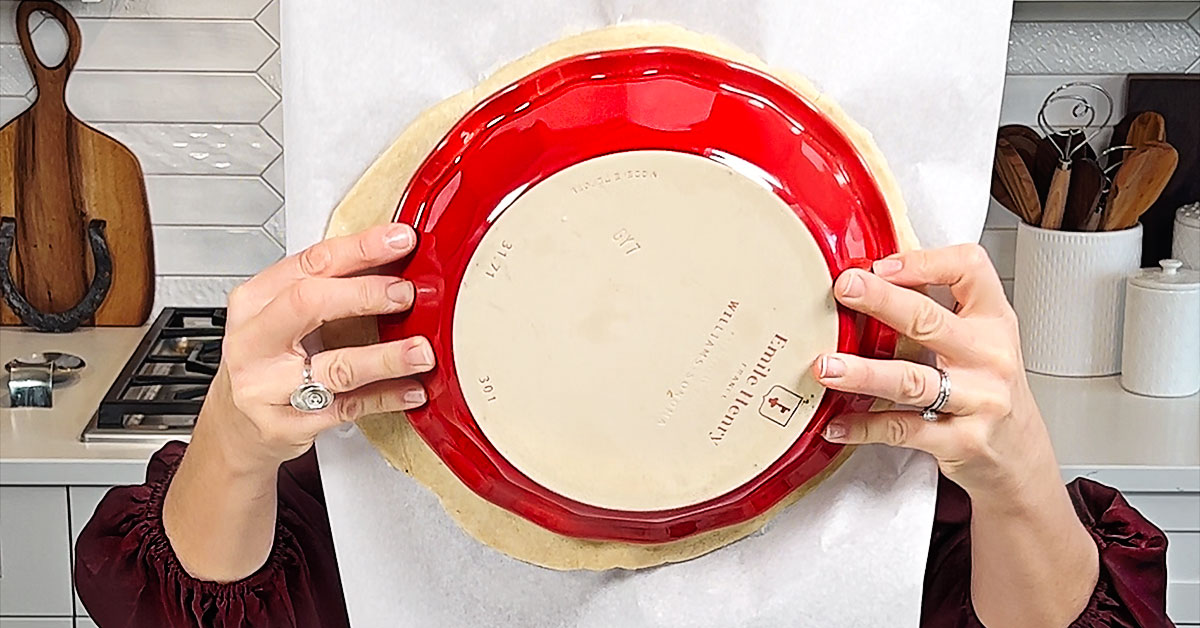
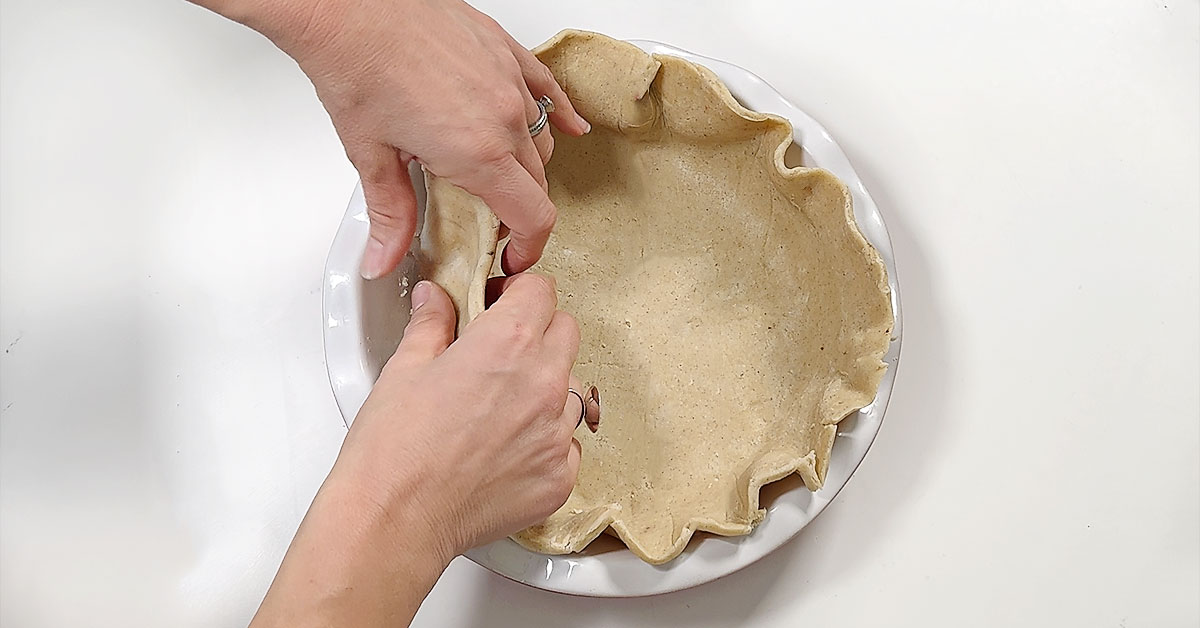
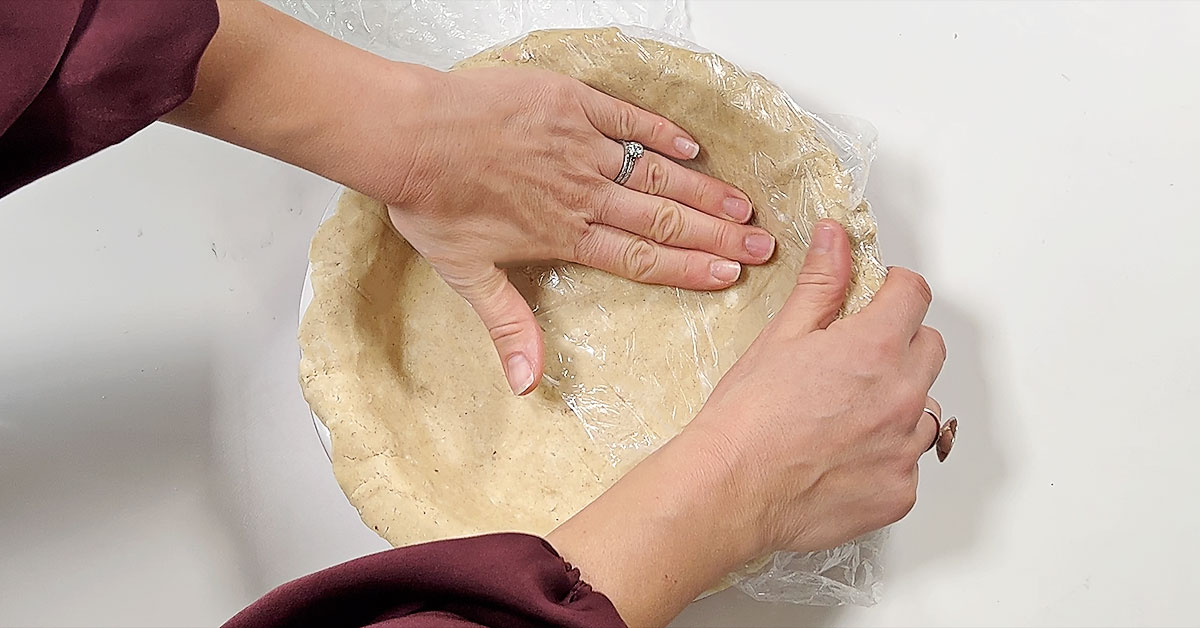
Carefully lift rolled out pie dough on parchment paper and invert the crust into your pie pan. Gently lift the edges to allow the sides to fall into place. Don’t stretch the dough. Gently press it into place, patching any cracks or tears with your fingers.
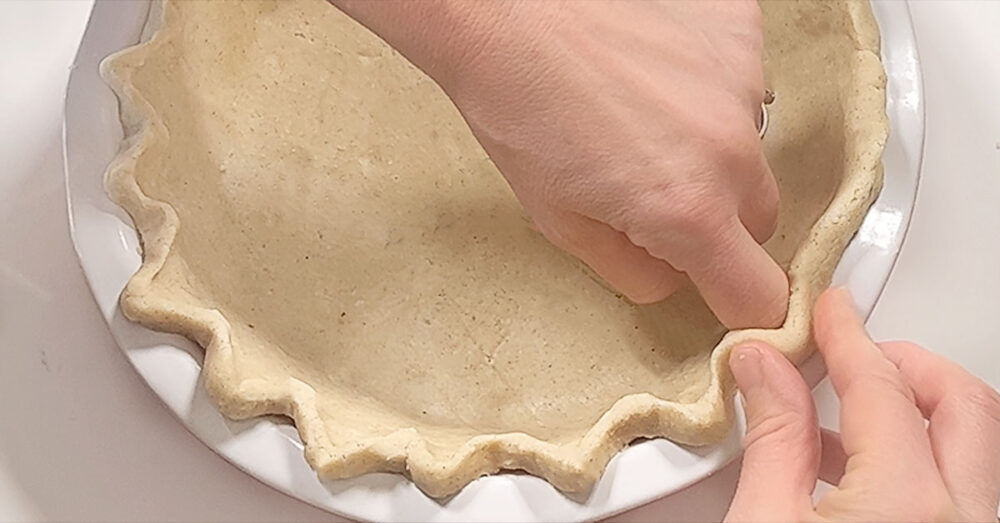
Fold over the edge back under itself to create a lovely straight, smooth edge (no waste this way). Alternately, use kitchen scissors to trim the excess dough around the edges leaving a straight edge about 1/2″ to 3/4″ overhang. Save any excess dough to use for lattice top if your making one or even to cut out shapes with a cookie cutter to dress up your pie.
Fluting a pie crust is the decorative crimping or pinching of the edges of the crust to create a visually appealing, inviting and traditional finish. Enjoy the process and the beautiful result! Check out my written step-by-step guide on how to flute a pie crust.
Frequently asked questions
Do I have to use a Food Processor to make the pie dough?
I highly recommend using a food processor for ease and time saving. You don't need a fancy one though, any type will work. However, you can also use a pastry cutter or even a fork to incorporate the fat it will just take a lot longer. Try and avoid handling the dough with your hands as much as possible.
Why is my dough SO hard?
When you first remove your dough from the refrigerator you might think oh no, it's as hard as a rock! Especially if you have refrigerated it for longer than 1 hour. Don't worry, let it rest for 10-15 minutes on the countertop (still in plastic wrap) and it will be the perfect consistency to roll out. Make sure it is still cool though as we want to try and keep those fats in solid form until we cook our pie!
Can I make this crust ahead of time?
Yes you sure can! In fact, I highly recommend it for busy occasions, holidays, or whenever you want to enjoy a homemade pie with minimal effort. Whether refrigerated or frozen, having the dough ready allows you to focus on the fun part – creating delicious fillings and savouring the joy of baking.
Making Gluten-Free Pie Crust in Advance:
Prepare the Dough: Mix the ingredients and forming the dough as instructed above.
Shape and Wrap: Shape the dough into a disk, wrap it tightly in plastic wrap, then seal in a air-tight container or Ziplock bag and refrigerate.
Refrigerate or Freeze: Depending on when you plan to use the crust, you have two options:
Refrigeration (Short-Term): If you intend to use the crust within a few days, store it in the refrigerator. The dough can typically be refrigerated for up to 2-3 days.
Freezing (Long-Term): For longer storage, place the wrapped dough in an airtight container or a heavy-duty freezer bag, label it with the date, and freeze. Gluten-free pie crust dough can be frozen for several weeks. My favourite thing to do is make a double batch and freeze some dough for when the pie craving hits or we are hosting a dinner.
How to use frozen pie dough
Using Refrigerated or Frozen Gluten-Free Pie Crust Dough:
Thawing: If the dough has been frozen, transfer it to the refrigerator the night before you plan to use it. Thawing in the refrigerator helps maintain the texture of the crust.
Rolling and Baking: Once the dough is sufficiently thawed but still chilled, roll it out as described above. Depending on the type of pie you're making a you may chose to blind bake the crust.
Filling and Baking: Add your desired filling and proceed with baking according to your recipe.
Tips:
Label and Date: When freezing, always label the container with the type of dough and the date to keep track of freshness.
Consistency Check: Before rolling out the dough, allow it to come to a slightly pliable consistency by resting on the counter. This ensures easier handling and a more even crust.
Can I freeze the cherry cranberry pie filling?
Absolutely! I highly recommend freezing the filling separately. I freeze my dough into disks and filling in an air-tight container, then thaw both overnight in the refrigerator.
Make your favourite pie Gluten Free this holiday season!
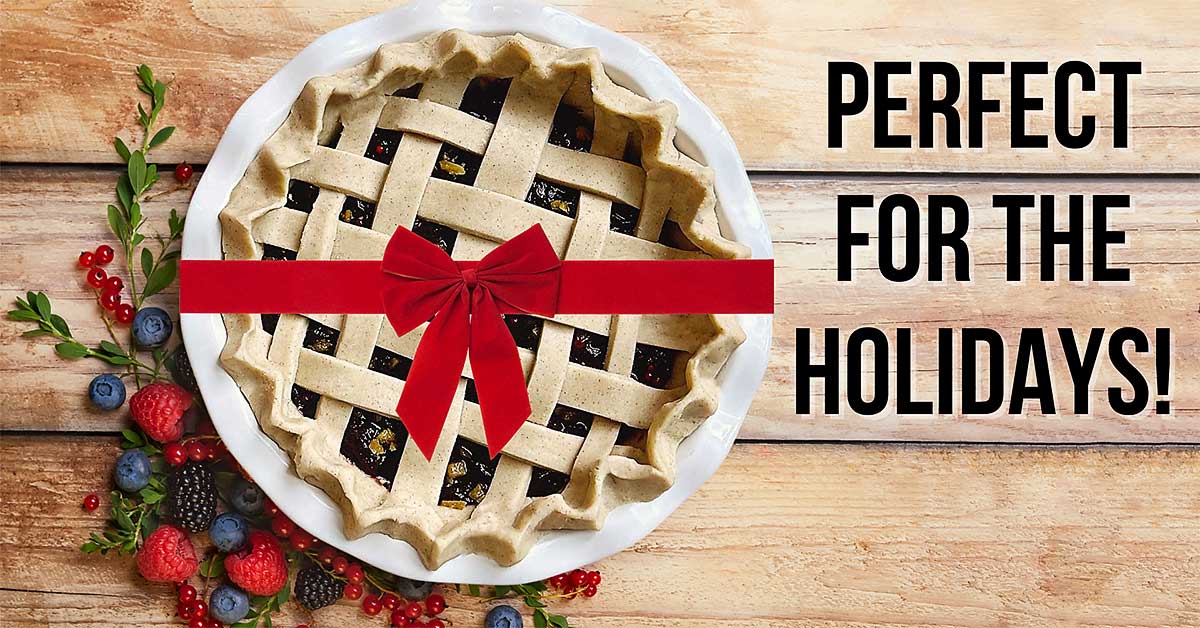
BRING THE PERFECT DESSERT!
If you are heading to a loved ones for the holidays, and have someone living with dietary restrictions, they will be absolutely tickled! Just this small effort will truly mean the world to your loved one, the perfect gift!
MORE GLUTEN FREE PIE RECIPES & HOW TO'S
I am working hard to get all of my families favourite pie recipes & how to guides added to my website. Now here or coming soon you’ll find links to:
- Gluten Free Eggless Pie Crust
- Tips & Tricks for the PERFECT PIE
- How to Flute the edges of your pie crust
- How to make a lattice top for your pie – it is so easy!
- Classic Apple & Cinnamon Pie
- Chicken Pot Pie
- Veggie Coconut Curry Pie
- Mini pies for a hot lunch
Want more delicious recipes & or how to guides at your fingertips?
Get updates on our latest posts & recipes from TurmericMeCrazy straight to your inbox!
By clicking subscribe you are consenting to receive emails from TurmericMeCrazy. I will only email you monthly with new recipes & updates. No spam I promise!
Pay It Forward
please share
I hope you LOVE this tangy twist on the classic original cherry pie as much as we do! My goal is that absolutely everyone can enjoy a piece of pie no matter what their dietary needs! No holiday is the same without pie right!
If you enjoy it, please share the link to this page on your social media or PIN this picture to your Pinterest account.
As always thank you in advance for subscribing to my blog & YouTube Channel as well as following me & liking my posts on Pinterest, FaceBook & Instagram! Comments and Ratings on my recipes & social media really helps support me! So thank you ever so much.


PLEASE RATE & COMMENT
If you try making this easy cherry cranberry pie I’d be ever so grateful if you’d please add a comment & a rating onto the recipe below or at the bottom of the post ♡. This will help Google recognize it and help my website grow.
Thank you once again for your readership & support.

cherry cranberry pie recipe

Cherry Cranberry Pie
Equipment Needed
- 1 Large Pot
INGREDIENTS
- 860 g Frozen Sweet Dark Cherries (or variety) (6 cups)
- 150 g Frozen Cranberries (1.5 cups)
- 30 mL Lemon Juice, freshly squeezed (2.5 Tbsp)
- 8 g Ginger, freshly grated (1.5 tsp)
- 3 g Pumpkin Spice Mix (1 tsp)
- 75 g Dark Brown Sugar (1/4 cup)
- 80 g Cane Sugar (1/2 cup)
- 30 g Tapioca Seeds (aka seed tapioca) (2 Tbsp)
- 1 Recipe for Double Pie Crust
INSTRUCTIONS
Soak Tapioca Seeds
- Place tapioca seeds in water and soak for 30 minutes.30 g Tapioca Seeds (aka seed tapioca)
Heat Frozen Berries - release liquid
- Add frozen cherries & cranberries, lemon juice, ginger & pumpkin spice mix to a large pot and mix well. Cover and bring to a low boil for 2 to 3 minutes to release the liquid.860 g Frozen Sweet Dark Cherries (or variety), 150 g Frozen Cranberries, 30 mL Lemon Juice, freshly squeezed, 8 g Ginger, freshly grated, 3 g Pumpkin Spice Mix
Add Sweetness
- Add cane sugar & dark brown sugar, mix well. Turn down heat until reaches a gentle simmer.75 g Dark Brown Sugar, 80 g Cane Sugar
Add Tapioca Seeds & Reduce
- Strain tapioca seeds to remove water, then add to cherry mixture. Taste test, add more sugar or spice if desired. Remember it will reduce making it taste sweeter.
- Simmer uncovered for 30 minutes until mixture reduces by half and thickens significantly (see video)
Cool Completely
- Cool filling completely before adding to your prepared pie crust. Use an ice bath to speedily cool your filling!
Prepare Pie Crust & Add Cooled Filling
- Roll the larger pie crust disk into a 12-13" circle and transfer to a 9-10" wide pie plate. The edges should hang a little over the edge of the pan. Once fully cooled, pour the cherry cranberry mixture over the bottom crust. See post above for tips and tricks to perfectly roll out & transfer your pie crust into your pie plate.1 Recipe for Double Pie Crust
Make Pie Top & Finish Edges
- See post above for guide to making a gorgeous lattice top for your pie as well as how to flute the edges.
Chill then Bake
- Cover your prepared pie and cool in refrigerator for 15 minutes. Bake at 400°F (205°C) in the lower 1/3 of oven, uncovered for 20 minutes. Turn heat down to 325°F (163°C), rotate pie 180° and bake for an additional 25-30 minutes, or until crust is golden and cherry cranberry juice is bubbling (as seen through the lattice top).
Completely Cool & Enjoy
- Allow your pie to rest and cool until the pie plate is just barely warm (at least 1 hour at room temp). This allows the filling to set completely so that you can cut and transfer each piece of pie beautifully! Enjoy ♥︎
Nutrition
ARE WE CONNECTED YET?
OTHER DELICIOUS RECIPES TO TRY...
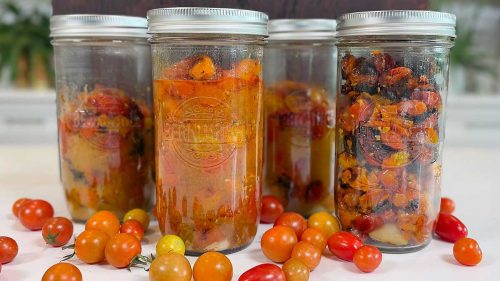
How to Fire Roast Tomatoes – easily preserve tomatoes

DIY Self-Watering Raised Planter

Creamy salmon pasta with green beans and spinach – dairy free!
Using Air-Dry Clay With Decorative Moulds – Beginner’s Tips & Tricks

How to Manage and Style Thick, Coarse, Frizzy Hair!

How to make French Inspired Wall Panels

How to remove paint from carpet
3 Irresistible Cashew Dips







One Response
This is so easy and I love the holiday flavours so much. Thank you Trish!