


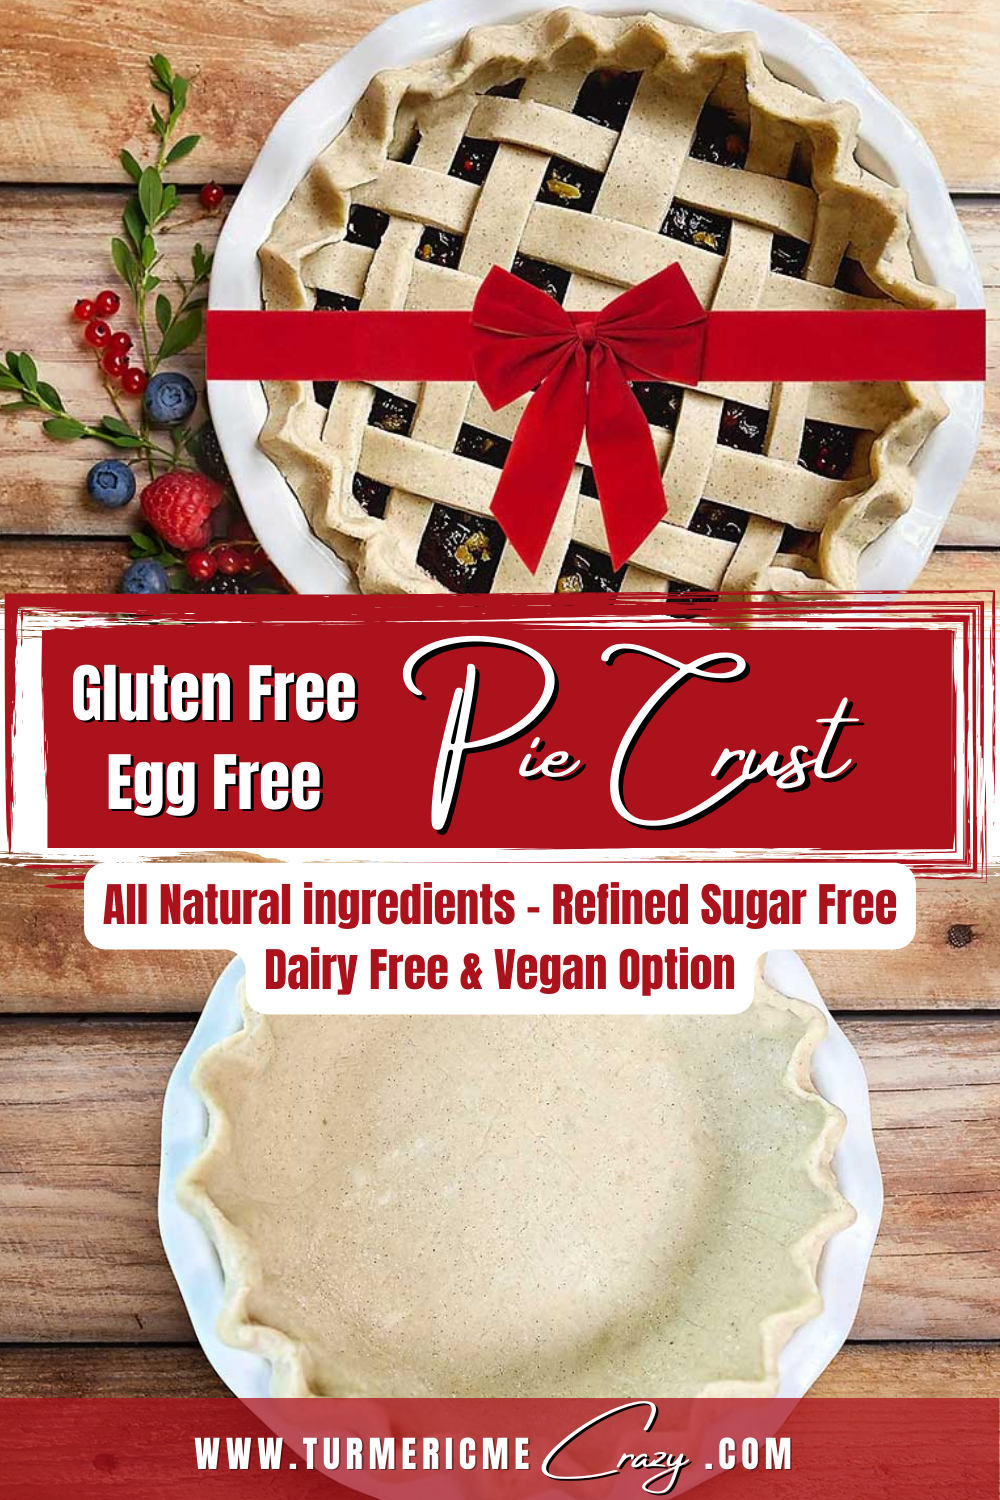
BRING THE PERFECT DESSERT!
If you are heading to a loved ones for the holidays, and have someone living with dietary restrictions, they will be absolutely tickled! Just this small effort will truly mean the world to your loved one, the perfect gift!

If you try making this easy pie crust recipe and you found this guide helpful, I’d be ever so grateful if you’d please add a comment & a rating onto the recipe below or at the bottom of the post ♡. This will help Google recognize it and help my website grow.
Thank you once again for your readership & support.
Print Recipe
Pin Recipe
Rate Recipe
Tried this recipe?Mention @Turmeric_Me_Crazy or tag #turmeric_me_crazy!
Servings:
Equipment Needed
- 1 Food Processor recommended but can use a pastry cutter
- Plastic Wrap
- 1 Air Tight Container
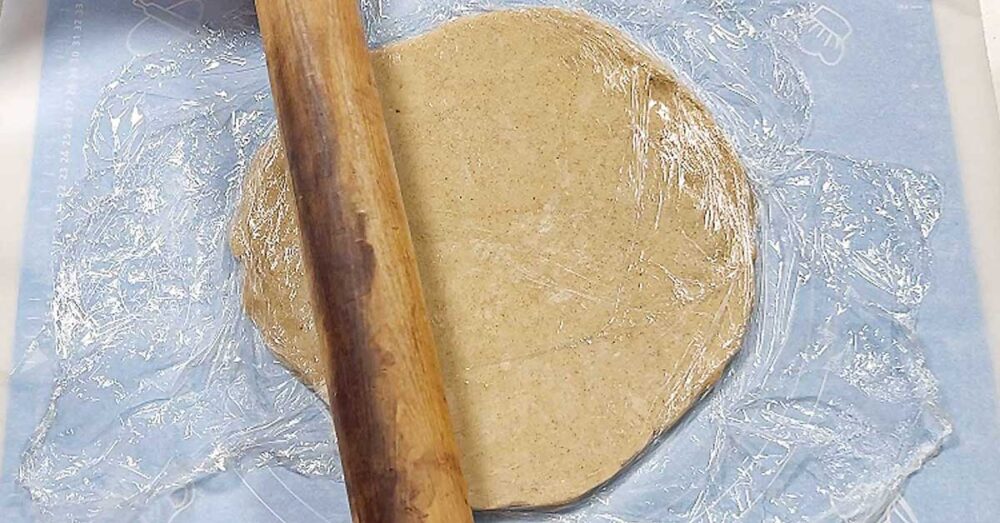
- 1 Rolling Pin *if making pie
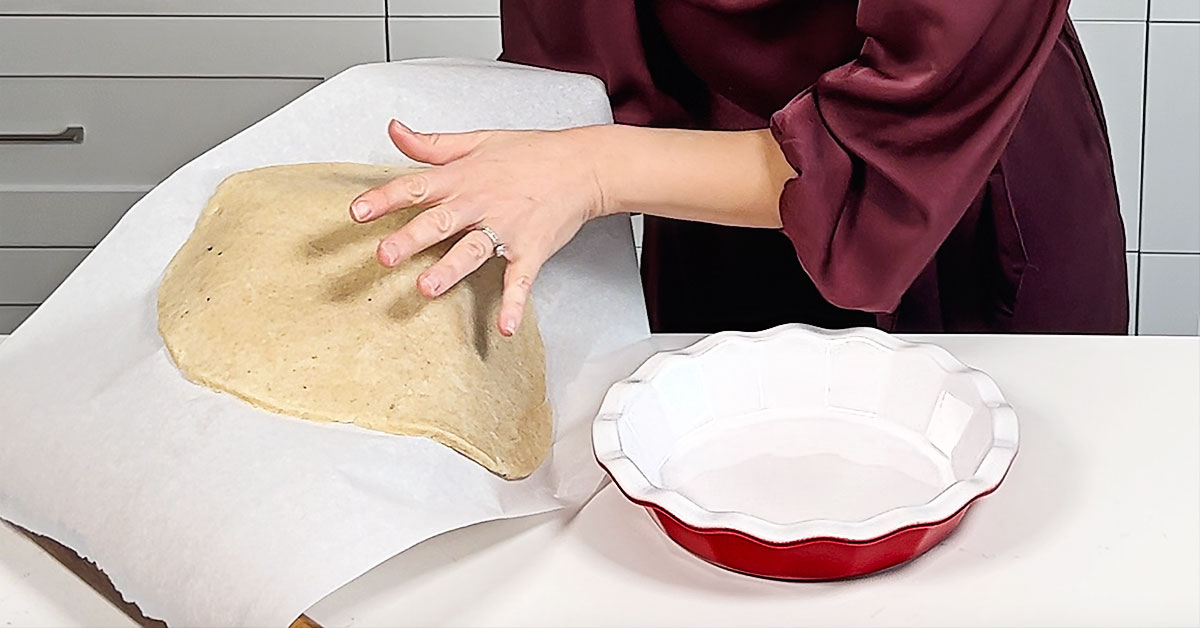
- 1 Pie Plate *if making pie
INGREDIENTS
- 160 g Sweet Rice Flour
- 147 g Sorghum Flour aka Jowar Flour
- 80 g Tapioca Starch aka Tapioca Starch
- ¾ tsp Sea Salt
- 1 ½ tsp Cane Sugar
- 267 g Cold Unsalted Butter, cubed *see notes for dairy free & vegan
- 110 mL Aquafaba, cold
- 1 seeds Vanilla Bean, seeds from *optional
INSTRUCTIONS
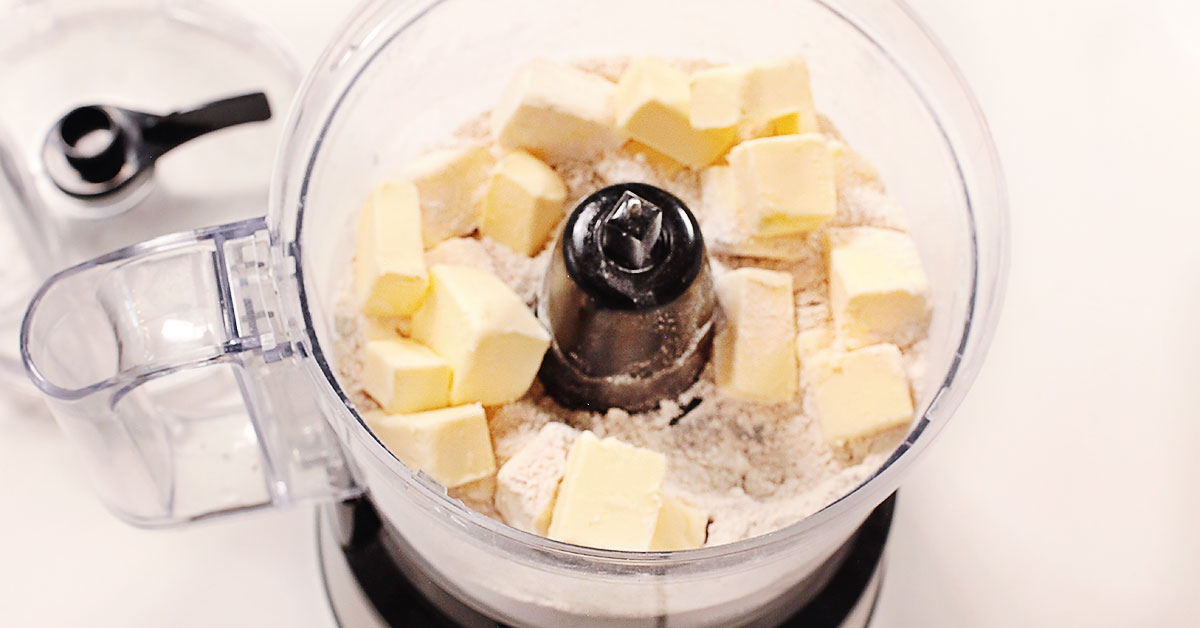
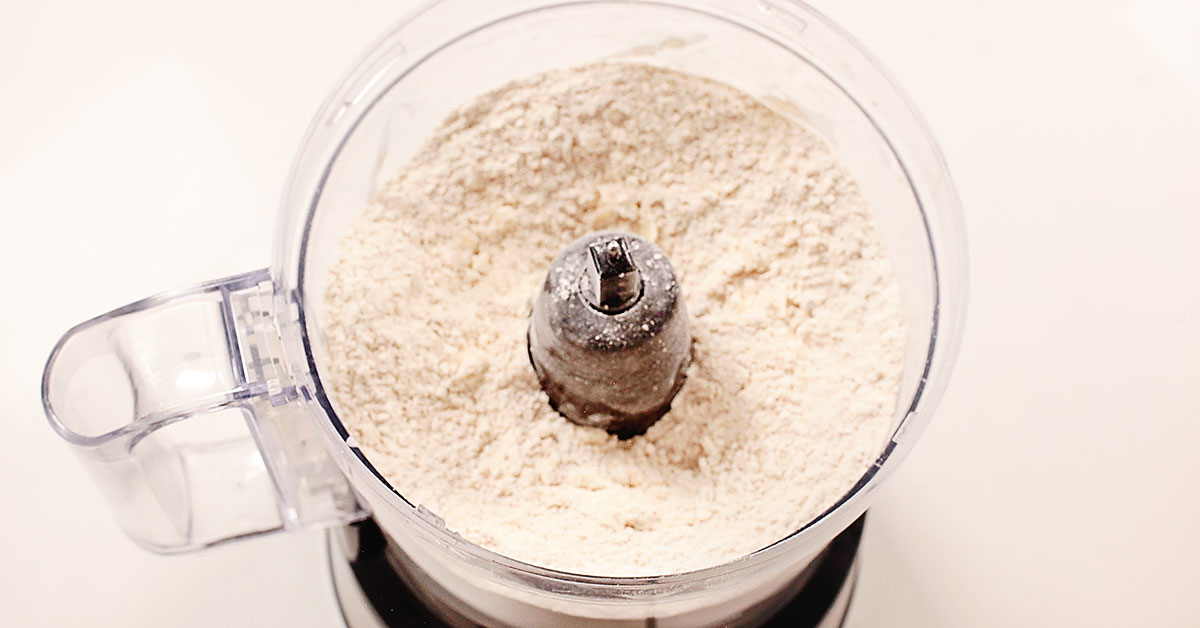
Step 1: Mix the Dry Ingredients
- Measure all dry ingredients directly into bowl of food processor. If using vanilla beans, rub them into sugar before adding.160 g Sweet Rice Flour, 147 g Sorghum Flour, 80 g Tapioca Starch, 3/4 tsp Sea Salt, 1 1/2 tsp Cane Sugar
- Pulse on high 5-6 times
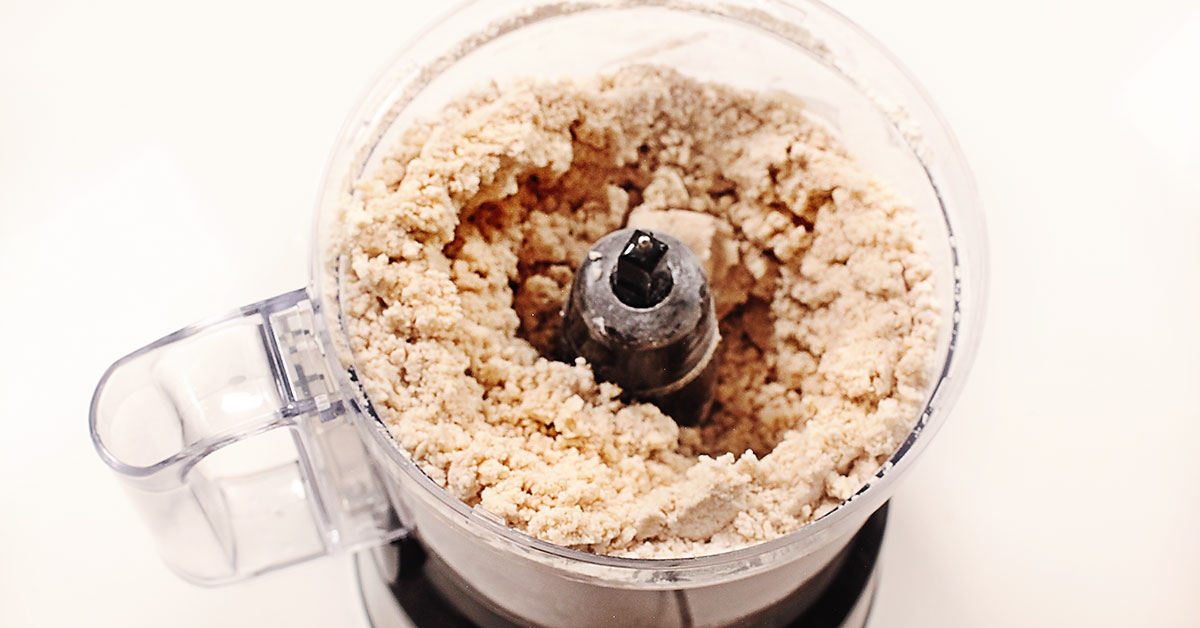
Step 2: Incorporate the fats
- Add cubbed cold butter (or cubbed cold, solid coconut oil) into food processor & pulse 7-10 times until fat has broken down into pea sized pieces. DON'T mix more than needed.
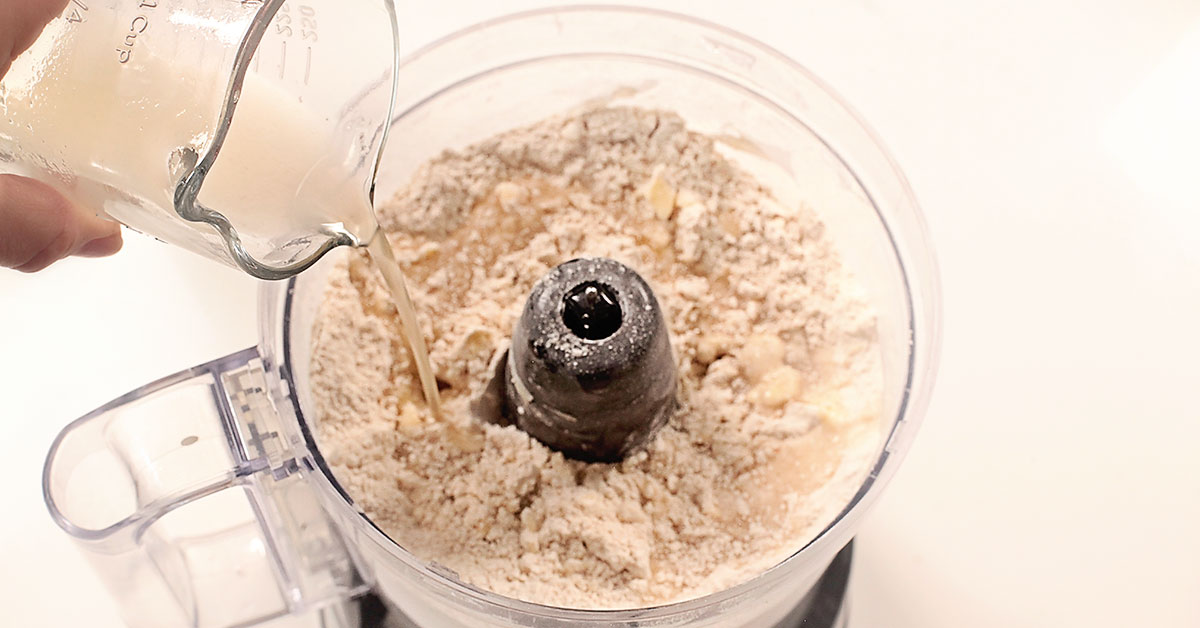
Step 3: Bringing it together
- Drizzle cold aquafaba over the mixture directly into the food processor. Pulse 20-25x until the dough JUST starts to come together. You want it to be moist enough to form a ball but not too sticky. Test by pinching a piece of dough and if it comes together then it is done! Do NOT over mix. See note post above for more details and pictures.
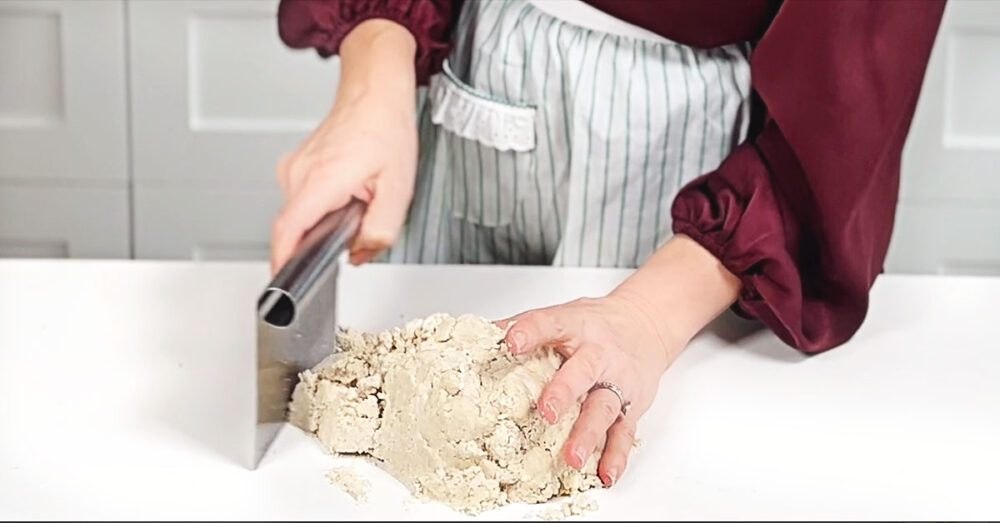
Step 4: Forming the dough
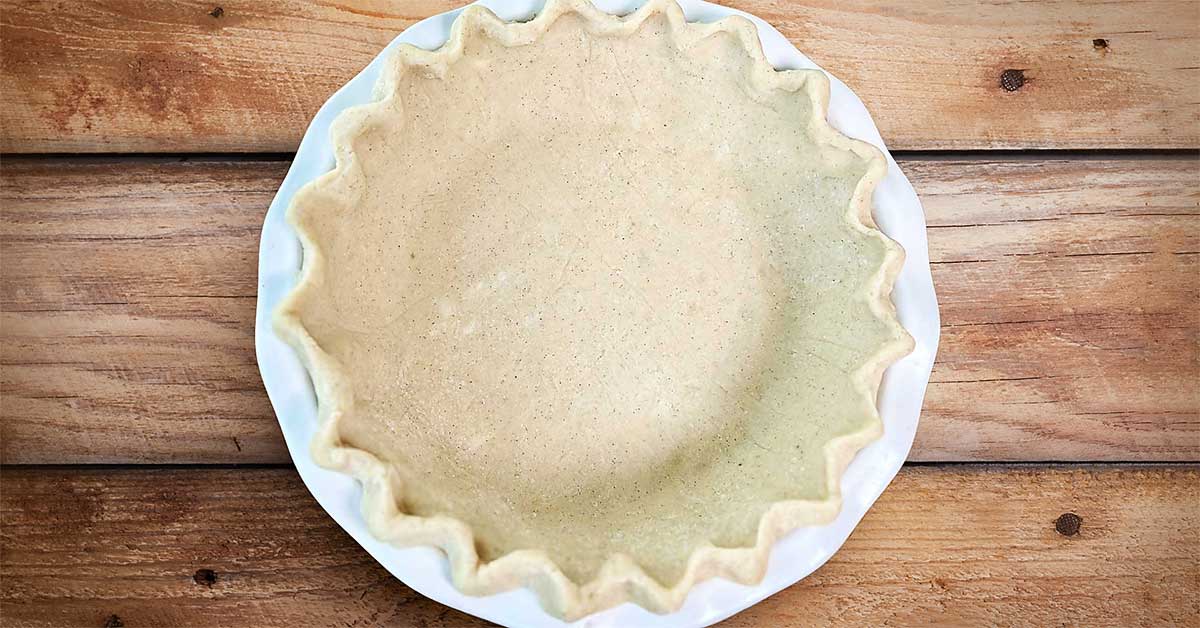
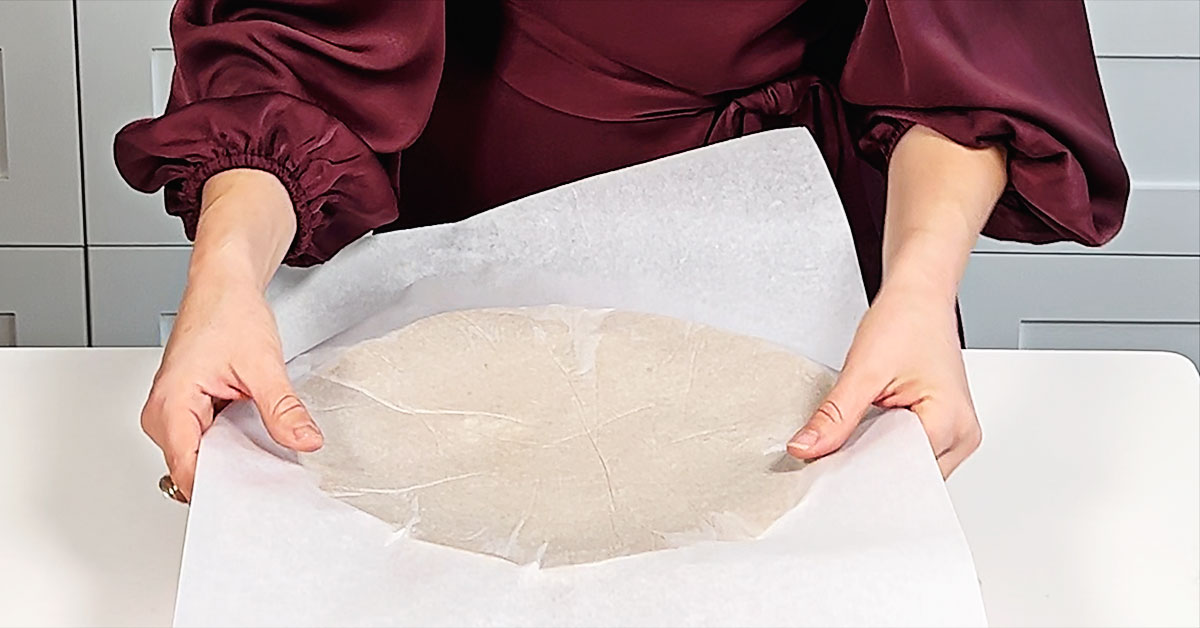
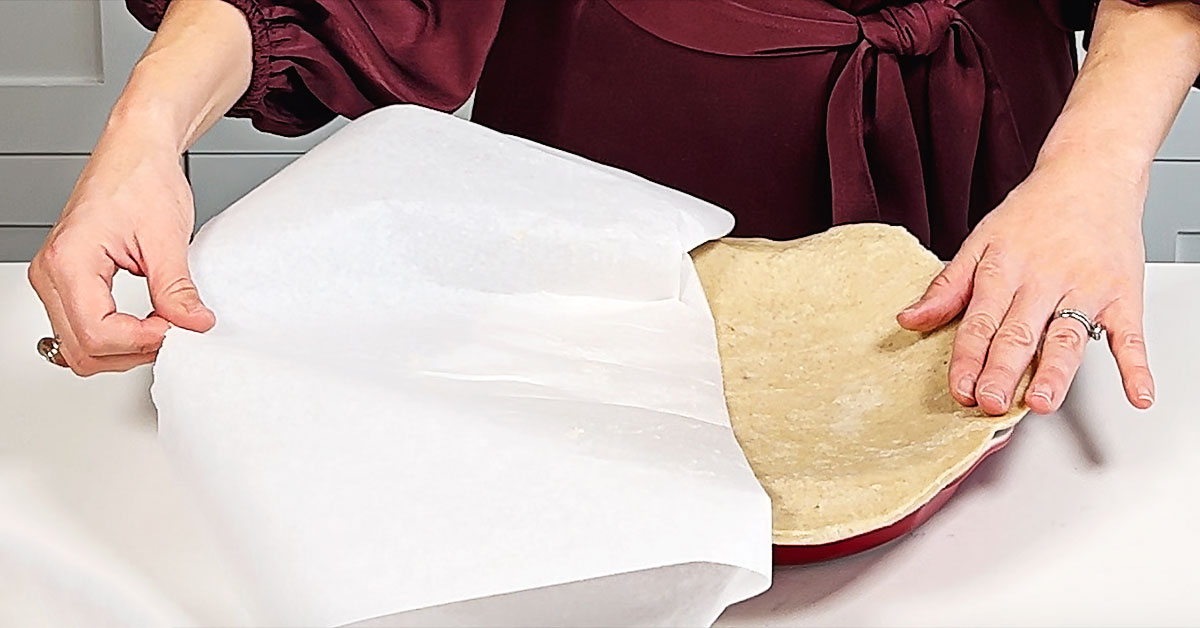
- Transfer the dough onto a piece of parchment paper or a stone countertop and gently press it into a ball. Make sure to RESIST THE URGE TO CONTINUE KNEEDING. Just need to bring the dough together, it should not be smooth.
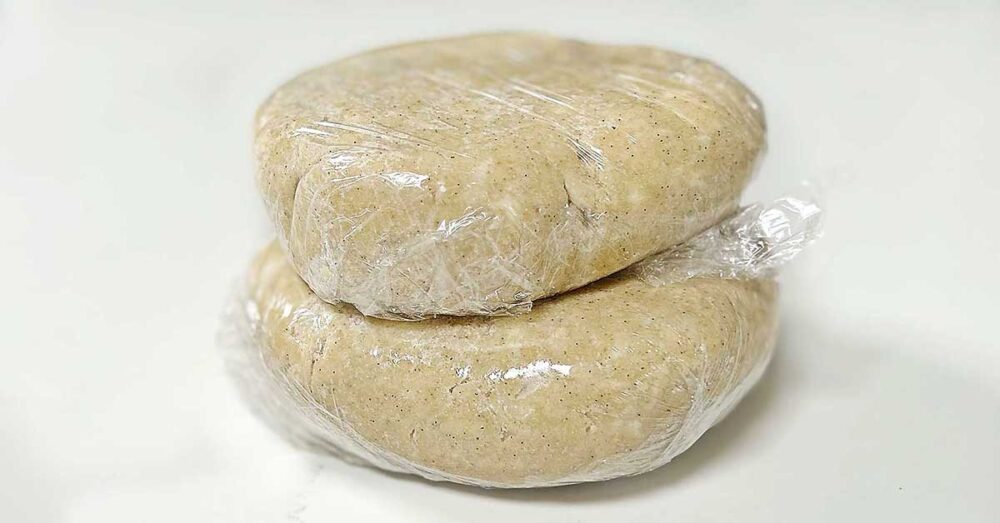
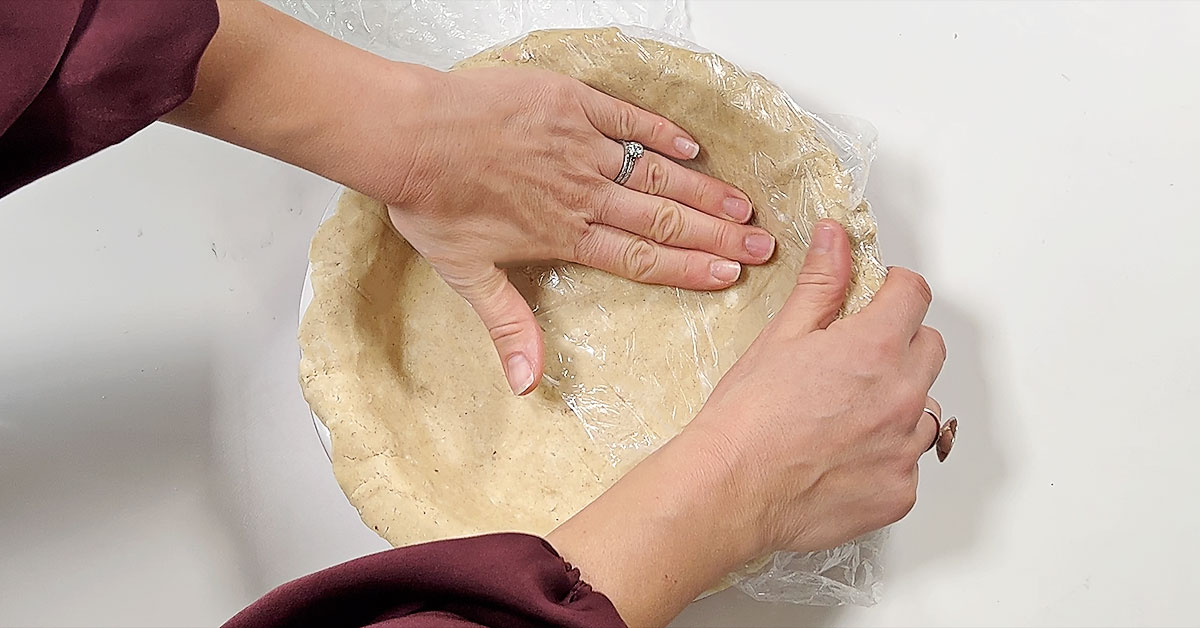
- Flatten each piece into a disc, wrap it in plastic wrap, and refrigerate for 1 hour. Don't skip this step.
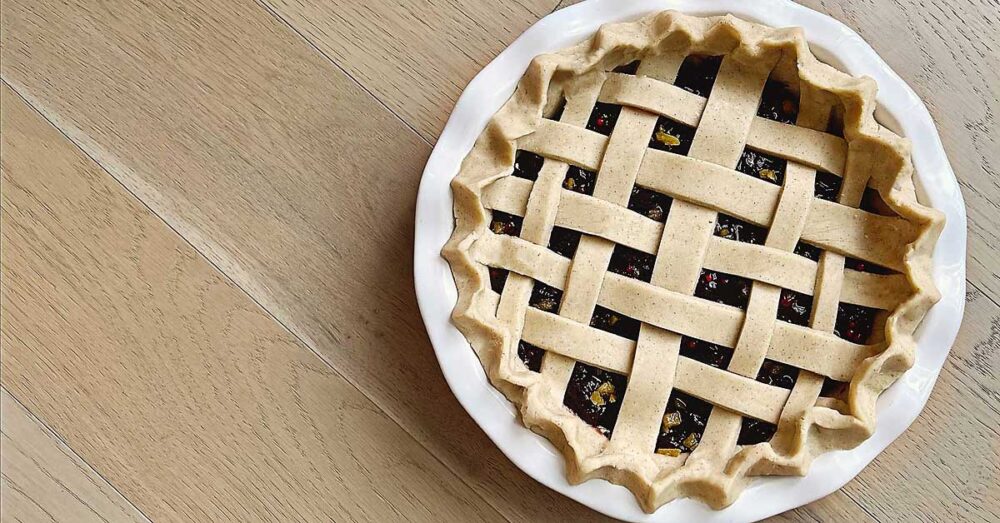
- Split the dough depending on what type of pie crust you're making:Single Crust: 2 equal pieces (makes 2 crusts). Crust with lattice top: Cut into 2 pieces - 1 slightly larger piece for the base and 1 slightly smaller piece for the lattice top.Double Crust: 2 equal pieces.
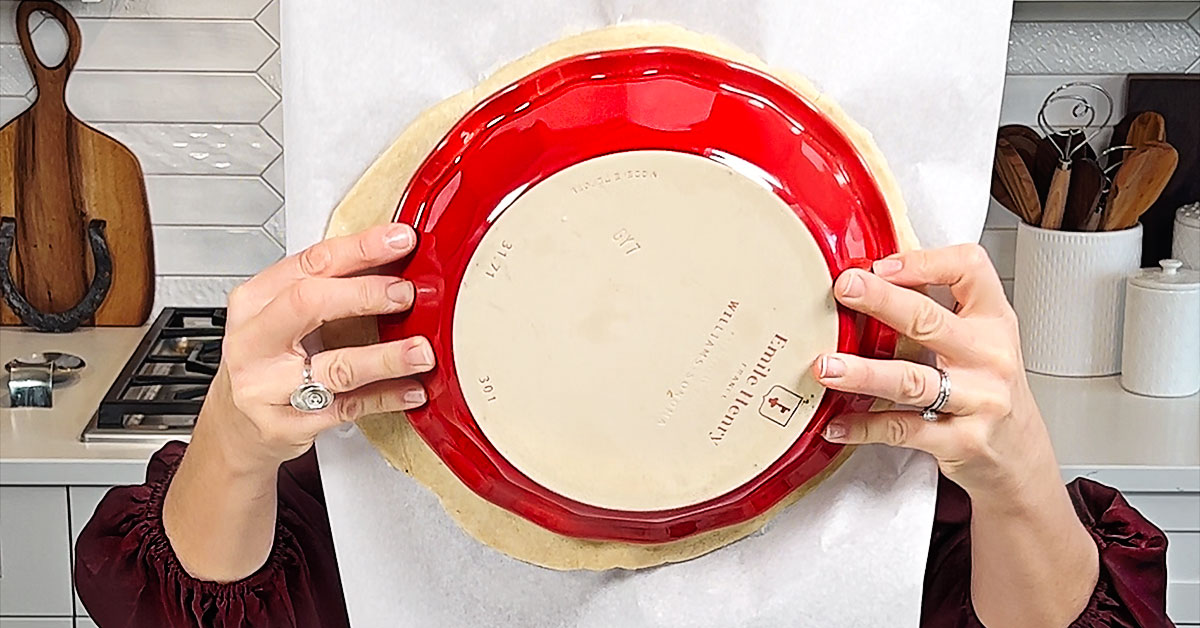
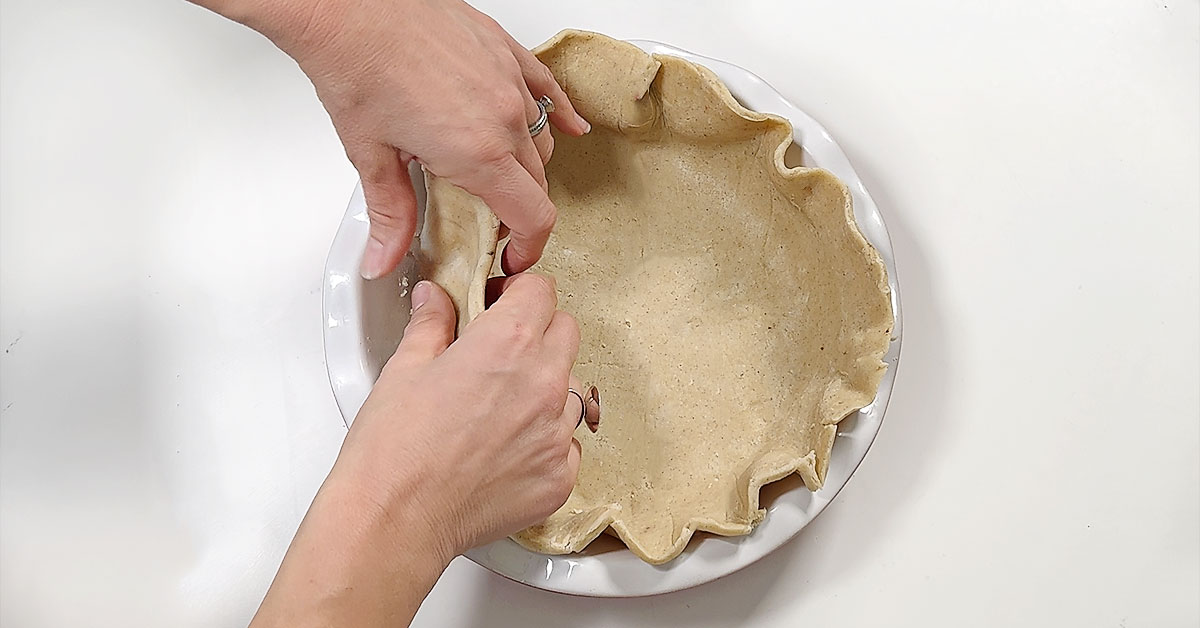
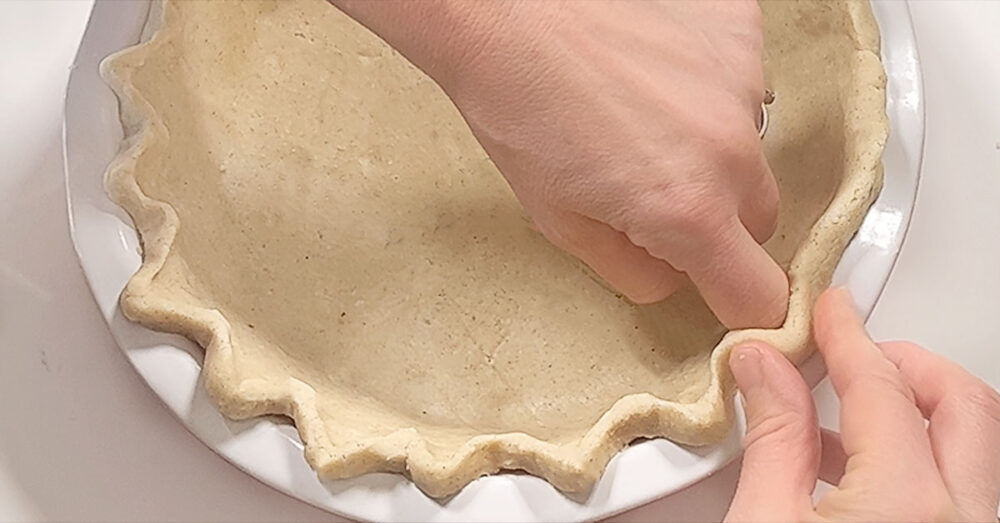
- You're ready to use this lovely pie crust for to bake your favourite pie!
Video
Notes
For Dairy Free & Vegan Option
- Use Coconut Oil to replace the cold cubbed butter. Please watch my video above for an easy tip to help keep your coconut oil solid and easy to use for this recipe!
Nutrition
Nutrition Facts
Easy Gluten Free Pie Crust - Egg Free with Dairy Free & Vegan Option
Serving Size
1 piece
Amount per Serving
Calories
414
% Daily Value*
Fat
18.9
g
29
%
Saturated Fat
11.4
g
71
%
Cholesterol
48
mg
16
%
Sodium
252
mg
11
%
Potassium
11
mg
0
%
Carbohydrates
55.9
g
19
%
Fiber
2.2
g
9
%
Sugar
1.1
g
1
%
Protein
4.7
g
9
%
Calcium
5
mg
1
%
Iron
1
mg
6
%
* Percent Daily Values are based on a 2000 calorie diet.
Tried this recipe?Please comment to let us know how you liked it!!


3 Responses
Omg that pie looks and tastes delicious you won’t regret it.
Awe. Thank you ♡!
Give this recipe a try! You won’t regret it I promise. It is so delicious that even my gluten eating family and friends love it ♡! Let me know how you like it.