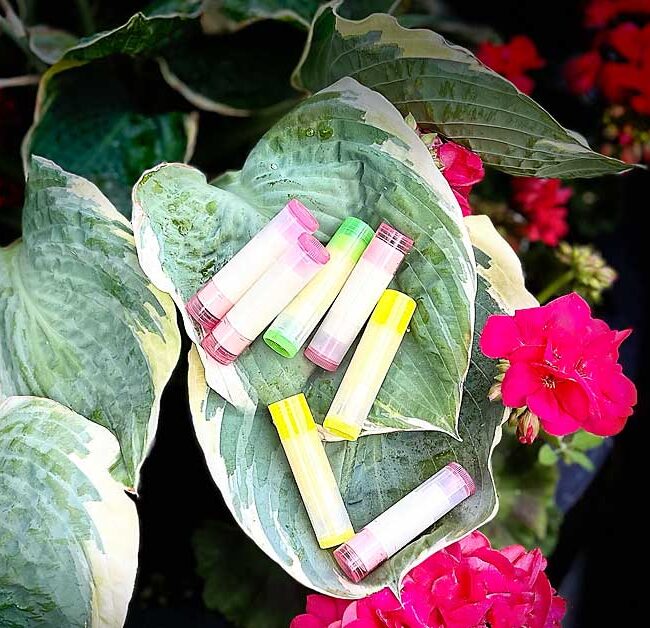
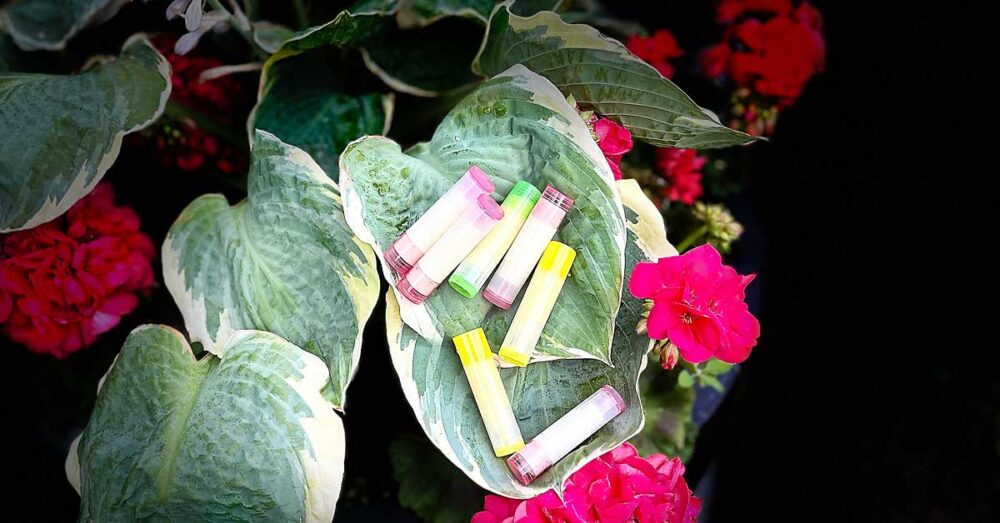
Are you tired of constantly searching for the perfect lip balm? Look no further! Creating your own DIY lip balm at home is not only easy but also allows you to customize it to your specific needs and preferences. In this post, we’ll guide you through the process of making the absolute best DIY lip balm, including an optional SPF to protect your lips from the sun. Let’s get started!
* Living with special dietary needs means being mindful of everything I put on and in my body! The skin is the largest organ in the body, so I want to make sure that anything that could be absorbed by my skin, lips or scalp doesn’t contain any harmful additives or activating foods!
Why Make Your Own Lip Balm?
Making your own lip balm offers several advantages:
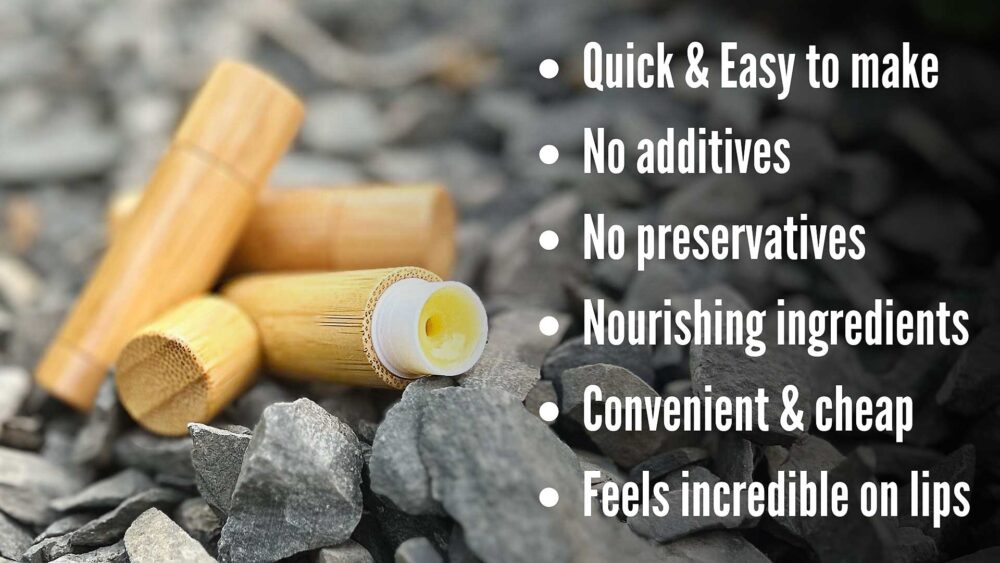
🌿 Natural Ingredients: Avoid harmful chemicals and preservatives found in many commercial lip balms, while knowing exactly what goes on your lips.
😋 Customization: You can choose your favorite scents, flavours, and ingredients.
💰 Cost-Effective: DIY lip balm is often cheaper than store-bought alternatives.
🌍 Eco-Friendly: Reduce plastic waste by reusing containers. Plus reduce your environmental footprint by opting for natural ingredients that are biodegradable and sustainable.
Ingredients in the DIY Lip Balm
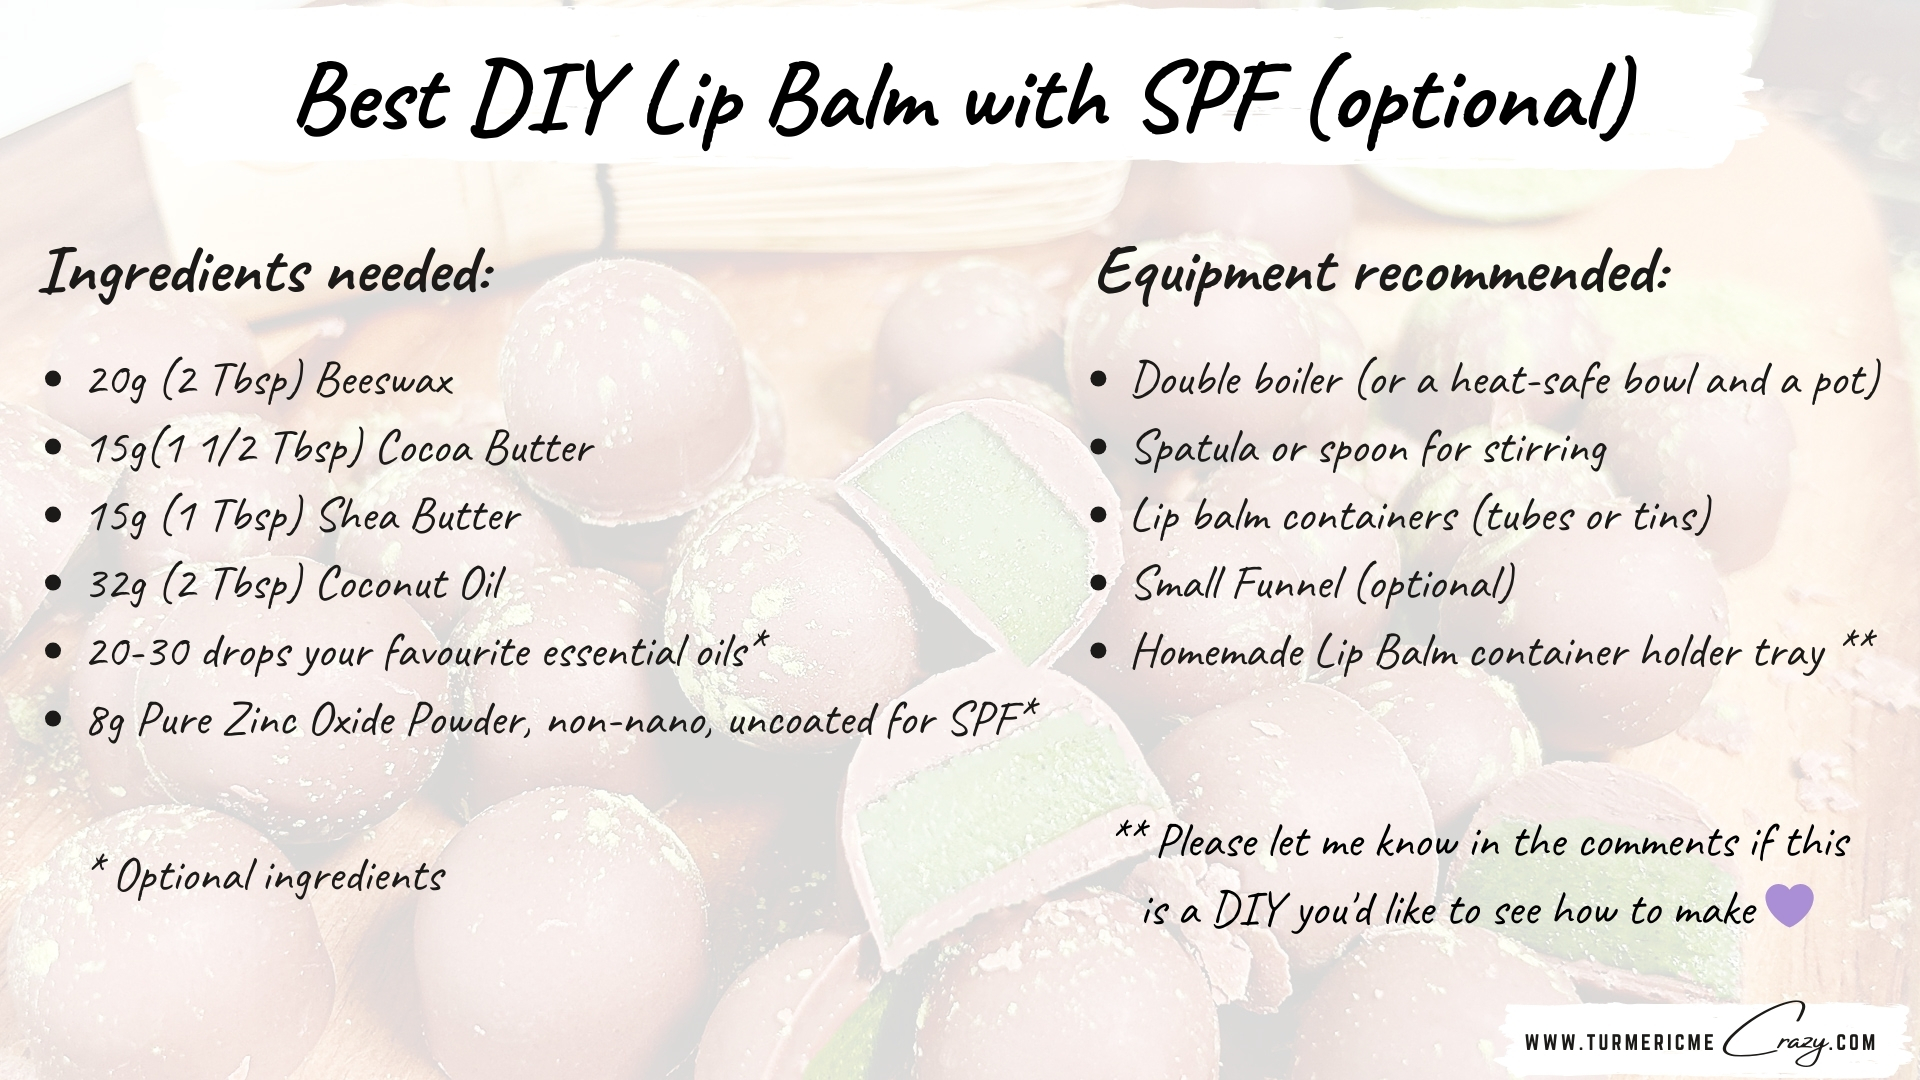
- Beeswax: Provides structure and moisture-locking properties.
- Carrier Oil: I use coconut oil, but you can also use almond oil, or jojoba oil for hydration.
- Butter: I use shea butter and cocoa butter which adds extra moisture and creaminess.
- Essential Oils: For fragrance and additional benefits (optional).
- SPF Option: Non-nano, uncoated zinc oxide for sun protection (optional).
Equipment
You’ll need a few basic tools:
- A double boiler or a heat-safe bowl and a pot
- A spatula or spoon for stirring
- Lip balm containers (tubes or tins)
- A small funnel (optional)
- Homemade lip balm holder tray (please let me know in the comments if this is a DIY you’d like to see how to make) 💜
How to make the best lip balm
1. Measure & melt ingredients
In a double boiler (I use a large heat-safe glass bowl with a spout, placed over a pot of simmering water. For a small batch, melt:
🐝 20g (2Tbsp) Beeswax Pellets
🧈 15g (1 1/2 Tbsp) Cocoa Butter
🧈 15g (1 Tbsp) Shea Butter
🥥 32g (2 Tbsp) Coconut Oil
Stir occasionally until fully melted and combined. Be cautious that water doesn’t get into your mixture.
2. Cool very slightly
Once melted, stir the mixture with a silicone spatula, then allow to cool ever so slightly. Just enough that you can safely grab the handle to the glass jar. The mixture will begin to harden fairly quickly so do not let it cool to much!
3. Add optional essential oils
If using, add the essential oils. My favourite mix of oils for non-SPF lip balm is 20 drops of peppermint oil + 10 drops of lavender oil. For the SPF lip balm I like to use oils like orange oil, passionfruit oil and lemongrass together. The sky is the limit so chose your favs!
4. add in optional SPF
You can add up to 20% of the total weight of the mixture as non-nano zinc oxide. I found that with this high amount my lips turned quite white. So I settled on 10% and added 7-8g. Use a sifter and sift the zinc oxide into the mixture while stirring thoroughly to ensure the zinc oxide is evenly distributed.
5. Pour into Containers
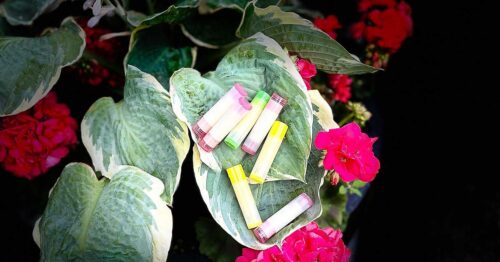
Carefully pour the mixture into your lip balm containers. Use a small funnel if needed to avoid spills. Allow the lip balm to cool and solidify completely.
6 . Label, Store and Enjoy!
Label your containers with the date and ingredients. Store in a cool, dry place. Enjoy soft, beautiful lips!
Tips for Customization
- Scents: Experiment with different essential oils like lavender, peppermint, or vanilla.
- Tint: Add a small amount of natural colorants like beetroot powder for a tinted lip balm.
- Texture: Adjust the ratio of beeswax to carrier oil for a firmer or softer balm.
Benefits of Adding SPF
Protecting your lips from the sun is crucial to prevent damage and aging. Non-nano zinc oxide is a natural, safe option that provides broad-spectrum sun protection. By adding it to your DIY lip balm, you can enjoy the benefits of sun protection without the chemicals found in many commercial products.
pay it forward
please share
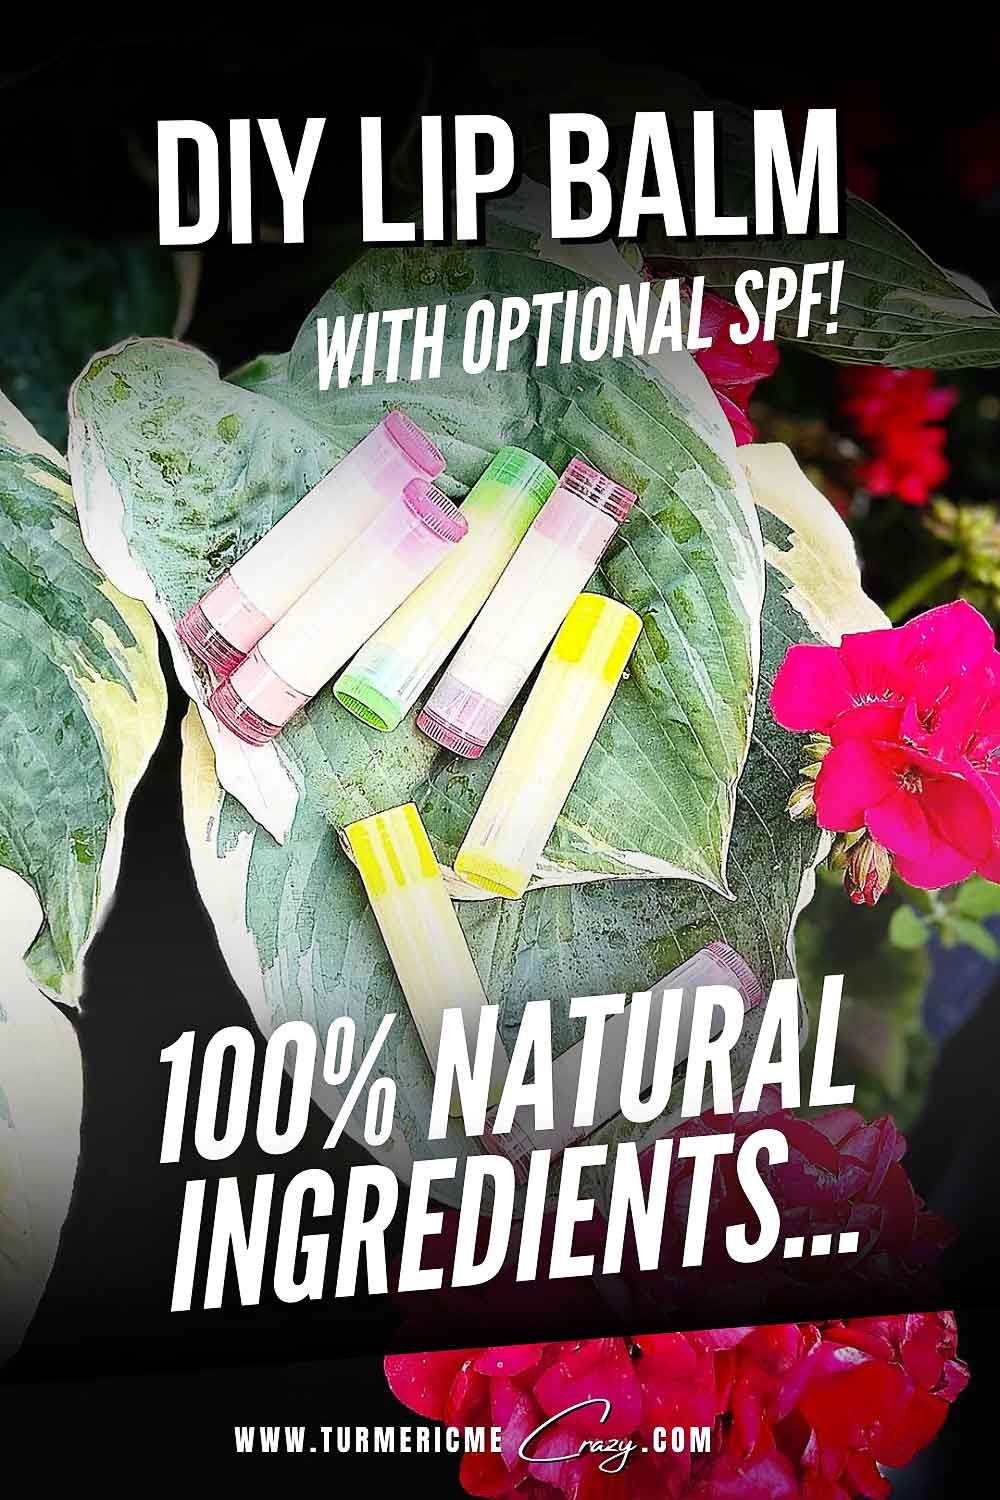
I hope you enjoy this super easy DIY Lip Balm with SPF tutorial! If so, please feel free to share the link to this page on your social media or PIN this picture to your Pinterest account.
I want to once again extend my deepest gratitude & thanks in advance for subscribing to my blog & YouTube Channel as well as following me & liking my posts on Pinterest, FaceBook & Instagram! All of your comments and ratings on my recipes & social media is truly one of the most supportive things you can do for me! So thank you ever so much.


