How to make a Lattice Pie Crust - with Gluten Free Egg Free Dough
Discover the art of crafting a perfect lattice pie crust with our step-by-step guide. Elevate your homemade pies to a new level of visual and culinary delight. Learn the secrets of weaving intricate patterns (even with delicate gluten free dough), allowing your favourite fillings to shine through.
Equipment
- 1 Long bread knife or similar
- 1 Pizza Cutter or Pastry Wheel
Materials
- 1 Recipe Easy Gluten Free Pie Crust
Instructions
1. Roll out the Pie Dough
- Roll the second portion of the dough (1st portion was used for the pie crust base) on top of parchment paper, into a thin, even circle, approximately 1/8 inch thick (slightly larger than your pie plate).
2. Cut the dough into even strips
- Using a pizza cutter or a pastry wheel (and a ruler if you want perfectly even pieces), cut the rolled-out dough into even strips. The width of the strips can be adjusted to your preference, typically ranging from 1/2 to 1 inch (1.25 to 2.5cm).
3: Loosen the dough from the parchment
- Use a bench scraper to gently lift the dough off the parchment paper to ease the transferring process.
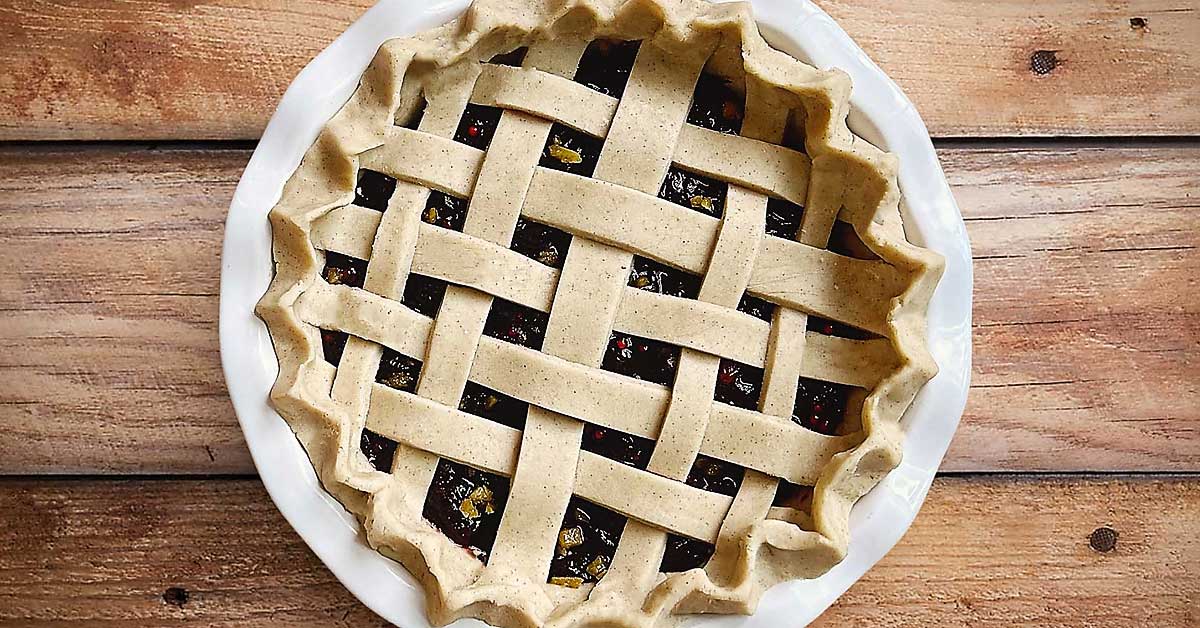
4: Create the lattice (weave pattern)
Arrange horizontal strips:
- Using a long bread knife, gently lift each piece of dough, 1 at a time. Start in the middle with the longest strip. Lay half of the strips horizontally over the filled pie, leaving even spaces between each strip. Using every other strip allows for perfect length. Ever so gently, fold back every other strip halfway creating a large loop.
Weave vertical strips:
- Using the long bread knife, take the longest strip of dough that is left, and weave it under the first horizontal strip, over the next and under the following. Slowly lift one horizontal piece at a time, either gently, fold back the horizontal strips over the vertical one or lift each one using your fingers (see video). Continue alternating and weaving until the lattice pattern is complete.
5: Seal and Trim
- Trim any excess dough hanging over the edges of the pie dish. Press the edges of the lattice and bottom crust together to seal them, creating a cohesive crust. Then either flute the edge (see above post) or crimp it by pressing down with a fork or a finger in a visually appealing manner to create a beautifully patterned finish.